
Between a recent tornado here in Nashville and the hysteria surrounding the outbreak of CoVid-19, I figured I needed to lighten the mood with a little chocolate cake. But first, toilet paper…I understand the shortage in hand sanitizer, but toilet paper? Today I went to the grocery store and all of the shelves were pretty much stripped except for a few, namely the produce isle (except potatoes, I guess that’s the only vegetable people know how to cook around here). While the virus certainly isn’t a laughing matter, I’m truly more concerned about how people might respond to the government ordering a state-wide quarantine. People are crazy, but thankfully everyone is stocked up on toilet paper and mac and cheese (you know, the essentials). Anyways, back to today’s recipe. As I was saying, can you ever go wrong with chocolate cake? I definitely don’t think so. When I set out to make this recipe I wanted to emulate a box cake both in simplicity and taste/texture. Overall, it was a great success and I’m here to tell you if you are looking for a great, standard-Paleo chocolate cake, you can look no further! And of course, if you’re like me and love your cake slathered with a rich frosting, be sure to top this chocolate cake with my chocolate avocado fudge.

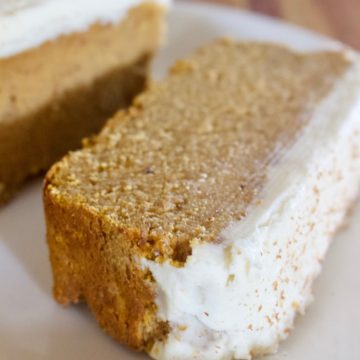
Keto Chocolate Cake with Avocado Fudge Frosting
Ingredients
- 1 1/3 cup coconut flour
- 1/2 cup cocoa powder
- 1 tsp baking soda
- 1/2 tsp sea salt
- 6 eggs
- 1 cup granulated monk fruit
- 1/2 cup avocado oil
- 1 1/2 cup warm water
- 1 batch chocolate avocado fudge
- Morton’s flakey sea salt
Process
- In a mixing bowl sift together dry ingredients.
- In a separate bowl whisk together eggs, avocado oil, monk fruit, and water.
- Mix dry ingredients into wet and stir until fully combined, then pour the batter into a greased and parchment lined rectangle baking dish.
- Place the dish in a 350 degree preheated oven and allow to bake for 40 minutes until a toothpick comes out clean.
- Allow the cake to cool completely before frosting with chocolate avocado fudge frosting and garnishing with a sprinkle of Morton’s flakey sea salt.
Romans 8:5 “Those who live according to the flesh have their minds set on what the flesh desires; but those who live in accordance with the Spirit have their minds set on what the Spirit desires.”