• Skip to primary navigation
  • Skip to main content
  • Skip to primary sidebar
  • Home
  • About Me
    • My Videos
    • Organ Meat Makeover
  • Recipes
  • Health Articles
  • Resources
    • Young Living Essential Oils

Beyond the Bite

Get Beyond the Tick Bite and Eat Right For Your Life.

  • E-books
    • Organ Meat Makeover
    • Practical Animal-Based Eating
  • About Me
    • Videos
    • Health Articles
  • Recipes
    • Email
    • Facebook
    • Instagram
    • Pinterest
    • YouTube

Recipe Index

Daily Dose of Encouragement: Heartbroken

March 13, 2017

DailyDoseEncouragement

Heartbroken, it’s the word that came to me as I sat in the isle seat on an airplane back home.  Was I heartbroken? In a way, but certainly not the way one would automatically think of.  Heartbroken looks different for everyone.  While this word is typically associated with a disastrous relationship or “breakup,” I believe it is a term that can easily be applied to many of the emotions we experience throughout life (not just those attaining to broken relationships). In reality, experiencing heartbreak is inevitable one way or another. Whether it be brought on by physical, emotional, mental, or relational means, heartbreak is something we are bound to come across.  For myself, it is throughout the many years of battling chronic Lyme Disease that I have seen heartbreak portrayed in various ways. Whether it be the sorrow of my parents over my own heal issues, or the distant look in a friend’s eyes as they personally grieve trials in their life, the brokenness was there. That being said, though heartbreak can be expressed outwardly through an expression, it is undoubtedly a hard, hallowing, and unshakable feeling that settles as a pit in the depths of your stomach.  It is an incredibly strong emotion that can easily take over your entire being, paralyzing us in a state of depression, loneliness, vulnerability, hopelessness, and overall a seemingly unquenchable, incurable brokenness that radiates from within. You are left feeling utterly and completely broken, which, in turn, is exactly why they call it being “heart-broken.”

BustedHeart

More than likely you have experienced this feeling, or just maybe, you are going through a heart break right now as we speak.  You’ve tried to let time do its work and heal your, however, nothing seems to help and you are unsure how to survive and keep persevering. Yet when the things of this world leave us broken, and when the situations, storms, and trials we face never seem to end, there is only One thing that can bring wholeness to our hearts that cry out for comfort and healing, and that is Christ. He came to save us, the broken, the helpless, the beaten down, the sinners living in a sin-filled world unable to escape inevitable pain, suffering, and yes, heartbreak.  God knew we would feel this way, and He knew we would experience moments, months, or even years of brokenness. Because of this, He sent His son to be beaten and crucified on a cross so that our hearts could be healed.  In fact, it was through this brokenness that God’s sacrificial love was poured out onto all man kind to give eternal salvation for those who believe.  Overall, He knows your feelings, your thoughts, actions, hopes, dreams, and yes, even your heartbrokenness. He has been through it all. Even when it seems no one on earth can feel the pain inside your chest that is eating away at your soul, He knows, and He is there to be your greatest and only source of true comfort, peace, and healing.  He promises to hear your crying and lift up your head when it seems there is no strength from within your soul to do so (Psalm 4). He will fill you with peace (Psalm 5), and when you are weary with groaning and have drenched your couch in tears (Psalm 6), He will hear you, deliver you (Psalm 7), and continue to always be your refuge (Psalm 9). For He is the helper of the fatherless (Psalm 10), a God who deals bountifully with the righteous (Psalm 13) and does not allow those who seek Him to be moved (Psalm 16).  No matter how deep and dark the brokenness in your heart becomes, and when the snares of death seem to be caving in on all sides (Psalm 18), He is there to steady your heart. Yes, He will deliver you, for He delights in you (Psalm 18). He is there to be the one and only rock that will not fail you, be shaken, or waver when you experience these trials, for He is there to save His anointed with the saving strength of his right hand (Psalm 20).  When your heart is like wax and melted within you and all of your strength dries up like dust (Psalm 22), the Lord will hide you from trouble and help you rise above (Psalm 27). He will take care of you and strengthen your heart. If you trust in Him, He will help you through the brokenness (Psalm 28).  Though you may stumble, fall, and grow faint in the process, He will uphold you (Psalm 37), for the Lord “heals the brokenhearted and binds up their wounds” (Psalm 147:3)

Psalm 34:18-19 “The Lord is close to the brokenhearted and saves those who are crushed in spirit. The righteous person may have many troubles, but the Lord delivers him from them all.” 

Filed Under: AIP, chronic illness, chronic lyme, chronic lyme disease, daily dose of encouragement, Personal Experiences

Tigernut Flour Cast Iron Cookie Pie (Paleo, AIP-friendly, Nut Free, Egg Free, Coconut Free)

February 14, 2017

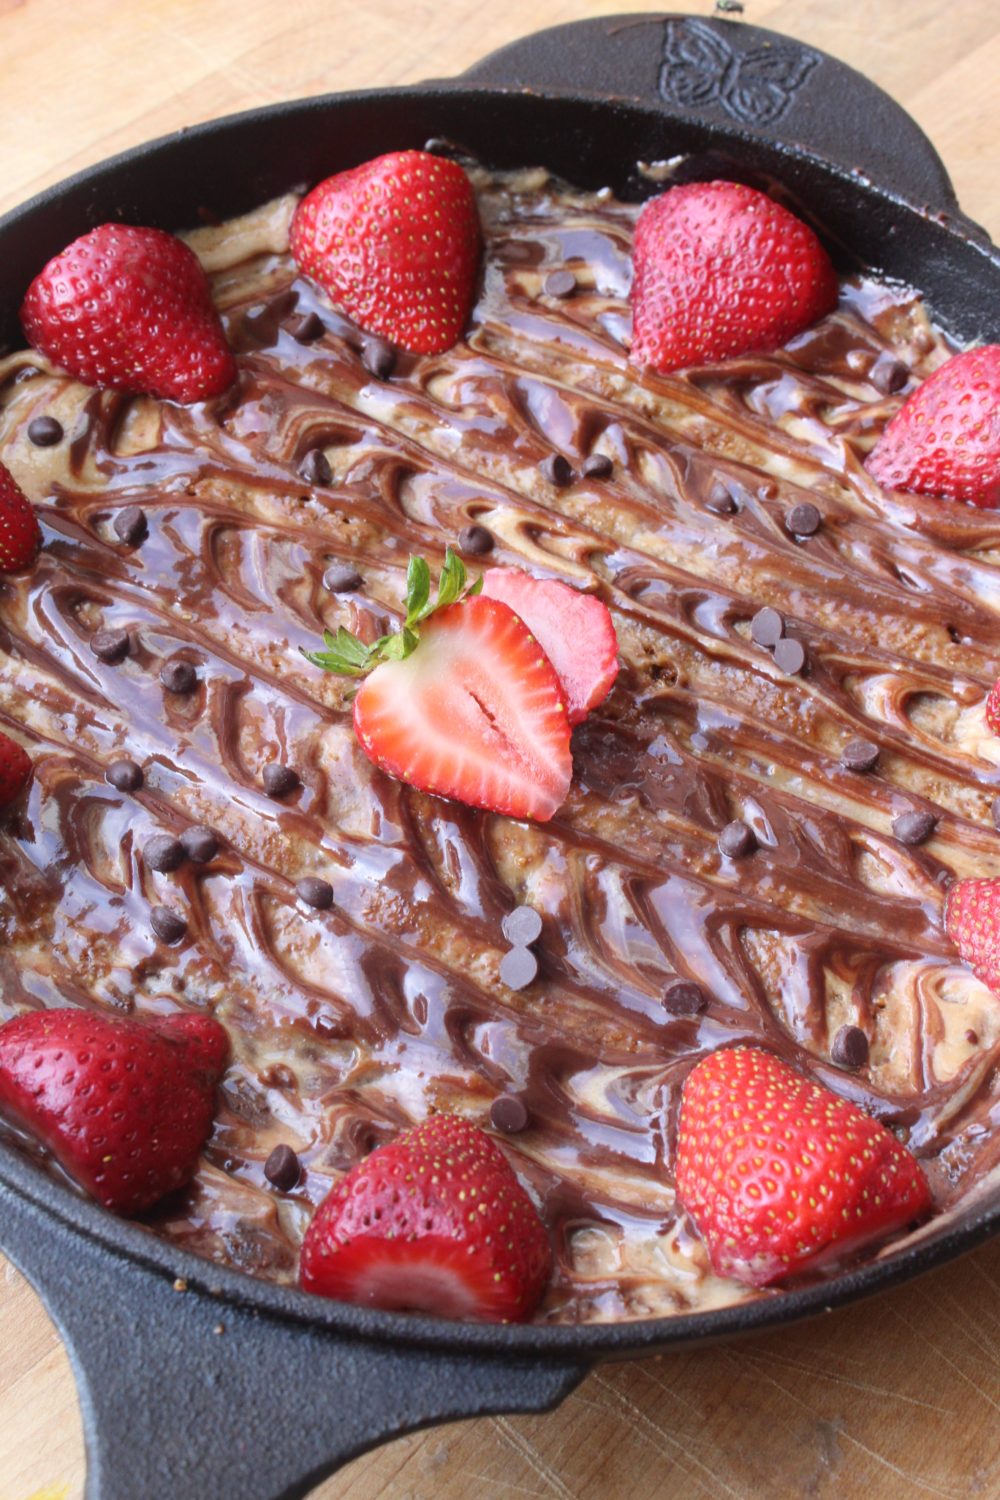
IMG_1391

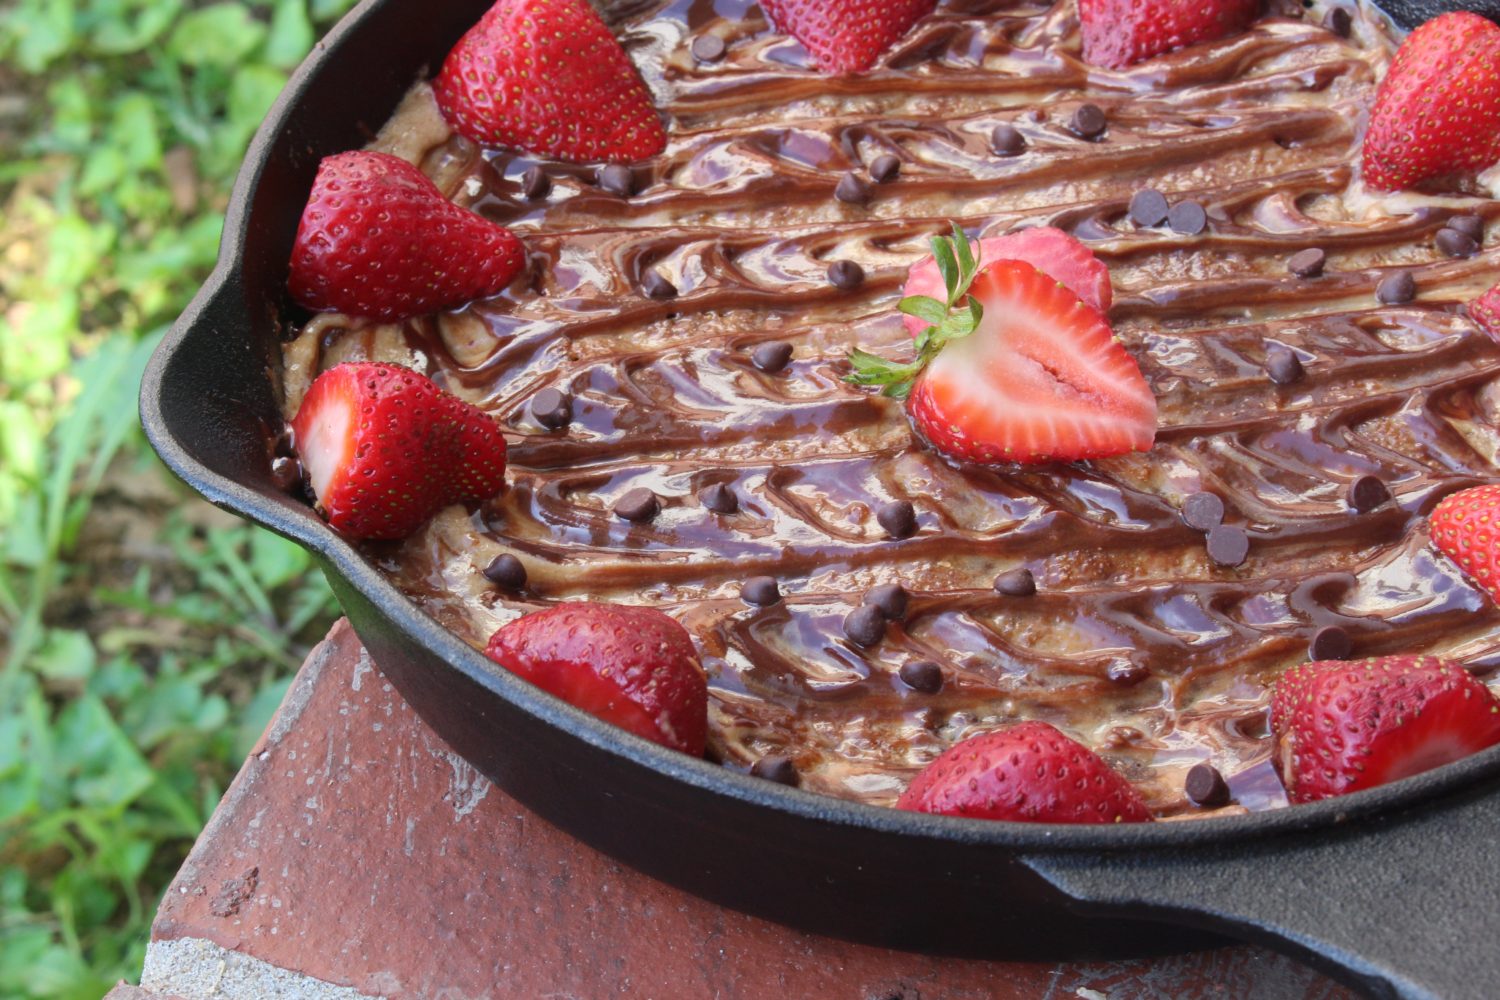
I’ve been waiting to post this recipe for some time now.  Mainly because with New Years, comes New Years resolutions, many of which are to avoid sweet treats and sugar.  That being said, I believe Valentines Day is the perfect excuse to share a decadent dessert recipe.  I played around with the idea of a “cookie pie” for quite awhile.  At first, I started with a regular Paleo version made with almond flour, twerking it to perfection.  Then I decided to try and omit the eggs and nuts and make an autoimmune friendly variation (using carob chips of course).  The end results between the two are slightly different, the egg version being lighter and fluffier, while this cookie pie is chewy and fudge-y, just the way I like it.  You can decorate this cookie pie any which way you like.  I chose to swirl melted chocolate on the top and garnish with strawberry slices.  My vanilla icing and a few fresh raspberries would be equally delicious and festive.  On another note, if you are without a cast-iron, no fear, this recipe bakes up just as tasty in a 8×8 inch brownie pan. That being said, if you are going to use your cast iron, I recommend it be one dedicated specifically to baked goods, as any savory cooking you may have previously used the pan for may leech unwanted flavors into your baked good.

For more Valentine’s Day themed sweet treats be sure to check out this recipe roundup here.

Happy Valentines Day!

IMG_1414


Tigernut Flour Cast Iron Cookie Pie

Print Recipe

(Serves 8-12)
Ingredients

  • 1 1/4 cup Organic Gemini tigernut flour
  • 1 1/4 cup tapioca starch
  • 2 tbsp gelatin + 3 tbsp water
  • 1 cup non-hydrogenated palm shortening (or) ghee
  • 1 3/4 cups maple sugar
  • 1/2 tsp baking soda
  • 1/4 tsp sea salt
  • 1 tsp vanilla extract
  • 1 cup chocolate (or) carob chips for AIP
  • 1/2 batch of vanilla icing  (optional)
  • Melted chocolate or carob chips for drizzling (optional)
  • Fresh strawberries for serving (optional)

Process

  • Preheat oven to 350 degrees.
  • In a bowl, sift together sea salt, baking soda,tapioca starch, and tigernut flour.
  • In a second bowl, beat shortening, coconut sugar ,and vanilla until smooth.
  • Add the dry ingredients into the wet, mixing with a spatula until smooth.
  • Whisk together gelatin and water to create a slurry, then add to the mixer and beat quickly to combine.
  •  Fold in chocolate chips.
  • Scoop cookie dough into a greased, 10 inch cast iron pan and place in the preheated oven to bake for 20-25 minutes.
  • Remove the pan from the oven and allow to cool completely before decorating, cutting, and serving.

Recipe Notes

This recipe can be made using almond flour in place of the tigernut flour and butter or coconut oil in place of the shortening.


1 Corinthians 13:3 ” If I give all I possess to the poorand give over my body to hardship that I may boast, but do not have love, I gain nothing.”

Filed Under: AIP, autoimmune friendly, coconut free, cookies, dairy free, Dessert, egg free, gluten free, nut free, Sweets and Snacks, tigernut flour

Creamy Tarragon Chicken Salad (AIP, Paleo, Keto)

February 6, 2017

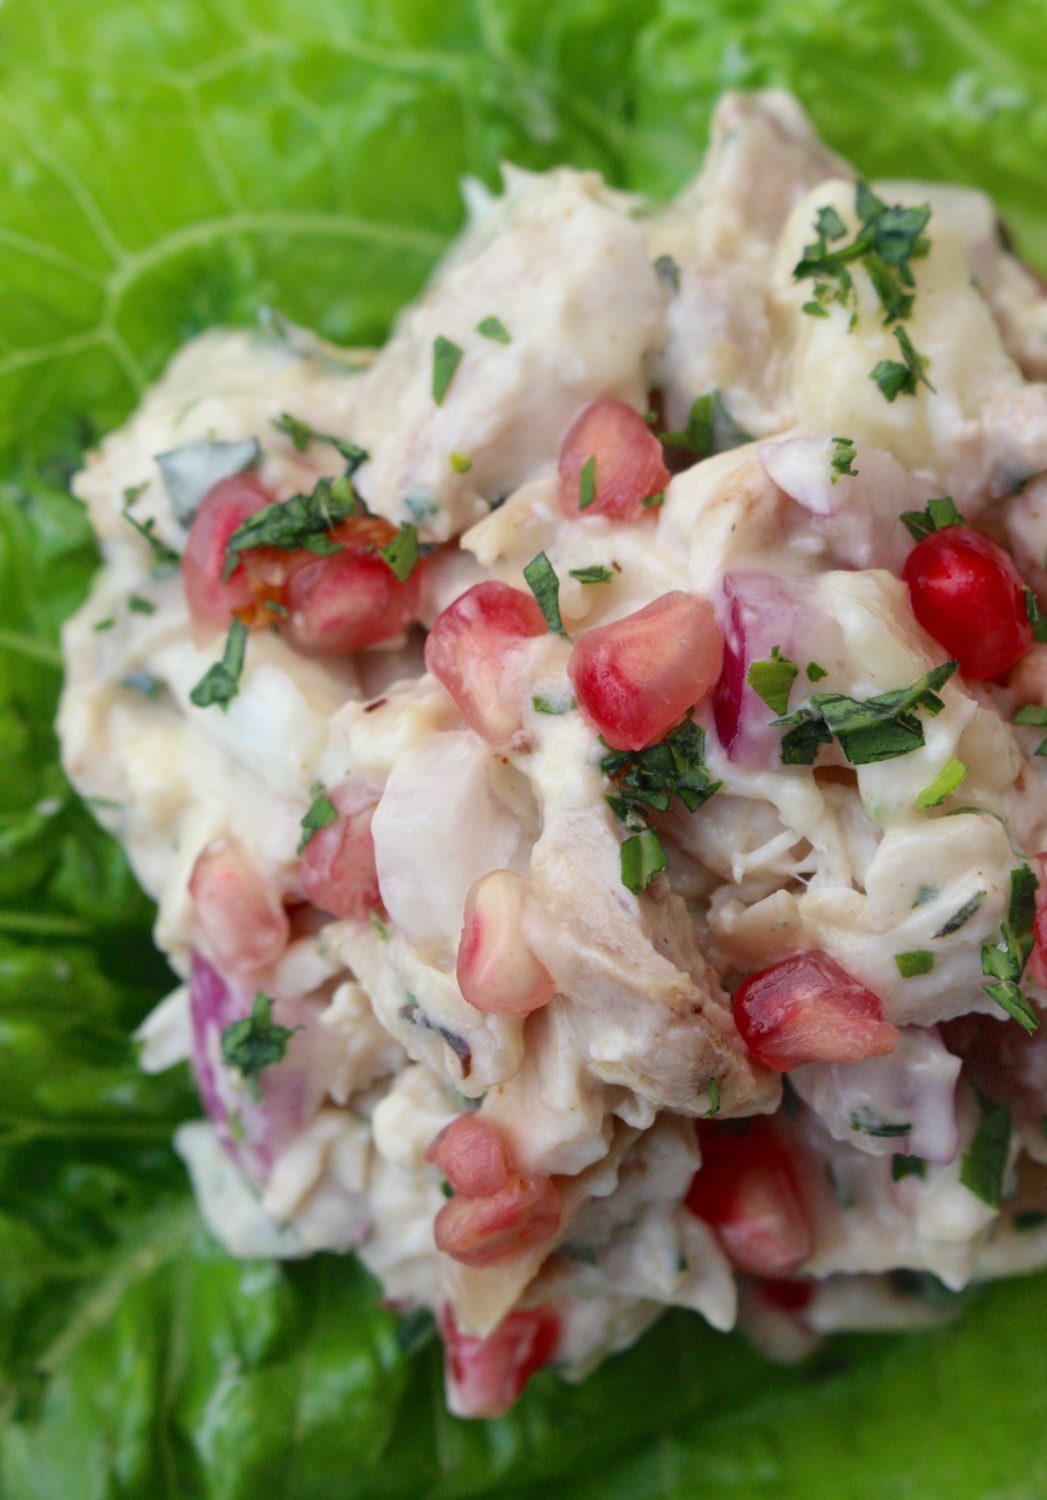
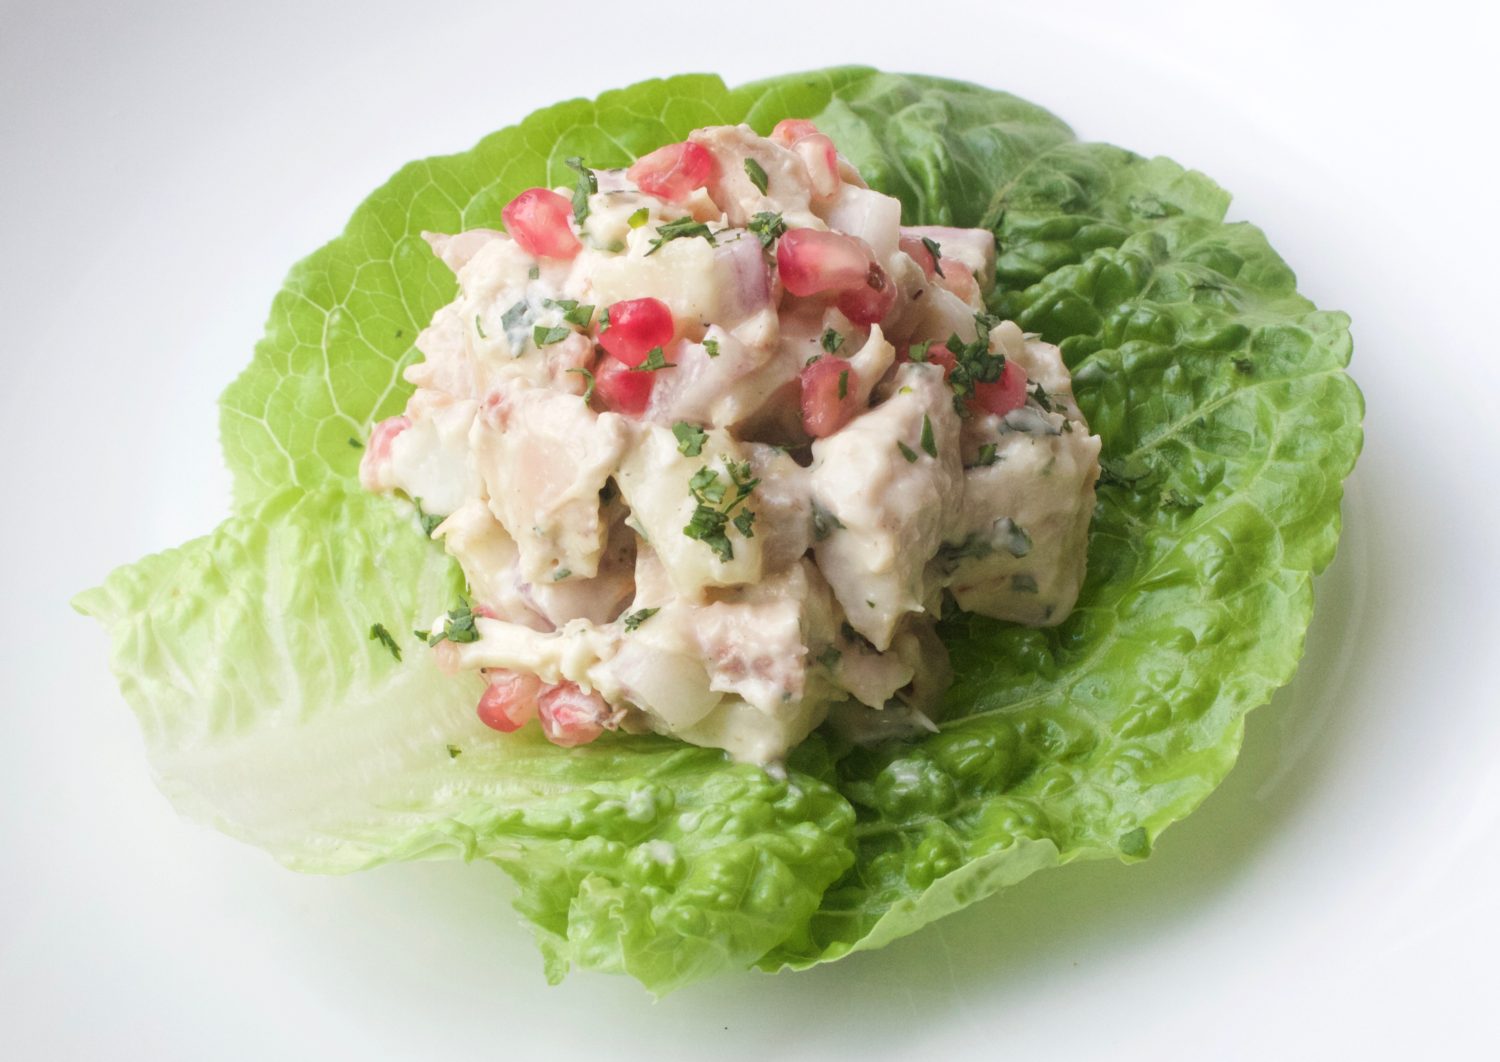
Tis the season for eating on the run.  I know, because I’m right there with you.  These next eleven weeks encompass my last semester of school.  Between countless medical related appointments every week and being in classes every day but Friday, there is little time to eat a lavish breakfast or lunch.  Most meals consist of an outrageously large salad, an egg or two if I’m lucky, and lots, and lots, of butter (to keep the ketones going, of course).   However, if you are like me and get tired of eating boiled eggs, I believe chicken salad is the best next thing.  Today’s recipe is one for all of the individuals on the Autoimmune-Paleo Protocol, as it is free of an egg based mayo, using a thick and creamy dressing instead.  Though tarragon isn’t an entirely common herb, it was actually part of the first chicken salad I found myself loving as a child.  That being said, if you are not entirely fond of the licorice-y type flavor that is has, please feel free to substitute parsley.  Also, if you are new to the AIP Paleo Protocol and are hesitant to consume pomegranate seeds, you can omit them entirely, or add some chopped tigernuts for an added crunch.  Overall, with a little crunch from the pomegranate, sweetness from the pear, creaminess from the dressing, and tanginess from the sherry, this recipe is one that encompasses everything most everyone loves about a good chicken salad.  Plus, it is a fantastic way to make sure no leftovers from your week night’s roasted chicken dinner goes to waste.

Creamy Tarragon Chicken Salad

Print Recipe

(Serves 4-6)

Ingredients

  • 3 cups white chicken meat, chopped
  • ¼ cup avocado oil
  • 2 tbsp sherry vinegar
  • 2 medium pears (1 1/2 cup total)
  • ¼ cup red onion, 1/4th inch dice
  • ¼ cup pomegranate seeds (optional)
  • 2 tbsp fresh tarragon, minced
  • 1 tsp sea salt

Process

  • Place chopped chicken in a large mixing bowl.
  • Mince the tarragon and add to the bowl, along with the pomegranate seeds if using.
  • Peel and chop the pears, placing 1/2 cup into the mixing bowl.
  • Blend remaining 1 cup of chopped pear, avocado oil, sherry vinegar, and sea salt until thick and smooth.
  • Pour the dressing over the chicken and toss around in the bowl until evenly coated then serve over a bed of leafy greens.


Isaiah 58:11 “The LORD will guide you always; he will satisfy your needs in a sun-scorched land and will strengthen your frame. You will be like a well-watered garden, like a spring whose waters never fail.”
Filed Under: AIP, autoimmune friendly, chicken, Fruit sweetened, ketogenic, Protein Dishes, Recipes

AIP Paleo Yellow Lebanese Rice (Keto, Low-FODMAP)

January 24, 2017

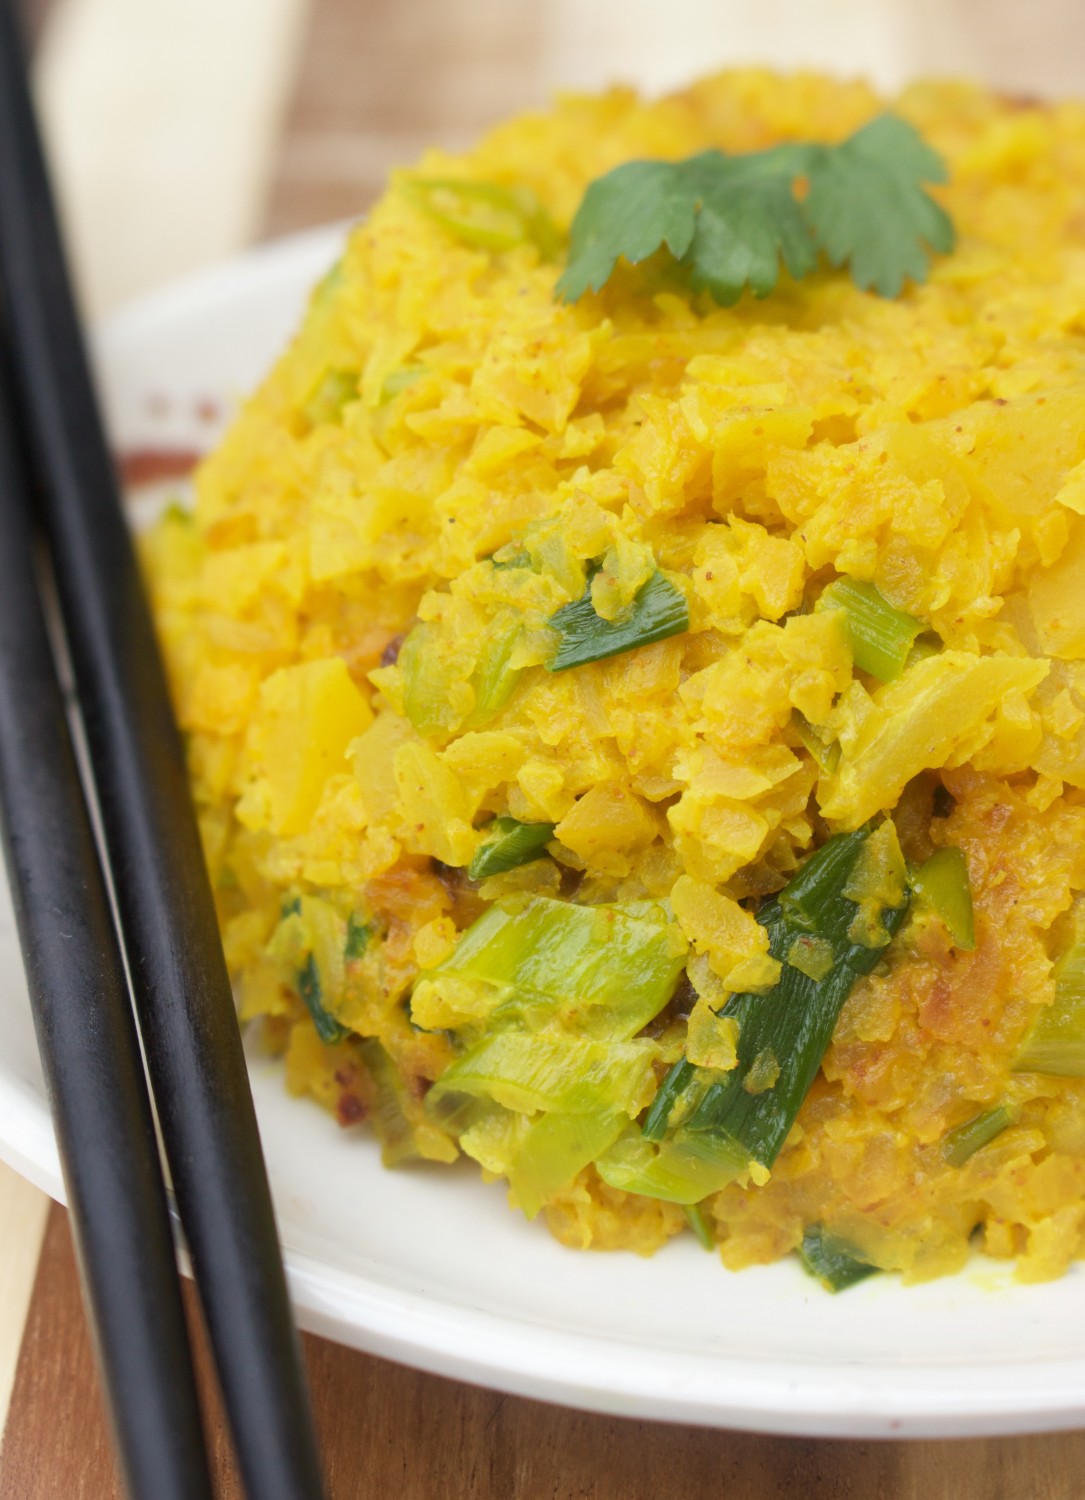
IMG_0924

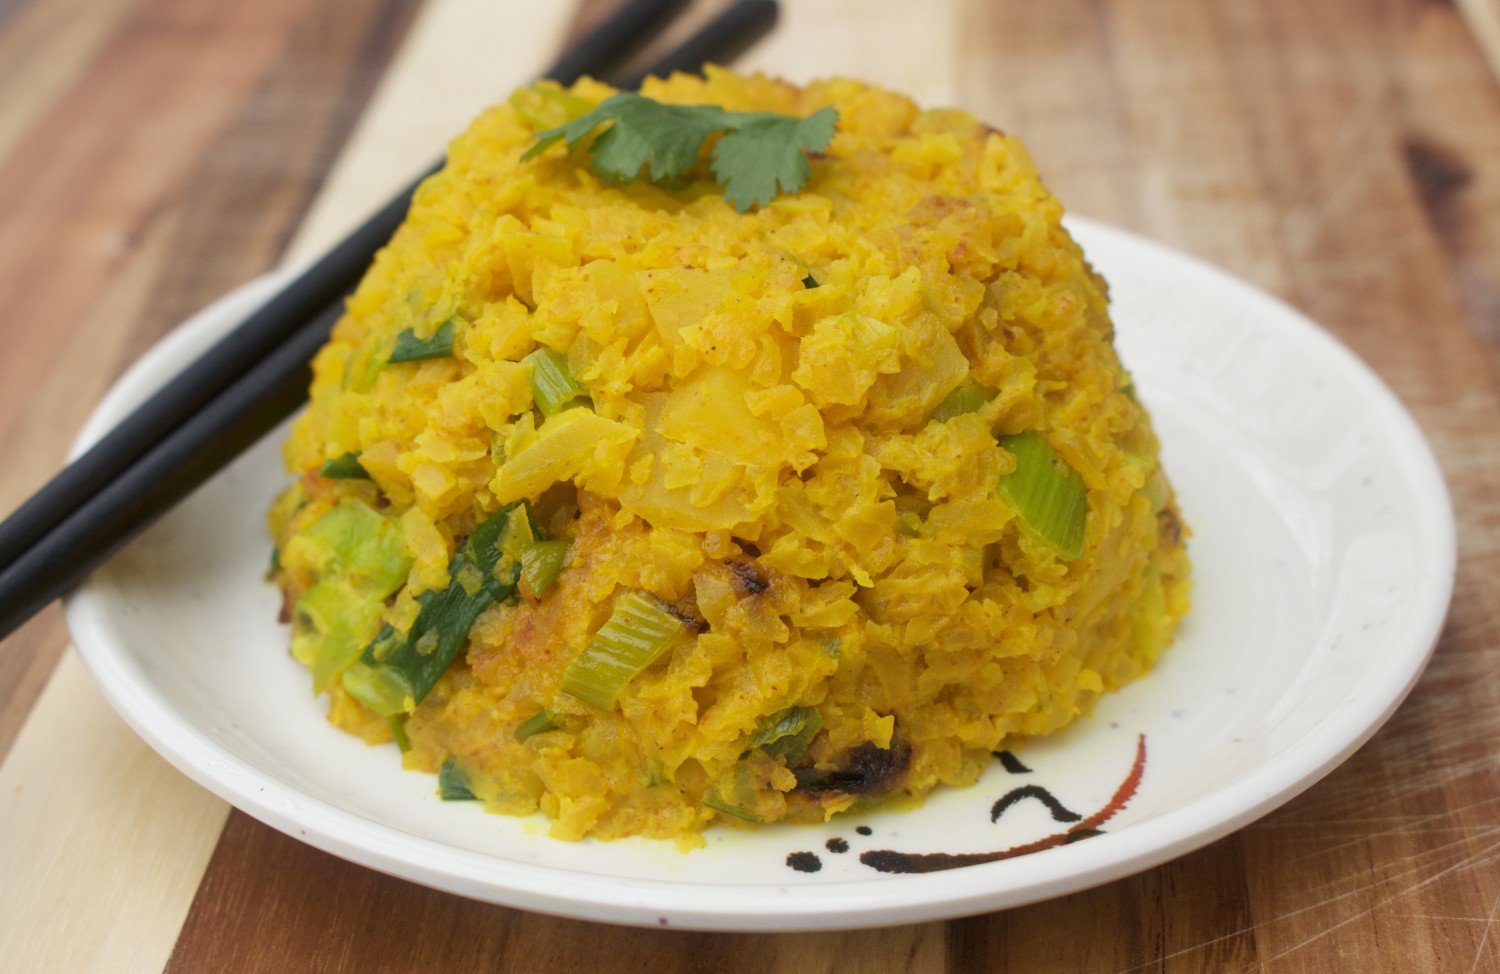
Today’s recipe comes from an authentic cookbook covering all cuisines throughout the Far East.  Many of the recipes take many hours to prepare, as the typical cooking procedures are low, slow, and long.  However, this yellow rice is quite the opposite.  Once I laid eyes on the original, grain-based recipe, I was determined to make it into an AIP-friendly dish.  I used riced rutabaga, as the FODMAPs in cauliflower are still quite bothersome to my gut, which is why I also replace the typical diced onions and garlic for a bit of green onion.  Overall, I am thoroughly pleased to say both the texture and taste of this dish is very satisfying.  I served mine with Jo Romero’s Lemon Chinese Chicken, which is the perfect addition to make the ultimate, comfort food kind of meal.  If you want to get truly authentic with your meal, serve your rice with sliced hard boiled egg, banana, roasted cashews, and a few coriander sprigs for garnish.  Last but not least, put everything in a bowl and slowly devour with chopsticks and a big smile on your face, because let’s face it, it’s just that good.

IMG_0925

Yellow Lebanese Rice

Print Recipe

(Serves 4-6) 

Ingredients

  • 1 large rutabaga (4-5 cups total)
  • 1 tbsp turmeric, ground
  • 1 cup coconut milk, full fat
  • 1 tsp sea salt
  • 1 cup green onion, chopped
  • Cilantro, fresh
  • 1 tsp lemon zest
  • 2 tbsp coconut oil

Process

  • Peel rutabaga, cut into chunks, and pulse into rice-size pieces in a food processor.
  • Heat coconut oil in a large skillet over medium-low heat, stir in the turmeric powder until fragrant and then add in riced rutabaga.
  • Sprinkle with sea salt and toss around until the rutabaga is fully coated in the turmeric, allowing to sweat for 2-3 minutes.
  • Sprinkle in chopped green onion, turn the heat to medium-high, and pour in the coconut milk, allowing the mixture to come to a simmer and cook for another 2-3 minutes, then cover the pan and allow to cook a remaining 4 minutes until coconut milk has evaporated and rutabaga is soft.
  • Remove and garnish with chopped cilantro.


1 Corinthians 13:1 “If I speak in the tongues of men or of angels, but do not have love, I am only a resounding gong or a clanging cymbal.”
Filed Under: AIP, autoimmune friendly, ketogenic, low carb, Recipes, vegan, vegetables, Vegetables and Sides

Chronic Lyme & Culinary Arts: 2017 New Year’s Update

January 5, 2017

Hey ya’ll! It feels like centuries since I’ve been dable to give Beyond the Bite some love and attention. During the school semester, it is hard to keep up with writing new posts, sending out newsletters, and continually posting on all of the various social media channels. However, after two weeks away from home, and less than a week left for winter break, I decided it was time to give everyone a New Year’s update before all the craziness begins again.

2016 undoubtedly came with a lot of surprises, challenges, and blessings. As far as school goes, I successfully made it through all of my classes as an honor student, and just have 11 more weeks to go before I am an official graduate. This next and final quarter will consist of A La Carte, Capstone/Portfolio (a business class), and Art Culinaire. Outside of school, I have started to do quite a bit of catering with my boyfriend on the weekends, while I also am working on my own business concept for the near future. I also make personalized meal plans for individuals at my boyfriend’s gym, Fit Force, and hope to extend that service through my blog this year as well. Health wise I have seen slow, subtle, but undeniable progress in my body. I was able to connect with two Lyme doctors here in TN; Dr.Bernui and Dr.Kalb, both of which have been great resources amd support for me. I have continued doing the PK Protocol, though I am slowly putting the IV’s to an end, as I am persuing a new treatment for the two main issues that still arise on a daily basis; allergies and chronic infection. More specifically, Mast Cell Activation Disorder and a chronic yeast infection, both of which go hand and hand, and are ultimately what we are striving to completely fix. While I have found both natural remedies and conventional medicine treatments to help keep symptoms somewhat at bay on a daily basis, healing the underlying cause is still a work in process. That being said, regular chiropractic adjustments and acupuncture significantly help me get through my weeks, especially when my immune system is being rebellious and decides it wants to flare. This past year I also did many series of BrainCore, a neurofeedback training therapy to regulate brain waves that have been altered throughout one’s lifetime. BrainCore Therapy is used for a wide variety of symptoms and conditions, including anxiety, depression, sleep disorders, PTSD, chronic pain, ADHD, and migraines. We focused mainly on sleep, and I am happy to say almost 12 months later, insomnia is no longer an issue. When I first moved to Nashville, TN more than a year ago, getting through a day was still very difficult. My personal schedule was still pretty regimented, as there was quite a bit that had to get done during the day for my body, simply to make it through. It did cross my mind whether I should think about alternate methods to soothe my pain and discomfort. My friends had told me about all the CBD products, such as those from finestlabs.com and similar companies, which were available these days and I had heard about them myself as well. It was an idea that I have always pondered, my pain was always there after all. However, this began to lessen month by month as various treatments continued and I got more adjusted to living on my own. Looking back to January 2016 and comparing it to today as I write this, I see a significant difference in my daily life, especially in what my body is able to handle. While afternoon naps are sometimes necessary, I am able to work out on a regular basis, hardly have to use my stool during culinary classes, being able to drive to all of my various medical-related appointments, cook my own meals, and keep up with my social life, all without going backward. Overall, While I could probably go on forever about the ups and downs that are my health, now it’s time to focus on the more exciting things about my life.

As the strength and vitality of my body has increased, so has the degree of which I am able to thrive in my daily life. It’s hard to start from January 2016 and list all of my accomplishments and all of the things that have taken place to put me where I am today. However, easily one of the biggest events was meeting my now boyfriend, Robbie, whom I met in culinary school and will be posting about in the near future. Meeting him expanded my culinary endeavors and introduced me to many people that I am now blessed to call my friends. In short, he is very hard working and challenges me in the best way possible, all while loving, caring, guiding, and supporting for me on both the very best days and the very worst days. I could probably go on for awhile, but for the sake of everyone reading this, let’s just say I am one lucky lady. Over the past year I’ve also made a number of personal accomplishments, including being a worker at the Nashville Food and Wine Festival, where I got to work along side some pretty awesome chefs, including Sean Brock (hence the silly picture above). If you are unsure of who this man is, go watch Mind of a Chef, like now. Over fall break I was also able to take my first non-family related road trip to Florida with my great friend Cera. We spent a few nights in Destin and soaked in as much salt and sun as possible. More importantly I was able to do half of the driving and felt completely fine after doing so. In fact, I got out of the car antsy and wanting to run a few laps around my friend’s house. Accomplishment? I think so.

Overall, the past year has been a whirlwind of events. Somedays I feel like I never stop moving and for these reasons, I have not been able to post on Beyond the Bite as much as I wish. Due to being so busy, I typically use my days off as ones for rest and recovery, as I have to be very careful not to overburden my body. However, despite all of this, you can be sure that I haven’t forgotten about ya’ll, and if anything, you are the ones who push me to keep moving forward towards my dreams, both in and outside of the kitchen. In the end, I hope this post helped everyone get a little glimpse into what life is currently like behind the scenes at Beyond the Bite, and served as encouragement for the rest of those battling life with a chronic illness. From day one, God has, and continues to be my ultimate source of strength, and He is able to do more in your life than you could ever imagine. So, stay hopeful my friends, keep those chins up, and stick around for some of the things I have in store for the new year.

Psalm 31:24 “Be of good courage, And He shall strengthen your heart, All you who hope in the Lord.”

Filed Under: AIP, chronic illness, chronic lyme, chronic lyme disease, Personal Experiences

Paleo Vanilla Caffe Latte (Keto, AIP-Friendly, Vegan)

December 13, 2016

img_2808

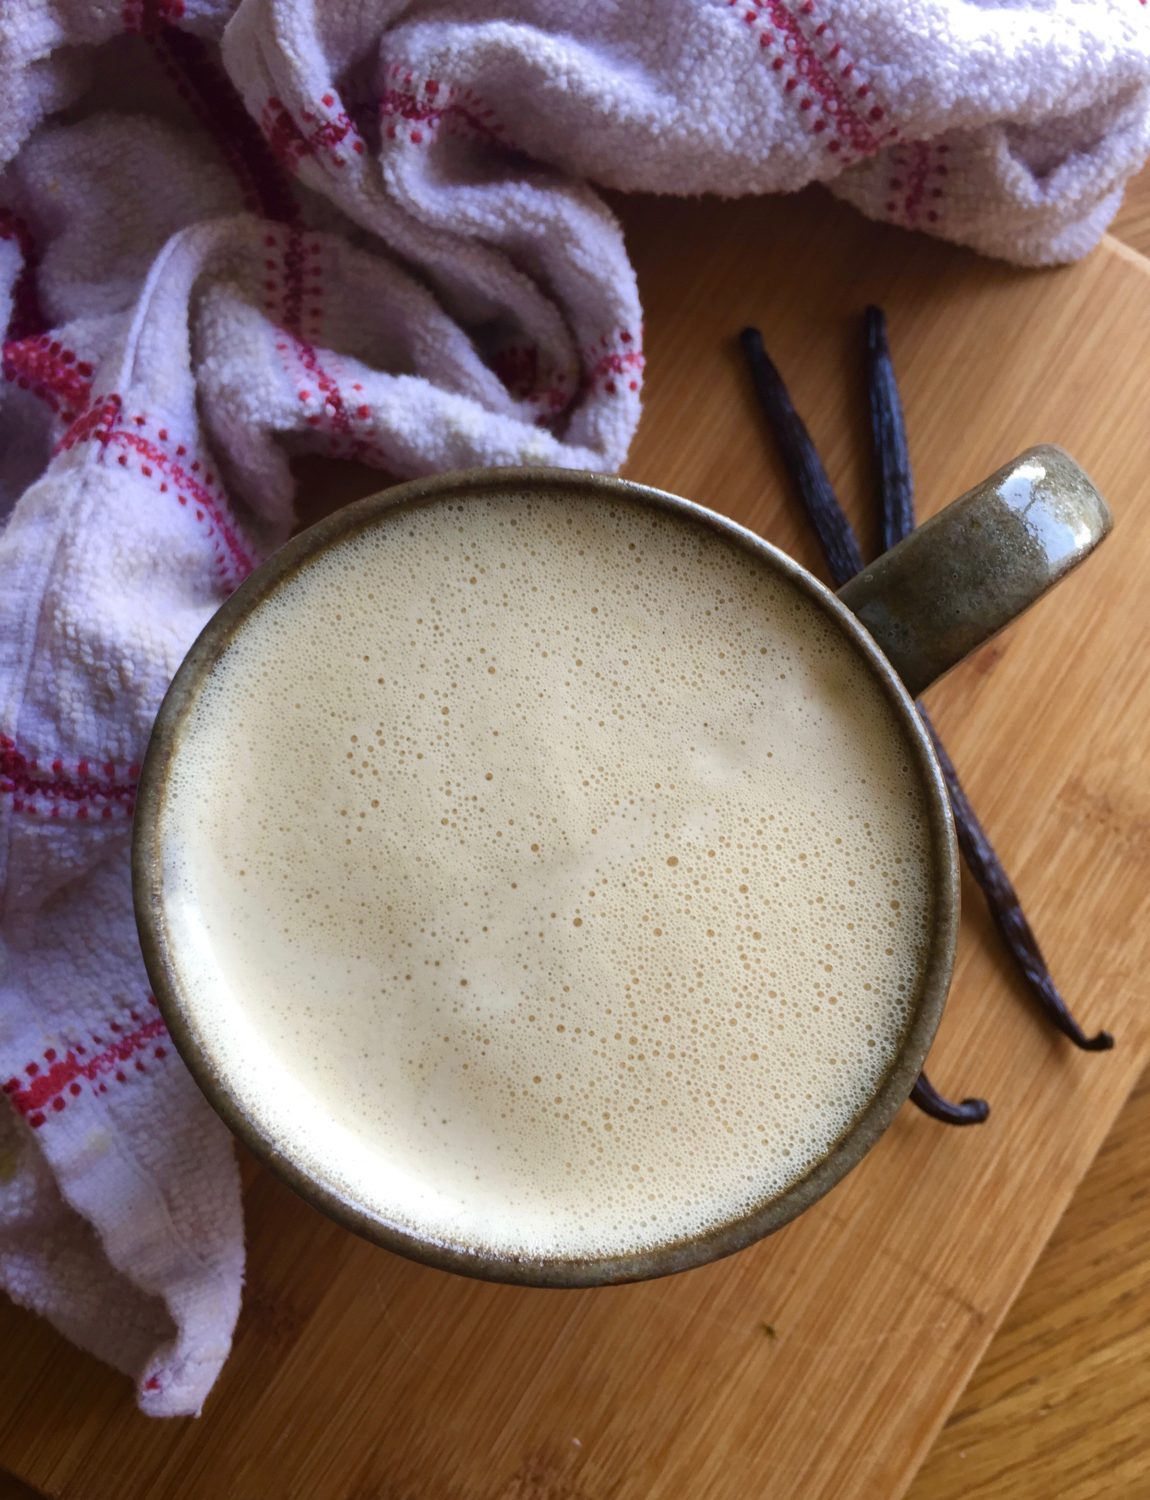
Christmas is here, and so is the cold weather.  Actually, I take that back.  Nashville, TN is known for having bi-polar weather, and while this past weekend it got down to a low of 15 degrees, today it was a high of 55…Not exactly what I call “Christmas weather.”  As someone who grew up in CT, I never realized how festive snowfall made this time of year feel.  Now, with living in the south, half of the time I practically forget it is even December.  While I don’t enjoy the coldness that comes with snow fall, I am (just a tiny bit) hoping that when I go back to CT for winter break, it snows and becomes a “white Christmas” after all.  That being said, with all the cold weather comes the desire for hot drinks.  This past year I have been able to reintroduce my beloved friend, coffee.  It’s been well over five years since I had my last cup, my last cup literally making me feel like I was going to die due to an extreme nervous-system overload.  However, after taking a break and healing over the years, I am now able to enjoy it a few times per week at most, bulletproof being my favorite (butter + coffee = heaven).  With my love for this amazing drink, I decided to start playing around with the concept of butter and coffee, making a sweet variation that can be served both hot and cold.  The catch to serving it cold is the use of Tinstar Food’s ghee.  Unlike butter, there are no milk proteins in ghee, and therefore no weird separation that occurs.  The other catch is that all ingredients must first start out as room temperature, and then can be chilled either in the fridge or by ice.  Overall, both variations are equally tasty.  However, if you are anything like me, there is nothing like a hot mug on a cold winter day.  Stay warm my friends!

img_1823-2

Vanilla Caffe Latte

Print Recipe

Process
(Serves 1-2)
Ingredients

  • 12 oz coconut milk, full fat
  • 6 oz hot or cold coffee (or) herbal AIP coffee
  • 1 oz maple sugar (or) xylitol
  • 1 vanilla bean
  • 1 oz Tinstar Food’s brown butter ghee
  • 1 tbsp vanilla extract (or) vanilla powder for AIP

Process

  • Split vanilla bean down the middle and place in a sauce pot a long with the coconut milk.
    Bring the milk to a boil then remove from the heat, allowing the mixture to sit for 10-15 minutes and infuse with vanilla flavor. Remove vanilla bean after infusing.

(Cold version)

  • Allow coconut milk, ghee, and coffee to come to room temperature, then blend with sugar and vanilla extract until frothy. Serve over ice.

(Hot version)

  • Brew 6 oz of coffee and place in a blender a long with the hot coconut milk, maple sugar, ghee, and vanilla extract. Blend until frothy and serve in a mug.


Galatians 4:4-5 “But when the fullness of the time had come, God sent forth His Son, born of a woman, born under the law, to redeem those who were under the law, that we might receive the adoption as sons.”

Filed Under: AIP, autoimmune friendly, ketogenic, no bake, nut free, paleo

Calming Essential Oils to Fight Stress & Anxiety

November 29, 2016

o-MEDITATION-facebook

We all have been there. Life is busy busy busy, and you’re exhausted. Yet when you go to sit down and relax, you can’t. It seems impossible. Your heart keeps racing, and it feels like you are internally buzzing from all of the activity. Though not always activity induced, I experience this quite a bit for a variety of reasons that other Lyme individuals can relate to. This has led me to try and find the best essential oils to help calm my mind and body. Some also find it useful to practice yoga so they can take time to effectively relax as well, you can learn more about that in the article here. Whether you call it anxiety, nervousness, or simply an internal, unrested feeling, we all can relate to how rushed and busy the holiday season can leave us feeling. Therefore, I thought there would be no better post for the new year then to talk about the uses and benefits of essential oils, today being those that specifically help for stress and anxiety. Whether it be internal or external stress, these essential oils can help your body combat this inevitable aspect of life. Lavender, ylang ylang, rose, melissa, orange, cederwood, hinoki, yuza, and hong kuai oils helps with calming agitation and hyperactivity, while lavender, bergamot, and valerian specifically are especially useful for inducing sleep. Some may also turn to alternative medicine options like medical marijuana, but this could cause an issue if you’re in need of passing a drug test

You may also take the help of diffuser sticks, also known as aromatherapy vape pens. These ‘sticks’ use a combination of water, vegetable glycerin, and essential oils. When heated, this creates a cloud of aromatherapy vapor. Fragrant oils like orange, cedarwood, lavender, and bergamot can either be defused in the air or, inhaled directly using a vaporiser, or applied topically. They can also be massaged onto the body with the use of a carrier oil, or dissolved into Epsom salts for a relaxing bath.

Calming Essential Oils

Lavender oil reduces both internal and external tension. It contains powerful antidepressant, and anti-inflammatory properties, along with being helpful for inducing sleep and lowering blood pressure. Studies have shown that the use of lavender oil before bedtime has increased the quality of individual’s sleep due to lowering the nervous system’s activity. For those with sleep disorders, it has been shown to lift their mood.

ylang-ylang

Ylang ylang oil comes from the flower off of the ylang ylang tree native to the rainforests of Asia. It has been shown to help those struggling with depression, high blood pressure, and sleep issues, by not only relaxing the body from the inside out, but also helping one feel more joyous. Anxiety, and fear associated with this feeling, are also combated with ylang ylang, making it a great oil to add to your epson salt bath. Overall, studies have shown individuals who use this oil to have a greater since of calmness and relaxation.

Rose oil is known for boosting one’s self confidence, which thereby reduces depression. It also helps strengthen one’s nerves and balances out hormones responsible for both physical and mental health. Studies have shown that the use of rose oil decreased the activity of the autonomic nervous system, leaving individuals more calm and relaxed.

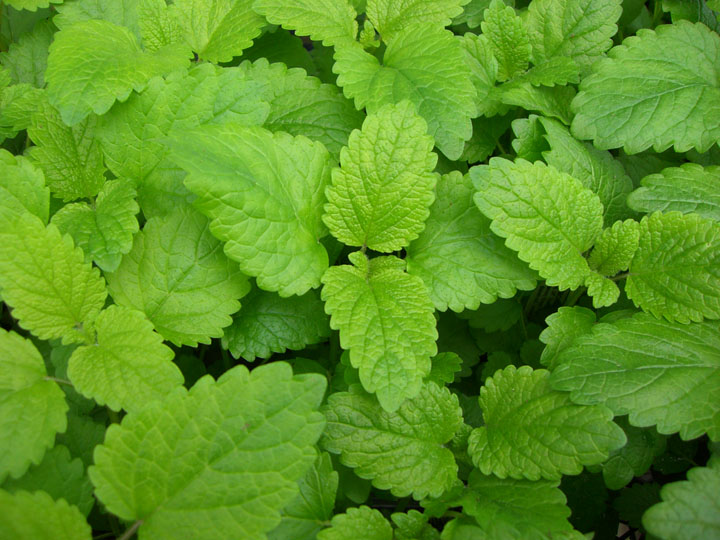
Melissa oil comes from the mint family and has a lemon like scent. It helps boost one’s mood and bring on pleasant feelings and sensations. Not only does it sooth inflammation in the body, but it also acts as a sedative oil, helping one feeling calm and at peace with life. It is said that soldier’s of war would use melissa oil to combat PTSD. It also naturally lowers blood pressure, a bi-product of being stressed internally and externally. Overall, the use of this oil to combat stress and anxiety dates all the way back to the Middle Ages, where it was also used for indigestion. It’s relaxing qualities are strengthened when blended with other herbs such as valerian and chamomile, and studies have shown that 81% of patients who used it reported better sleep.

lemon-balm

Orange oil is known to be relaxing, lowering inflammation and feelings of anger, anxiety, or depression. Studies have suggested that this oil can be highly beneficial in lowering cortisol, the hormone responsible for the state of one’s internal and external stress load. High cortisol has many negative effects on the body, making orange oil a great treatment option.

Cederwood oil relieves tension throughout the body, lowering anxiety, and helping one obtain quality rest, as the scent is known for inducing the production of serotonin, an important hormone that is later converted into melatonin. This makes it also great for those suffering from depression.

Hinoki oil comes from the Japanese cypress tree. Not only does it relax the mind and body, but it helps create a sense of happiness and peace.

Much like orange oil, yuza is a citrusy oil and has many of the same uplifting qualities. It lowers anxiety, nervousness, and depression. The oil is also great a rejuvenating the body despite having a calming effect on the mind.

Hong Kuai essential oil is derived from trees in the rainforests of Taiwan. It is great for boosting one’s confidence and helping them have a more positive outlook on life. Hong Kuai also lowers stress and overall helps one relax, while also helping relieve minor agitation of the mind.

*To learn more about where to purchase essential oils you can trust, as well as learning reward points and getting the most bang for your buck, be sure to check out my Young Living link here.”

Psalm 119:143 “Trouble and anguish have overtaken me, Yet Your commandments are my delights.”

Filed Under: autoimmune, autoimmune disease, essential oils, Food and The Human Body

Spiced Sweet Potato Pie Bars (AIP/Paleo, Egg Free, Coconut Free – Featuring Otto’s Cassava Flour)

November 22, 2016

img_1859


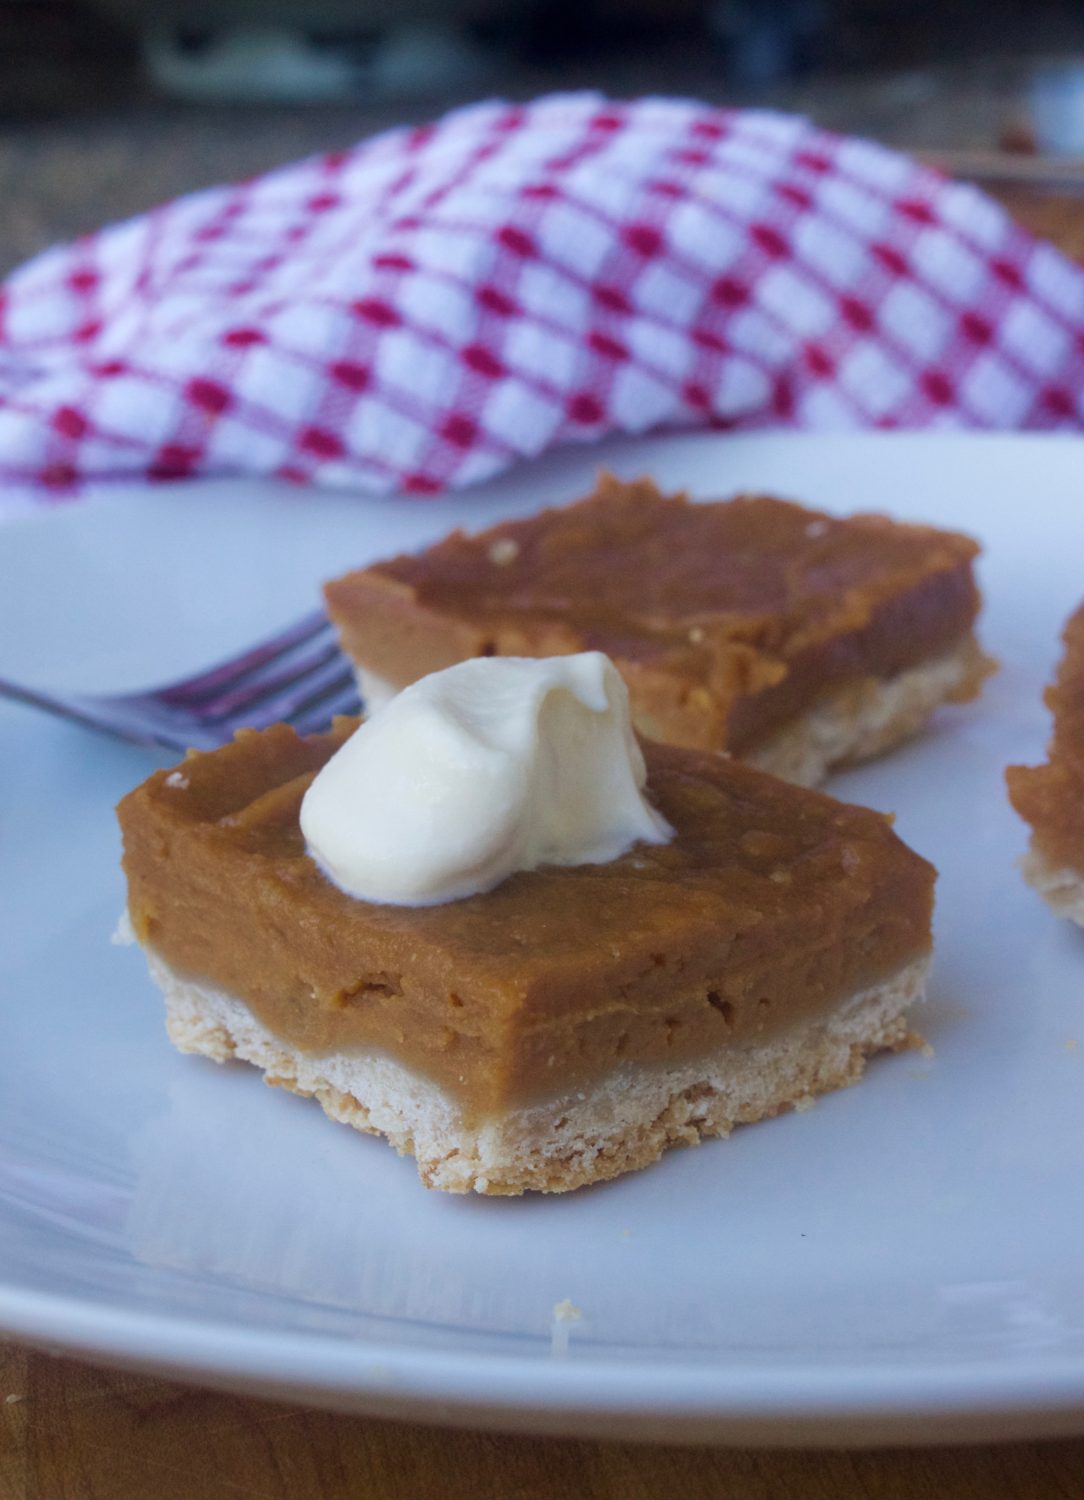
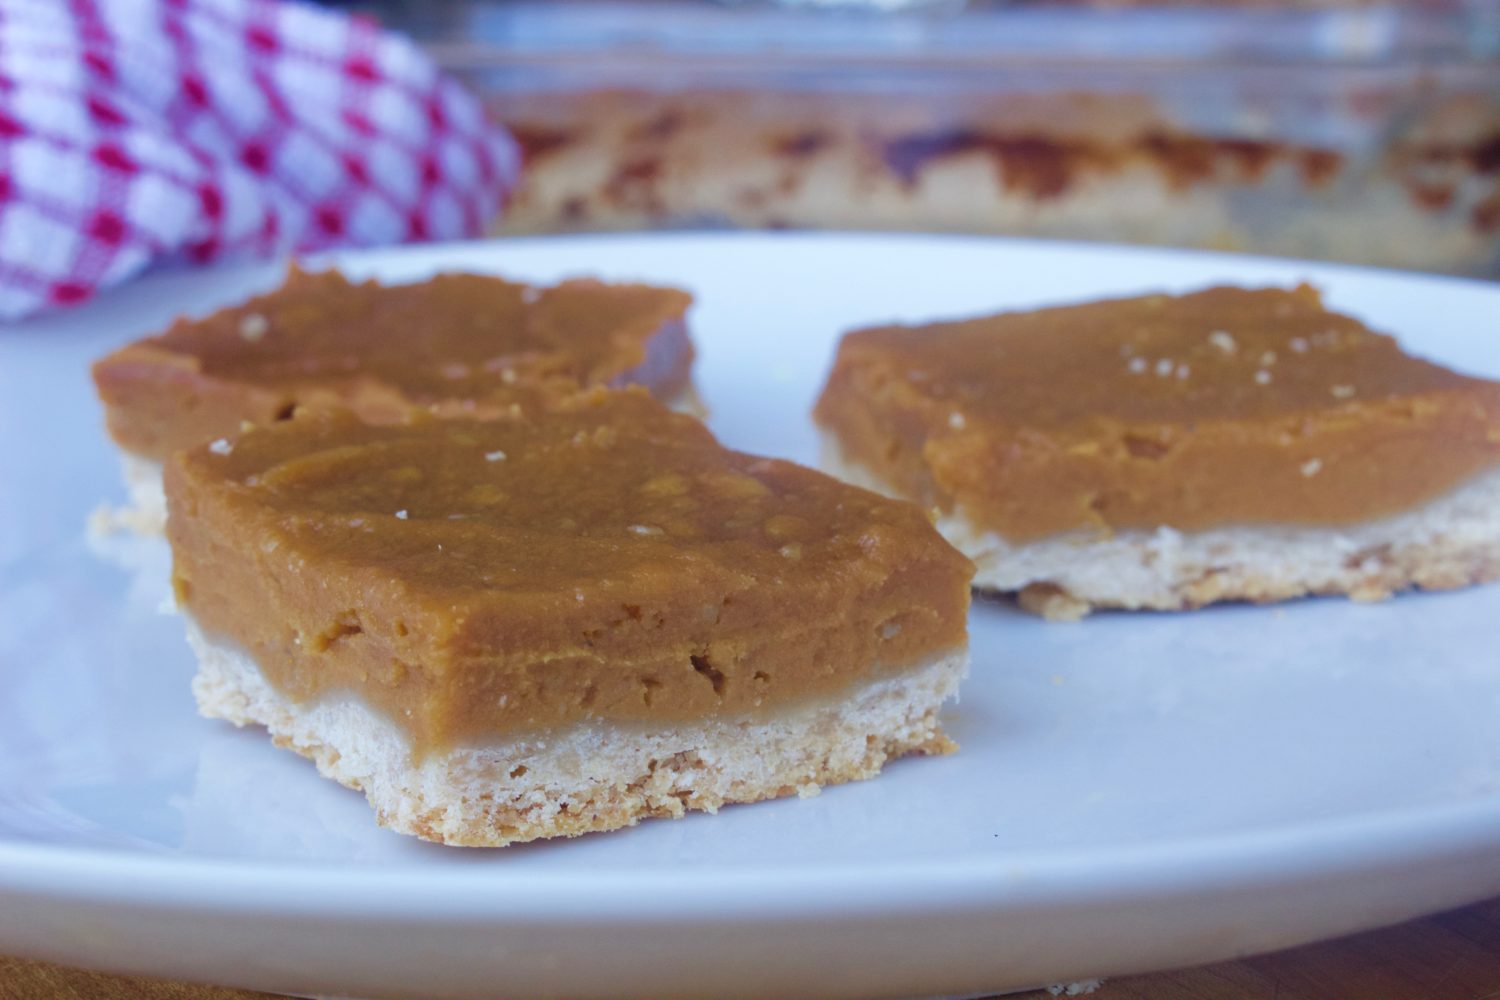
It seems like it has been forever since posting a recipe on here.  My life has been pretty crazy, as I am in my second to last quarter of culinary school.   I have quite a few things brewing for Beyond the Bite, some of which include incorporating more of “Chef Gabriella” (a name change you may have noticed on Instagram) into the site.  It’s incredible that I have been in Nashville just over a year and am almost through with school.  Oh how time flies!  Speaking of time, last year at this time I posted my Savory Rutabaga Gravy, a recipe both non-AIP, Keto, or Paleo eaters at my Thanksgiving table absolutely devoured.  This year, I chose to go with a sweeter dish that fit the coconut-free, low-histamine guidelines.  If you are like me and deal with a Mast Cell Activation Disorder, navigating the holiday season can be somewhat difficult.  Cinnamon is everywhere you turn, and a roasted turkey that takes a few hours to cook can leave your body in a major histamine flare.  Therefore, I chose to turn what was originally a pumpkin pie recipe, into a spiced sweet potato pie bar.  Of course, if histamine is not an issue for you, feel free to add spices of your liking and use canned pumpkin in place of the sweet potato.  In regards to other recipe notes, you will also notice that for this recipe a scale is needed, as measuring the pie crust ingredients by weight results in a much more consistent dough, while the filling is much more flexible.  Overall, the recipe is not necessarily an incredibly sweet one. Therefore, if you are looking for a true “sweet treat,” I would recommend adding an extra 1/4-1/2 cup of granulated sugar of choice into the filling.  The addition of coconut whipped cream also takes the bars to the next level by adding just a bit more of decadence.  With all that said, I must get back to creating the smallware equipment list for my future business.  I hope ya’ll have a great Thanksgiving!

img_1852

Spiced Sweet Potato Pie Bars

Print Recipe

(Serves 10-12)

Basic Pie Dough

  • 6.3 oz Otto’s cassava flour
  • 4.8 oz non-hydrogenated palm shortening, chilled (or) butter
  • 1.2 oz water, ice cold
  • 3/4 tsp sea salt
  • .15 oz maple sugar (1 tsp)
  • .15 oz vanilla extract (1 tsp)

Filling Ingredients

  • 1, 15 oz can of pureed orange sweet potato
  • 1 cup pureed white sweet potato, baked
  • 1/2 cup maple syrup
  • 1/4 tsp sea salt
  • 1 tbsp ground ginger
  • 1 tbsp vanilla extract
  • 1/4 cup maple sugar (optional – sprinkling on top before baking)
  • 1/4 cup cold water
  • 1 tbsp gelatin (mix with water and add to food processor at the end)

Process

  • Preheat oven to 350 degrees
  • Cut shortening into chunks and place in the fridge to chill.
  • Combine cassava flour, sea salt, and sugar in a bowl.
  • Cut in the shortening by hand or with a dough cutter until pea size, then add in vanilla extract and cold water, mixing until just combined.
  • Grease a 9×13″ baking pan and press dough into the bottom in an even layer.
  • Poke holes in the crust with a fork and pre-bake for 15 minutes.
  • To prepare the filling, poke the white sweet potatoes with holes and bake in the oven until fork tender.
  • Once sweet potatoes are baked, peel off the skins and measure out 1 cup.
  • Place white sweet potato, pureed orange sweet potato, maple syrup, ginger, sea salt, and vanilla in a food processor, blending until smooth.
  • While the food processor is running, stir together water and gelatin in a small bowl and add it to the food processor.
  • Pour the filling into pre-baked crust, sprinkle with maple sugar if using, and place in the oven, allowing it to bake for 1 hour.
  • Remove from the oven and allow to cool before slicing and serving with coconut whipped cream.


Psalm 1:1-2 “Blessed isthe man Who walks not in the counsel of the ungodly, Nor stands in the path of sinners, Nor sits in the seat of the scornful; But his delight is in the law of the Lord, And in His law he meditates day and night.”

Filed Under: AIP, autoimmune friendly, autoimmune paleo, coconut free, Sweets and Snacks

Paleo “Cornbread” Muffins For One by Kaylie of Paleo & Gluten Free Eats

November 3, 2016

unnamed

unnamed-1

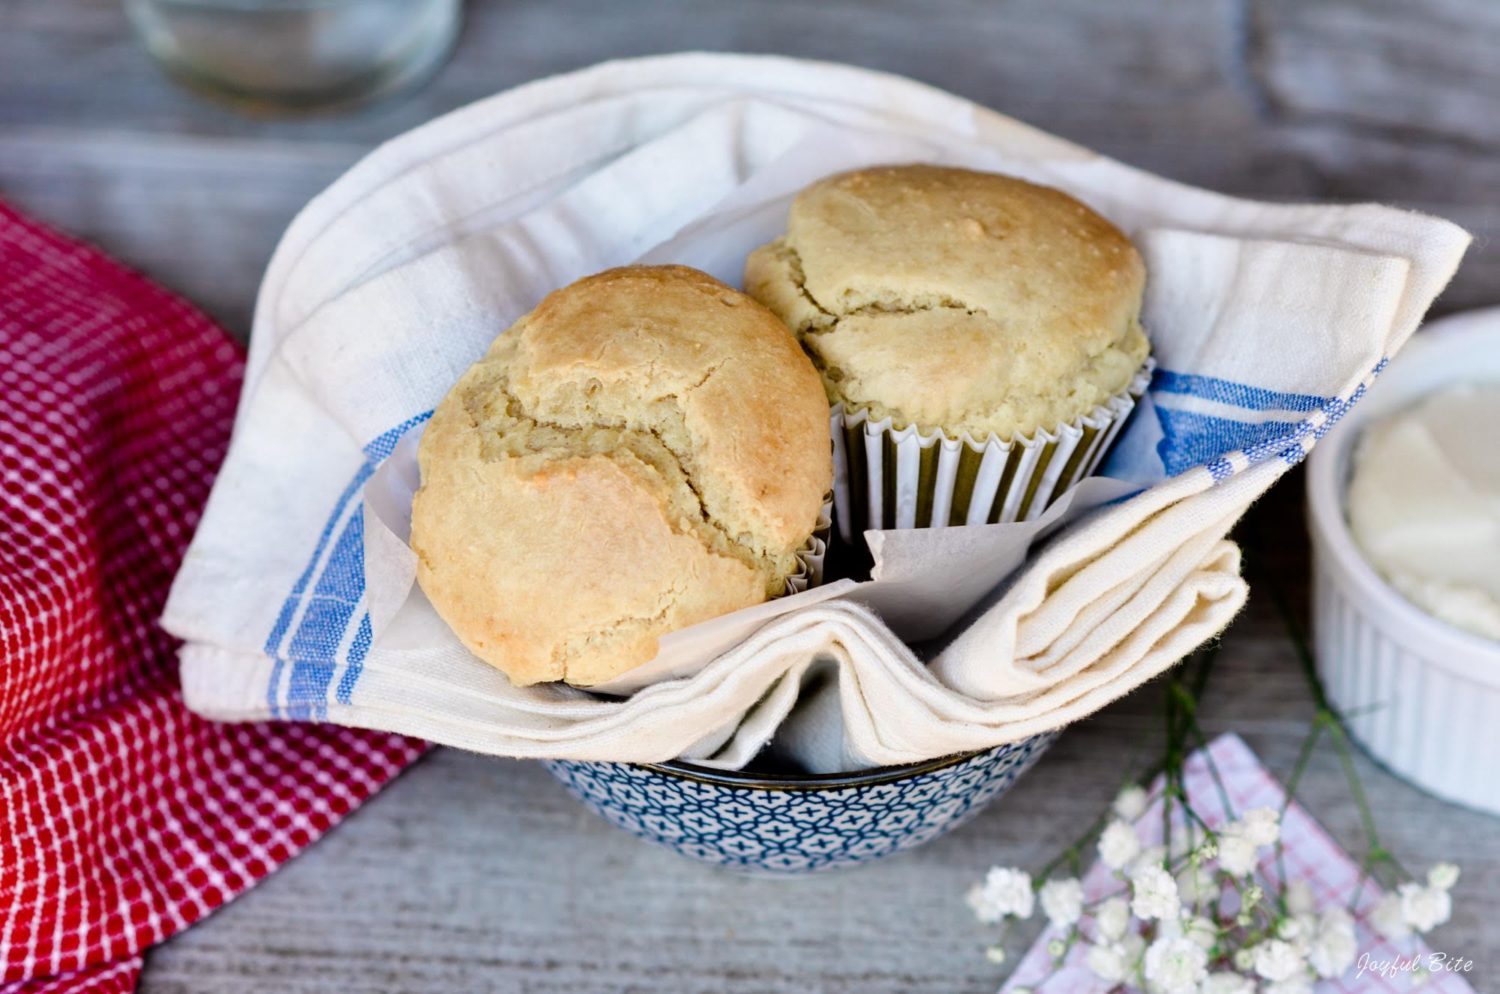
Hi guys! I am so excited to share with you all this recipe for cornbread muffins on Gabriella’s beautiful blog. I absolutely love everything Gabriella is doing here, she is incredible right? Beautiful food, encouragement, and lovely photos. I feel so honored to partner with Her and share my love for whole foods and yummy paleo recipes.  I know what you all are thinking… cornbread without corn? Impossible! Well, those were my sentiments when I first started eating paleo, but life isn’t complete without a slab of warm cornbread slathered in honey butter, so something had to change. I have made several different paleo cornbread recipes, experimenting and taste testing, but this one has to be one of my faves! I wanted to make a recipe that was easy and could be served to just one person. This cornbread muffin passed the test with flying colors and will be made over and over again. I shared these muffins with some friends and they were quickly devoured and had great reviews!  These cornbread muffins are light and fluffy, while still resembling that original cornbread texture. The inside of these muffins are so moist and perfect with melted butter (or coconut oil). My family had a cornbread recipe that we would make over and over again to serve alongside a bowl of hearty chili and I must admit, I used to miss those days since going paleo, but once I started baking without grains, I no longer miss it at all! Going paleo doesn’t mean that you have to miss out, it just means you have think creatively 🙂

45c4a4f7-e321-4a0f-8a09-f12625e924ca

Paleo Cornbread Muffins

Print Recipe

Prep Time: 8 mins
Cook Time: 20 mins
Makes: 2 muffins
Ingredients

  • ½ cup almond flour
  • ¼ cup arrowroot flour
  • 2 tablespoons non-hydrogenated palm shortening
  • 1 tablespoon coconut sugar
  • 1 egg
  • ½ teaspoon baking powder
  • ¼ teaspoon sea salt

Method

  • Preheat the oven to 350 degrees.
  • Line a standard muffin tin with two paper liners and fill the rest of the voids with ½ inch of water (to keep the pan from burning).
  • Combine all of the ingredients for the muffins in a blender or food processor and blend until the batter is completely smooth.
  • Evenly divide the batter between the two paper liners- you can use an ice-cream scoop for this.
  • Cook the muffins on 350 degrees for 20 minutes until slightly golden on top.
  • Serve with honey butter or jam.

Recipe Notes

If you aren’t a strict paleo eater like myself, you probably won’t think the muffins taste exactly like cornbread, but they sure are yummy!


About The Author: I am Kaylie, a 20 year old whole foods blogger. I ave fallen in love with the beauty of whole foods and the paleo lifestyle as I walk out of  auto-immune health disorders and  into vibrant health! Creating healthy paleo dishes is one of my passions and I am thrilled to share this love of holistic health and good food with others. You can read more about Kaylie HERE or connect through Facebook, Pinterest, or Instagram.


Romans 13:1 “Let every soul be subject to the governing authorities. For there is no authority except from God, and the authorities that exist are appointed by God.”

Filed Under: breakfast, coconut free, gluten free, grain free, paleo, Recipes, Sweets and Snacks

Sea Salt and Brown Butter Ghee Coconut Chips (Paleo, AIP, Keto-Friendly)

October 25, 2016

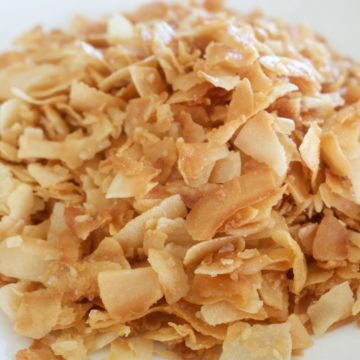
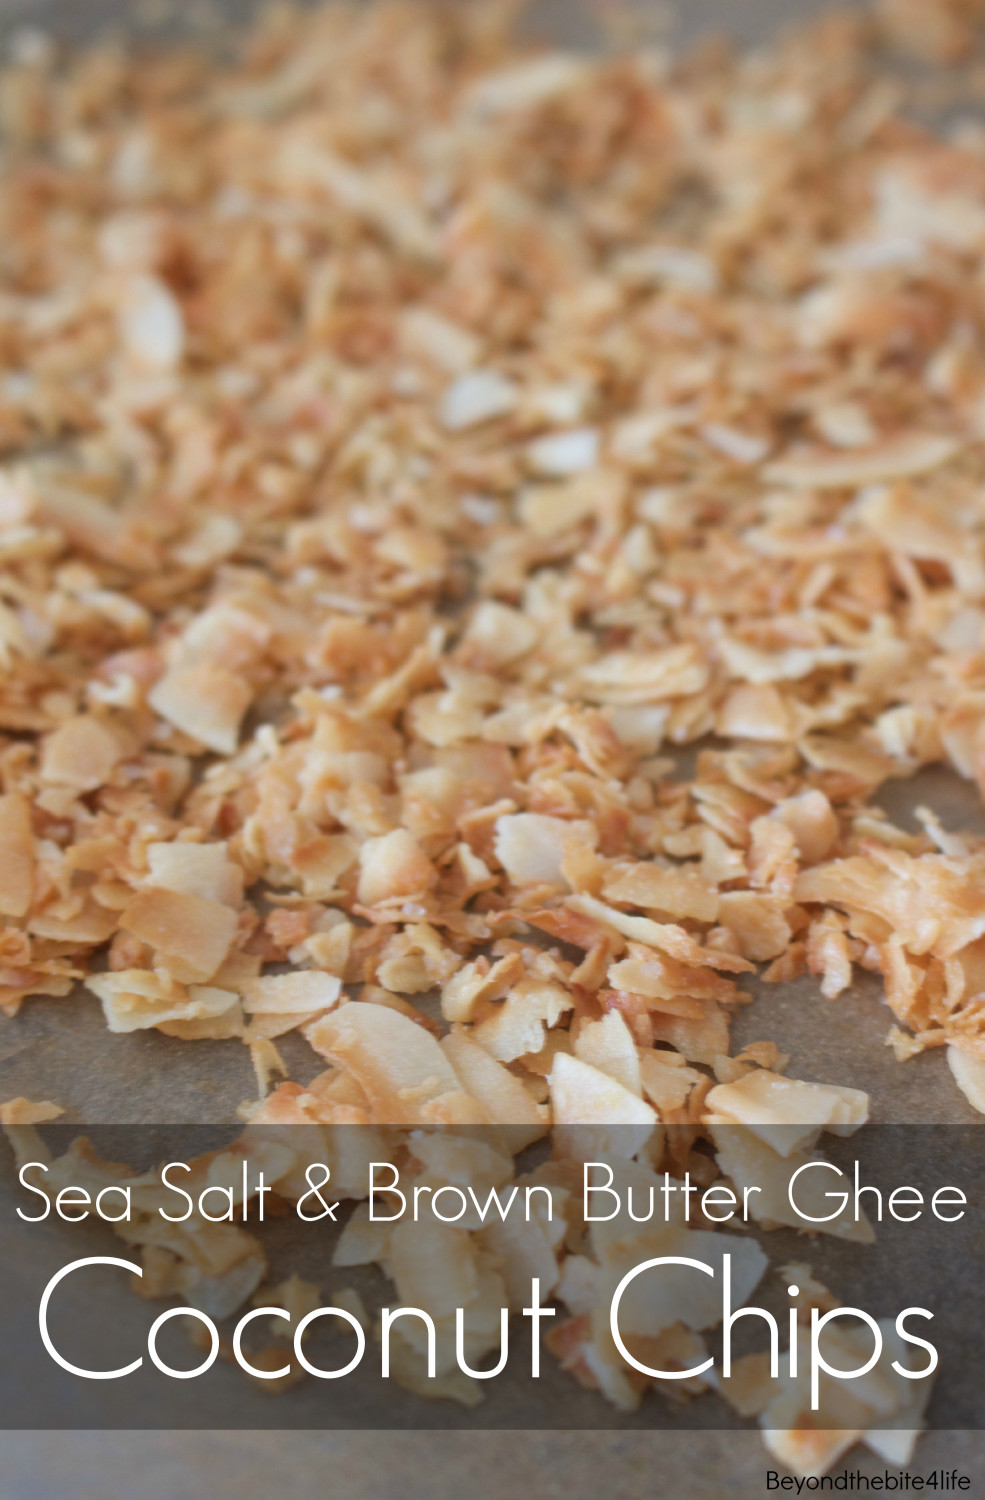
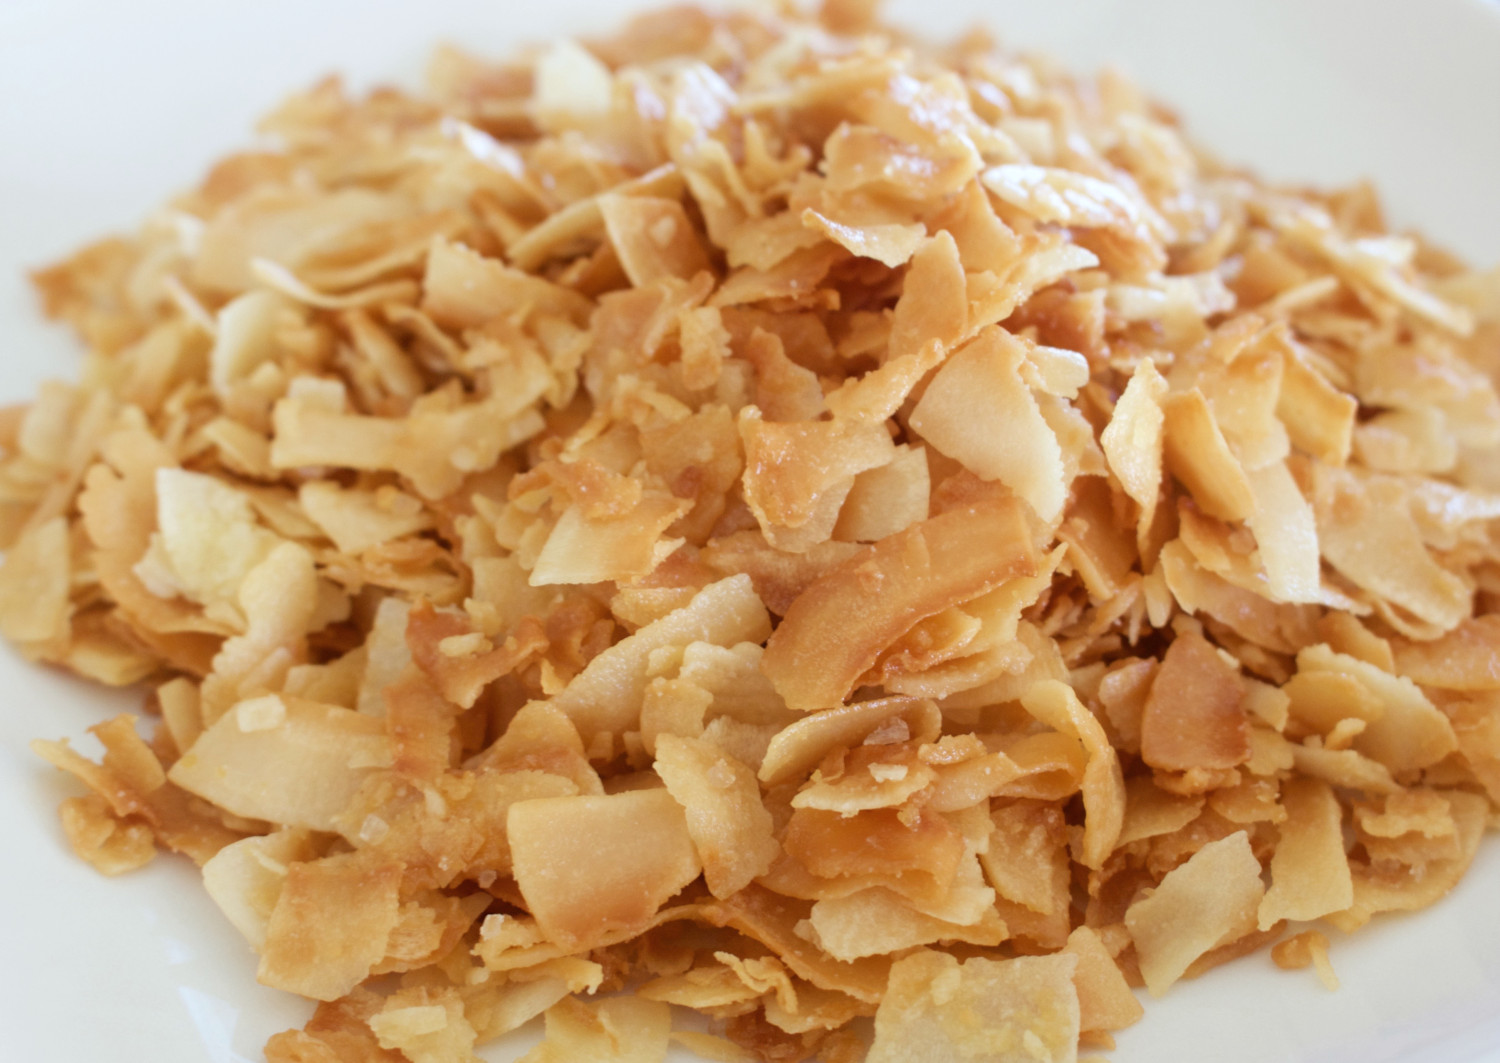
coconutchips2

This coming Monday is Halloween, and while I do not necessarily “celebrate” this day, it sure is a great excuse to share a candy-themed recipe with you all.  For some, Halloween comes with great temptations, as there is candy anywhere and everywhere.  Yet for others, those cravings for overly-sweet sweet treats has come and passed.  Regardless of what category you might fall into, these homemade coconut chips are the perfect thing to reach for when the candy is flowing all around you.  I’m not entirely sure what it is about this crunchy, and slightly sweet snack, but they are simply amazing.  If you have ever had Tinstar Food’s brown butter ghee, just knowing that it is in this recipe should be enough to convince you it is amazing.  Yet if you haven’t, let me just say that it is like liquid caramel that you can bake with, cooke with, or eat out of the jar sprinkled with sea salt, as it is simply that good.   However, if you add sea salt, a touch of maple sugar, and the crispy crunchy texture of toasted coconut to Tinstar’s brown butter ghee, not only do you have something that tastes good, but you have got one unbeatable flavor combination.  Of course, if you cannot have ghee, substituting coconut oil should result in an equally tasty coconut chip, as you still get the same beloved salty sweet flavor.  To make them keto friendly, simply use your favorite sugar substitute and go to town!

Coconut chips

Sea Salt and Brown Butter Ghee Coconut Chips

Print Recipe

(Yields 3 cups)
Ingredients

  • 3 cups unsweetened coconut flakes
  • 2 tbsp Tinstar Food’s brown butter ghee (or) coconut oil for AIP
  • 1 tbsp maple sugar (or) sugar substitute for Keto
  • 1/2 tsp sea salt

Process

  • Place coconut flakes, sea salt, and maple sugar in a bowl.
  • Melt ghee, poor over the dry mixture, and lightly toss until fully coated with hands.
  • Transfer coconut flakes to a parchment lined baking sheet and roast at 350 degrees for 5 minutes.
  • After 5 minutes check coconut flakes, and if they are not completely brown, cook for another 1-2 minutes, keeping an eye on them to make sure they don’t burn.
  • Once brown, remove from the oven and move parchment paper off the baking sheet so that the flakes cool faster and get crisp.

Recipes Notes

If you have not introduced ghee on the Autoimmune Protocol, simply substitute coconut oil.


Ephesians 5:19-20 “Speaking to one another in psalms and hymns and spiritual songs, singing and making melody in your heart to the Lord, giving thanks always for all things to God the Father in the name of our Lord Jesus Christ”


Filed Under: AIP, autoimmune friendly, Dessert, ketogenic, low carb, nut free, Sweets and Snacks

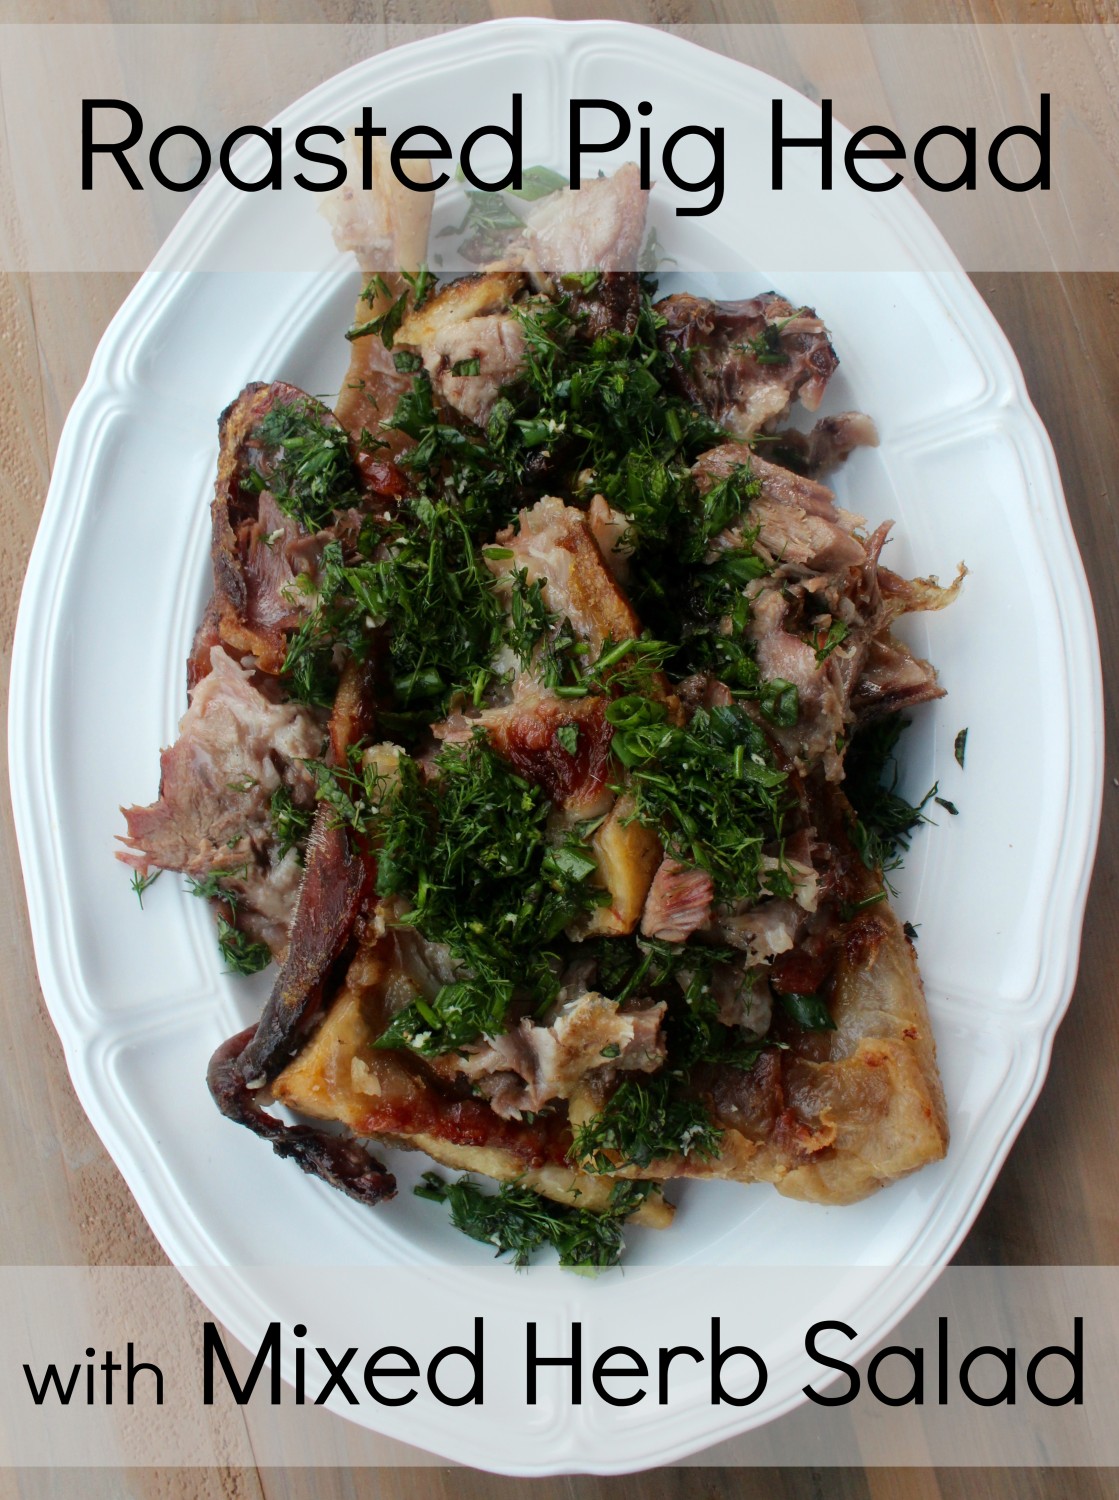
Crispy Roasted Pig Head with Mixed Herb Salad (AIP/Paleo, Keto)

October 11, 2016

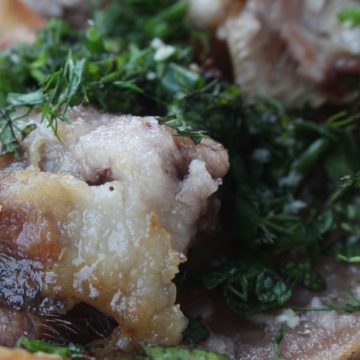
PigHead

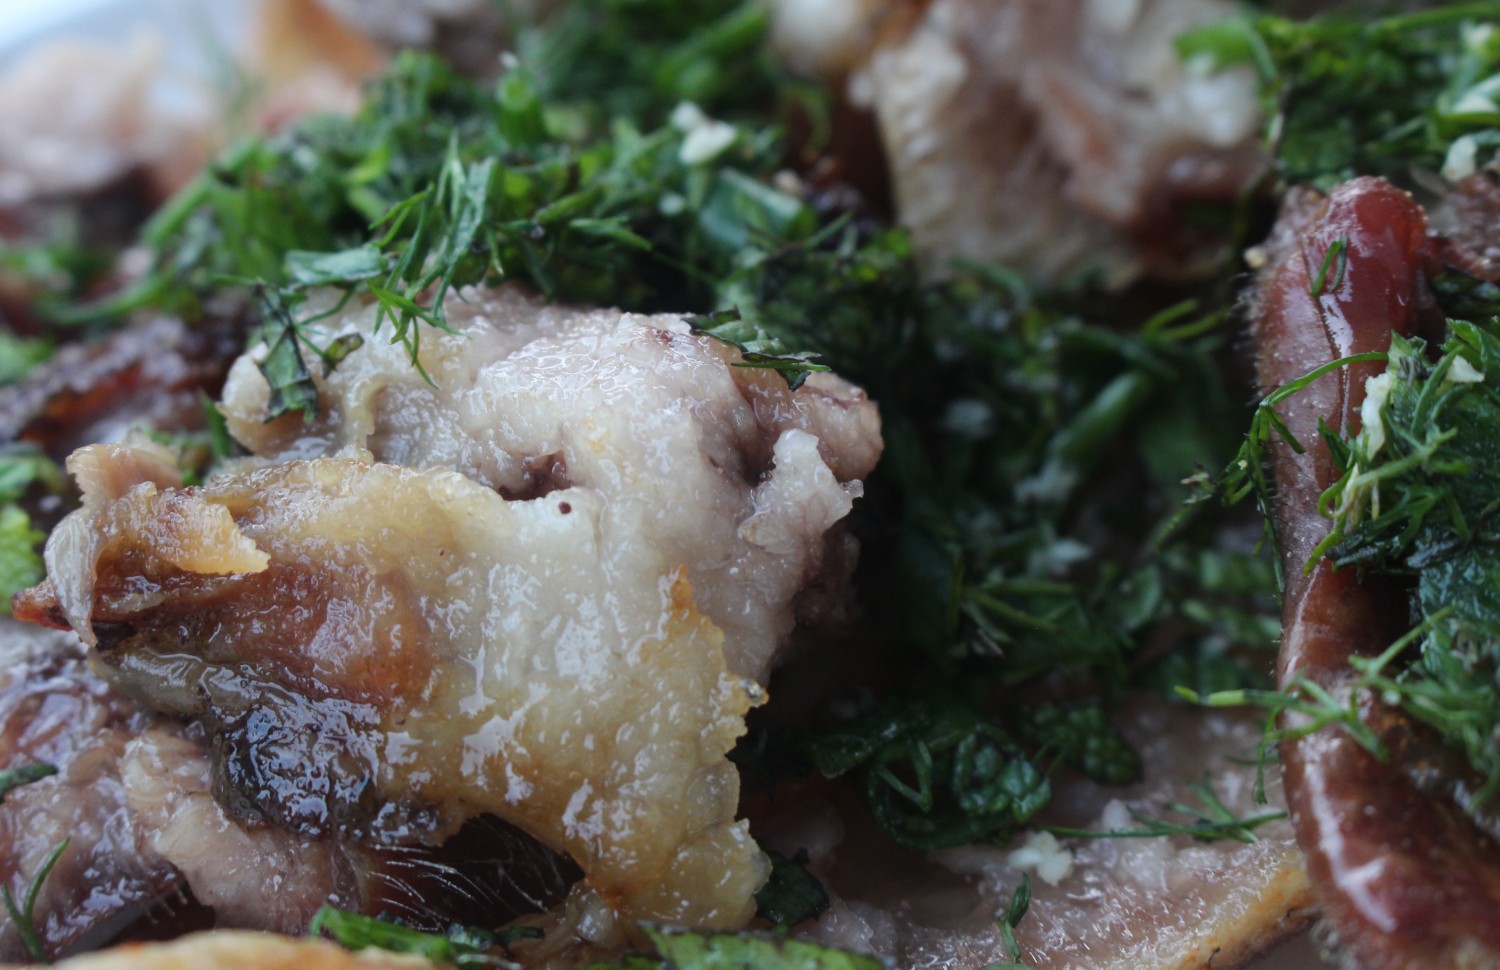
It honestly feels like a decade since my last blogpost.  A lot has been going on lately with starting back up with school while simultaneously coming down with an awful flu.  I’m working on writing up a post to update ya’ll on what my life been like for the past six months, but in the meantime, I decided to pass on a recipe I made last fall.  Yes, for everyone reading the title of today’s who was born and raised in America, with no blood lines anywhere else in the world, today’s recipe may leave you gagging, with wide eyes, or in just plain rebellion of reading on further.  Really, I can’t say anything to that except for that you are simply missing out.  Yet if you are one of the individuals who just so happens to have an open mind, or are simply too intrigued by today’s recipe that you are making yourself continue to read, then high 5’s to you.   Much like any organ meat recipe, forget what the term “head” means, rather, just think of it simply as another part of the pig that we should (yes, should) be eating.  Not only because it contains some of the most delicious, succulent meat on the pig, but because in order to respect the whole animal, everyone in the world should be eating nose-to-tail.  Of course, this is far and few between here in the U.S., however, pig roasts (i.e. the whole pig, head and all) are quite popular in Caribbean, Cuban, Puerto Rican, and Hawaiian cuisine (to name a few).  Whenever I watch the Food Network and I see a pork roast, I am insanely jealous.  However, after our local farmer asked if I would be interested in the organ meat, head, and hocks from their heritage breed pigs, I simply couldn’t resist saying yes.  Of course, I chose to roast the head when my brother was away at youth group, as to avoid any extra gagging noises that may have filled the house.  That being said, if you, your family or friends are not entirely fond of the thought of eating “head,” cutting the meat into portions before serving is a great way to trick their minds into believing they are simply eating the most delicious pork roast they have ever tasted in their life.  Due to the meat being rich and fatty, I chose to eat my meat with a light and refreshing herb sauce that offsets this, while also adding more depth of flavor to the dish.  Overall, while roasting a pig (head) may sound daunting, it could not be easier.  The ingredients that you roast your meat with can be as complex or simple as you like.  I personally chose to use only sea salt, and man, did it come out fantastic. If you are interested in more nose-to-tail recipes from yours truly, be sure to check out the Organ Meat Makeover for more offal goodness.

IMG_0050

Crispy Roasted Pig Head with Mixed Herb Salad

Print Recipe

(Serves 6-8)
Ingredients

  • 1 cleaned pig head (ask the butcher to do this step to make it easier)
  • 1 tbsp sea salt
  • 1/4 cup chopped fresh mint
  • 1/2 cup chopped fresh dill
  • 1/2 cup chopped fresh green onion
  • 1/4 tsp sea salt
  • 1/2 tsp fresh grated horseradish

Process

  • Preheat the oven to 375 degrees.
  • Rinse, thoroughly pat dry, and lace the pig head in a large roasting dish, then rub it down with 1 tbsp sea salt.
  • Place the head in the oven to bake for 1 1/2 hours, then turn the heat to 325, and allow it to roast for another 2 hours.
  • Prepare the herb sauce by finely chopping the mint, dill, and chive, whisking together in a bowl with the olive oil, sea salt, and lemon juice.
  • Once done roasting, remove the head from the oven and cut it into pieces and serve with the herb sauce.


Proverbs 19:20-21 “Listen to counsel and receive instruction, That you may be wise in your latter days. There are many plans in a man’s heart, Nevertheless the Lord’s counsel—that will stand.”

Filed Under: AIP, autoimmune friendly, ketogenic, low carb, meat, paleo, pork, Protein Dishes, Recipes

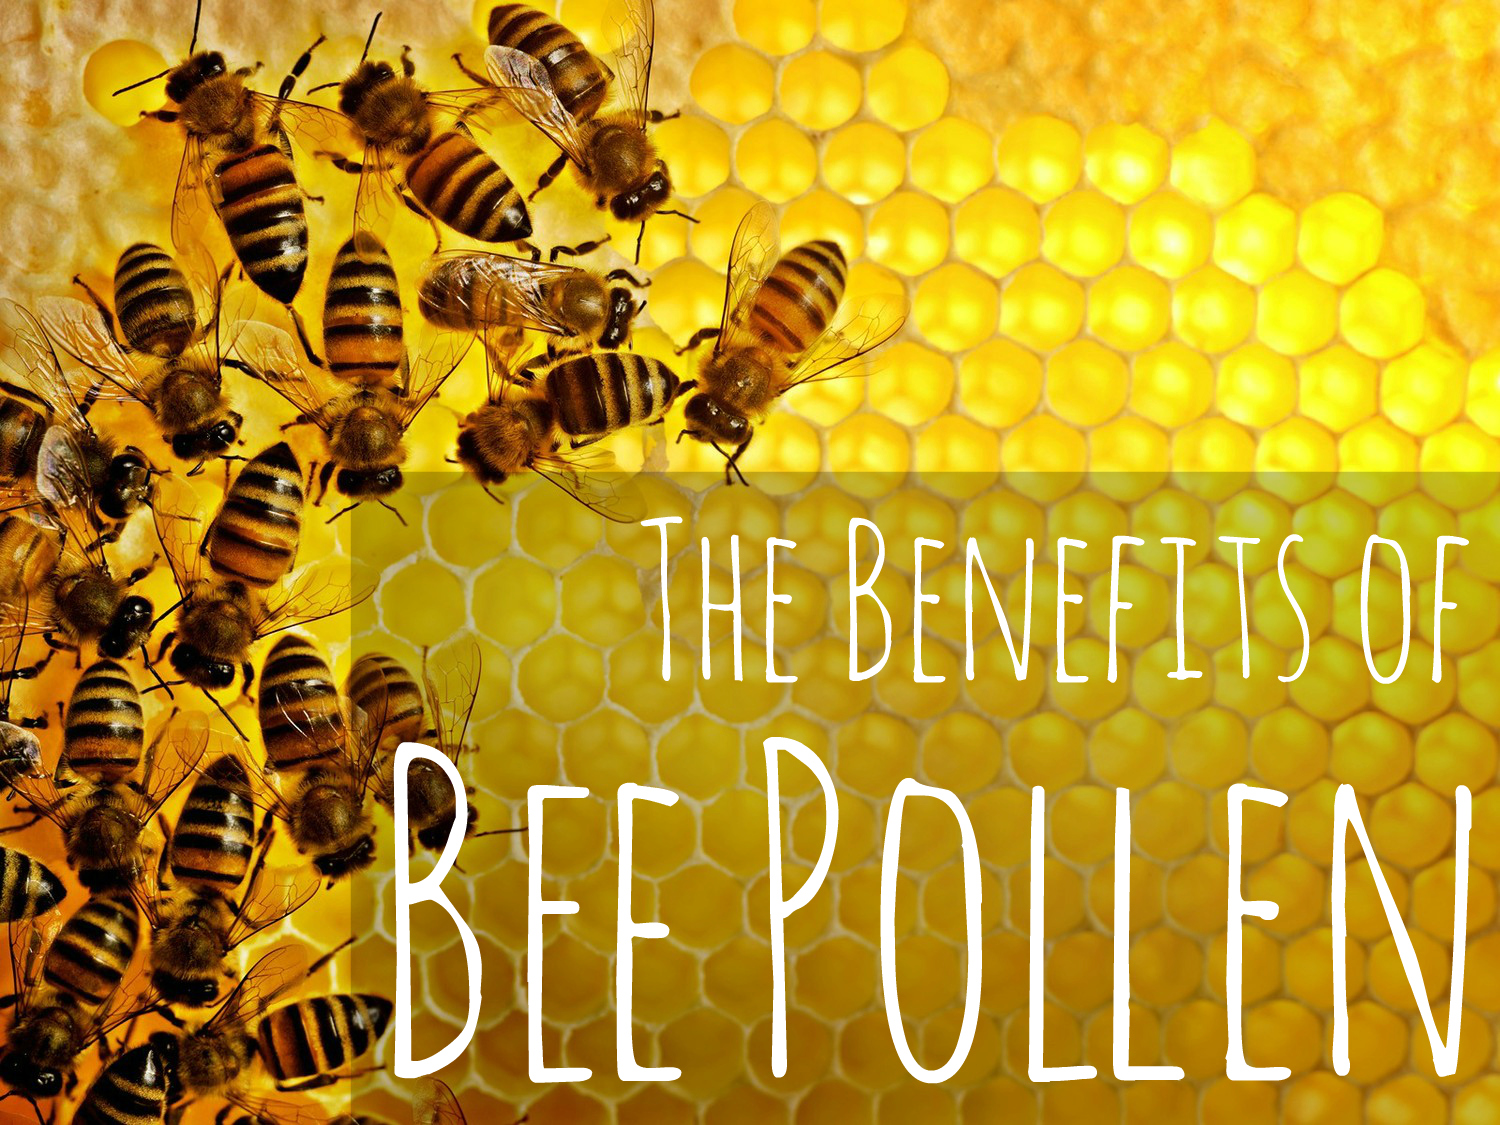
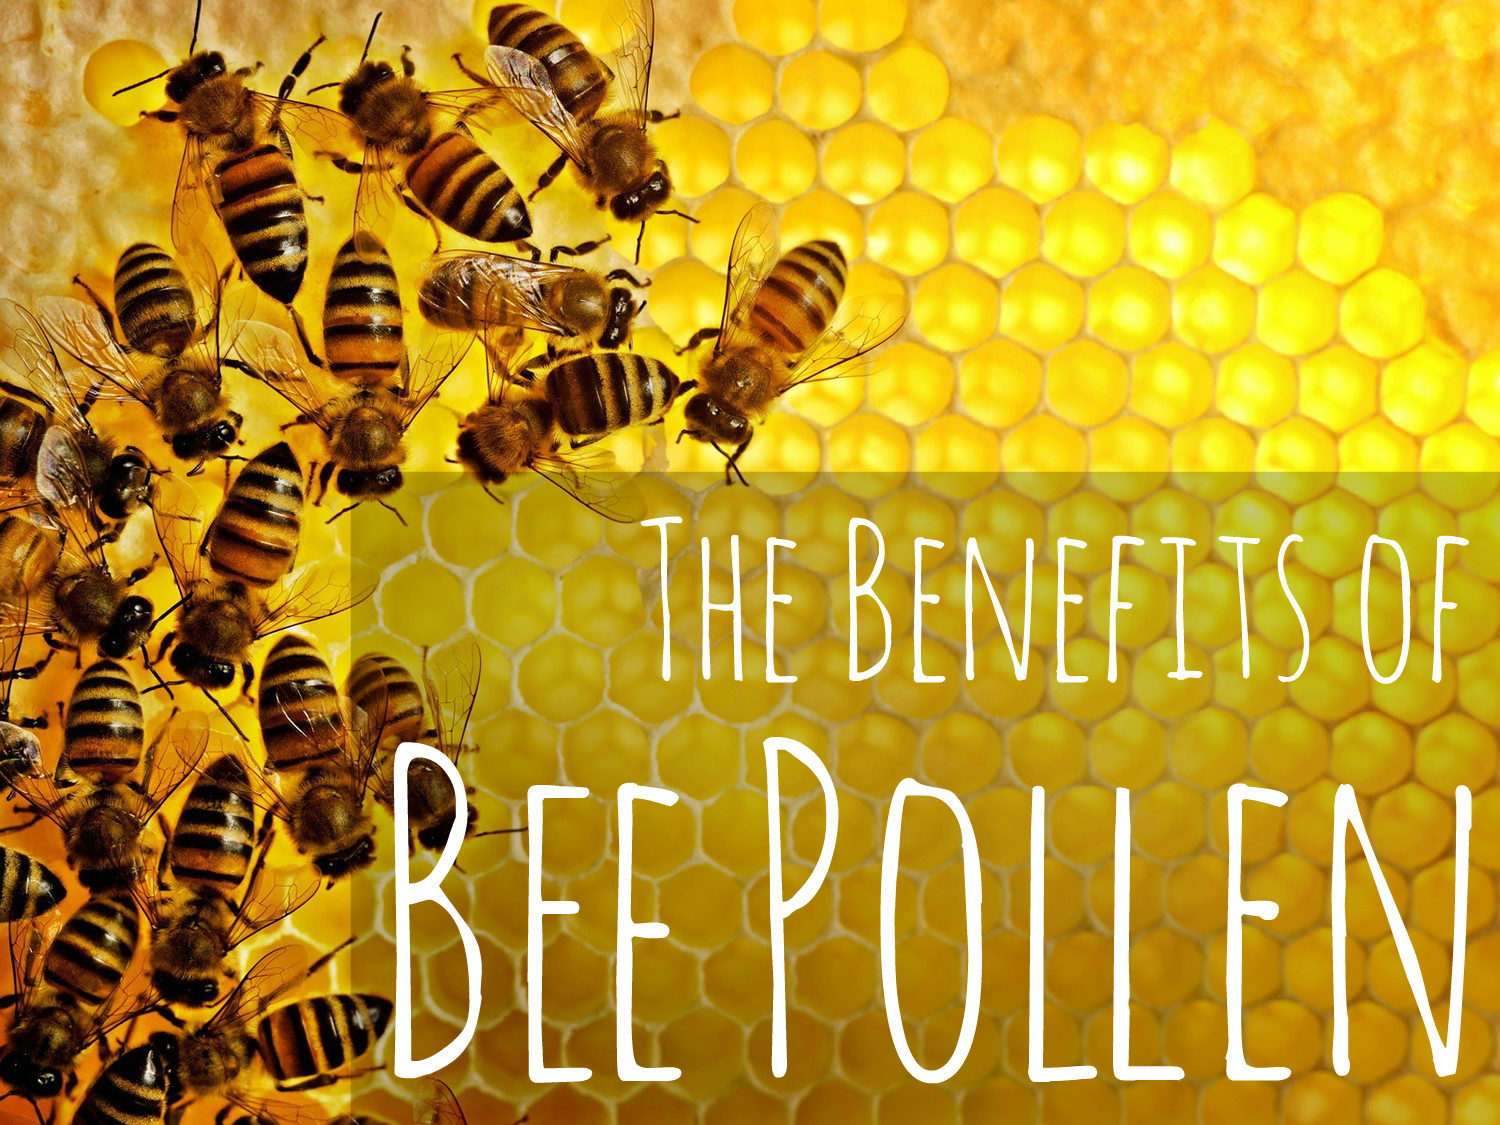
Benefits of Bee Pollen

September 21, 2016


honeybee-honeycombyellow

If you keep up-to-date on the latest diet crazes, you may be hearing about bee pollen more and more often, and for good reasons.  Unlike some food fads, bee pollen is truly a super food that  that should, and certainly needs to stick around.

The Source

While it may sound a bit crazy at first, bee pollen is precisely what the name implies – pollen collected from bees. The process starts when bees collect pollen from a variety of plants, mixing the collected pollen with their nectar.  They then store this nectar in their hind legs, bringing it back to their hive and packing it in the cells of the given honeycomb.  This packed pollen is then covered with what is known was “bee bread,” which is a combination of honey and wax that covers the pollen in a thin layer.  It is called “bee bread” do to the fact that this mixture is preserved through anaerobic fermentation that occurs in the honeycomb.  In turn, this preserved pollen becomes the bee colonies protein source.

What’s the Big Deal?

You may be familiar with the health benefits of consuming raw honey, especially for seasonal allergies.  Bee pollen is no different in that it contains a variety of compounds that make it both incredibly nutrient dense and medicinal in nature. With a complex composition of vitamins, macro-nutrients, micronutrients, flavonoids, lipids, and amino acids, more and more studies are proving it has numerous, beneficial effects on the human body.

Benefits of Bee Pollen

When you break down the complex chemical composition of bee pollen, you will find that it is made up of 30% digestible carbohydrates, 26% sugar, 23% protein, essential amino acids included, 5% lipids (essential fatty acids included), 2% phenolic compounds (antioxidants), 1.6% minerals (such as calcium, iron, zinc, selenium), 0.6% water-soluble vitamins and acids (such as the all-important group of B vitamins), and 0.1% fat-soluble vitamins (including A, E and D).   With such a diverse nutrient makeup, you may be wondering why this superfood is just now being discovered.  In actuality, this nutrient dense food has used in Chinese medicine  as both an energy and a nutritive tonic for many decades.  It is also used to help regulate the intestinal track, prevent infectious diseases, aid in recovering from a chronic illness, build new, healthy blood, as well as extending overall lifespan and longevity in individuals all throughout different world cultures.  According to Russian researchers at the Institute of Apiculture, bee pollen is easily one of  “the richest source of vitamins found in nature in a single food.” A study done by Dr. Robinson and published by the USDA found that when cancer bred mice subjected to die were fed a diet of mice chow and bee pollen (ratio 10,000 to 1), those given pollen actually developed their tumors slower or were clear altogether.  Pretty impresser huh?  As mentioned earlier, bee pollen is similar to raw honey in that it is one of nature’s natural anti-histamines.  As discussed in my post on all-things histamine, antbibodies are created to fight against allergens as part of the bodies immune response. Once antibodies are created in response to a given substance (dietary, environmental, etc..), they are able to activate the receptors on cells throughout your body, causing an allergic reaction.  Through animal studies, it has been shown that the consumption of bee pollen helps reduce anaphylactic reactions, as well as being an IgE and IgG inhibitor, both antibodies that activate mast cells and thus cause allergic reactions. With all that said, some of the other benefits of bee pollen include reduction of inflammation , protection of the liver against toxicity, immune system support, eased menopausal symptoms, stress, and overall, promotion of healing throughout the human body.

Finding the Right Pollen

Much like any other food, finding bee pollen from a local sources is very important.  It is also key to make sure the bees that the pollen is derived from have not been treated with pesticides or other chemicals that will be harmful to both the benefits of the pollen and to you as the consumer. It can be found in both granule form or powder form, though they are essentially the same exact product, just in different form.  I personally take granulated bee pollen from a farm not far away here in Nashville, TN.  Though you can add it to smoothies or sprinkle it over a salad, I choose to take it straight by eating it off of a spoon so I can gauge my bodies reaction.  It is recommended for those with allergies, whether in the form of hay fever or anaphylaxis, and everything inbetween, to work up your dose of bee pollen very slowly (say 2-3 granules at first).  Personally, despite having a mast cell activation disorder caused by a primary immunodeficiency, I was able to start with a does of ½ tsp.  It has been a few weeks and I am up to 1 tbsp with no issues.  Though there is no “limit” per say, to how much one should take per day, 3-4 tbsp is typically considered to be a good amount to aim for.

Summary

In the end, bee pollen is incredibly nutritive to the body.  With such a healing chemical structure, I could write multiple posts simply discussing all of the benefits being studied.  For this reason, I have included a few great resources below, as well as some informative articles linked throughout the text above. In the end, if you haven’t given pollen a chance, there is no better time than now to try!

Disclaimer: I am in no way a registered medical doctor able to diagnose or treat disease. I am simply presenting health information as I have been taught and learned, leaving how one interprets it up to the individual.

Related Reading

8 Bee Pollen Benefits
Mercola: Bee Pollen
Bee Pollen as an Anti-Histamine
Bee Pollen and Allergies
Bee Pollen and the Immune System


Joel 2:23 “Be glad then, you children of Zion, And rejoice in the Lord your God; For He has given you the former rain faithfully, And He will cause the rain to come down for you— The former rain, And the latter rain in the first month.”

Filed Under: AIP, autoimmune disease, Food and The Human Body, health, health article

Homemade Mayonnaise (Keto, Stage 1 AIP reintroduction)

September 7, 2016

IMG_0952

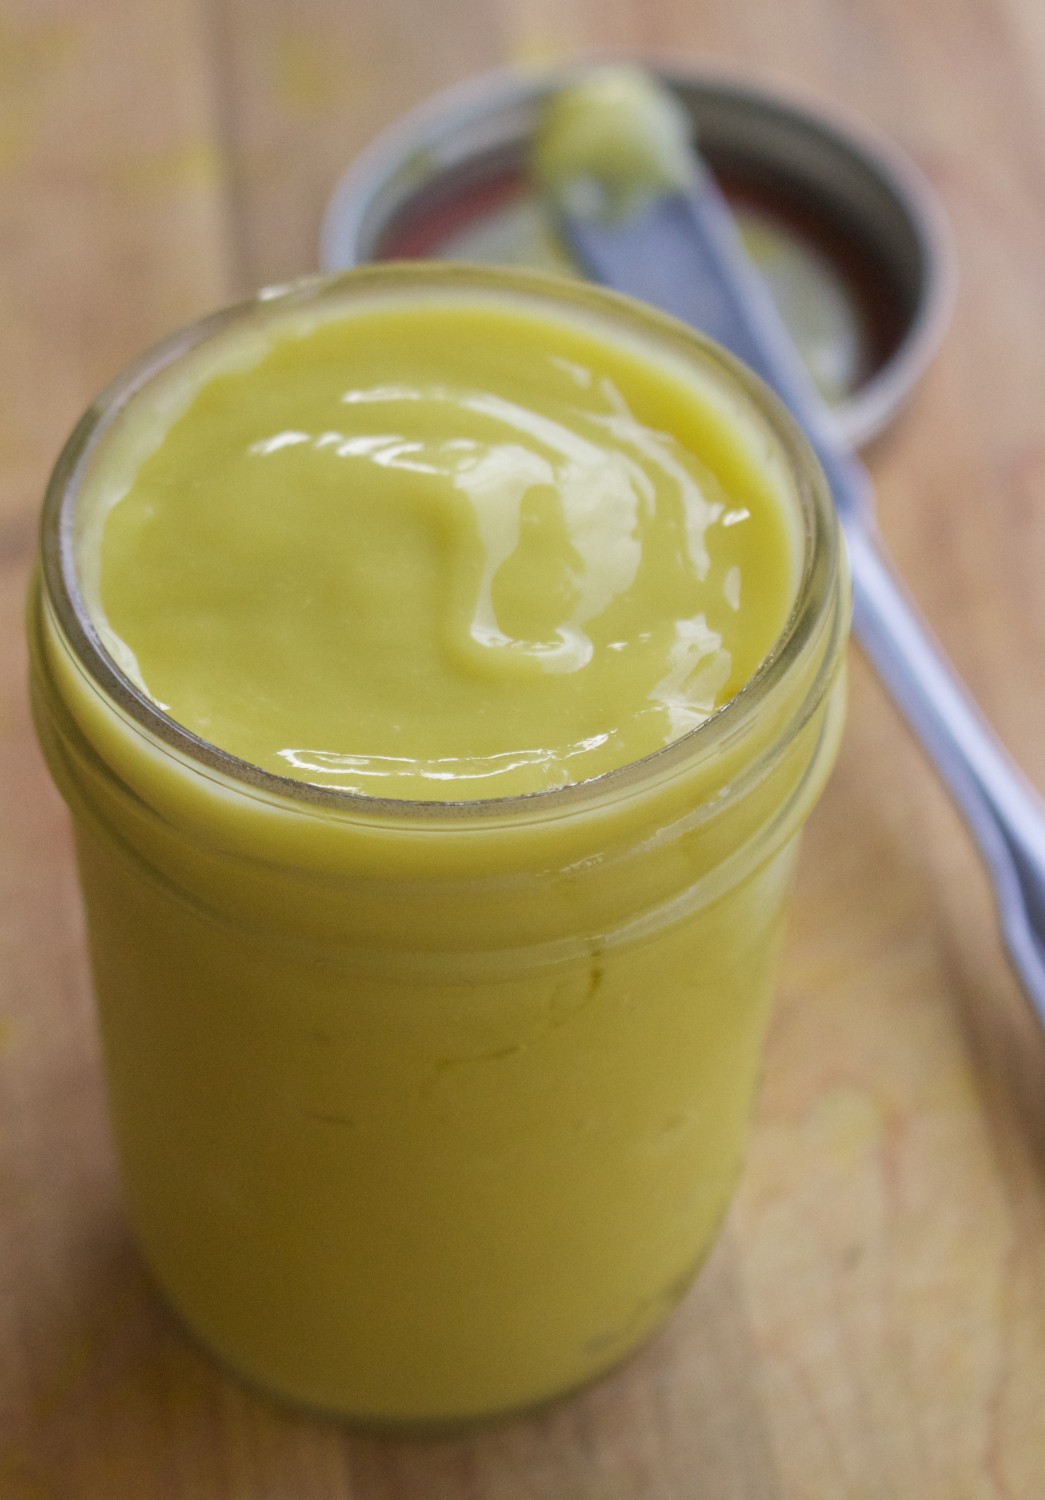
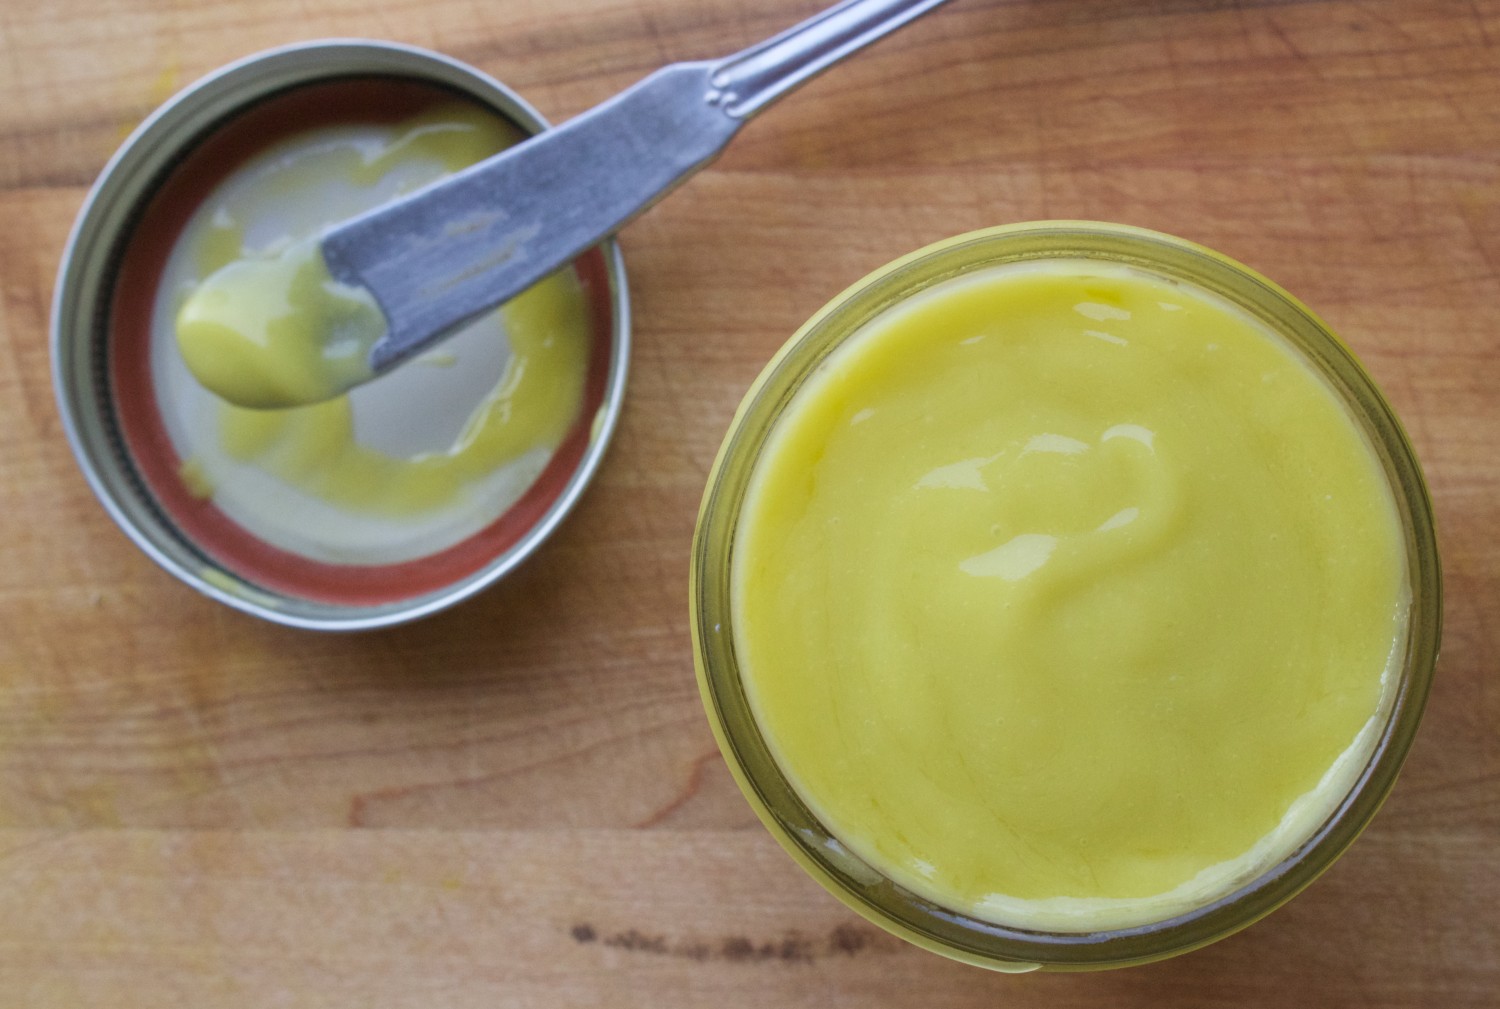
Before beginning culinary school, I had always heard that making mayonnaise by hand was a big and daunting task.  Yet once I had to do it myself, I realized there wasn’t much to make a hype over.  Honestly, if you are comfortable with a whisk in you hand, than making mayonnaise is a piece of cake.  The key, much like making mayo with a food processor or immersion blender, is to not add too much oil at once, as this will cause the emulsion to break.  What I like about making this condiment by hand is that if you do, by accident, end up adding too much oil at first, all you have to do is whisk even faster, and there is a great potential for saving it.   Yet this isn’t an option when using a food processor or immersion blender, as the blades are already spinning as fast as they can go.  You arm on the other hand, can kick into high gear if needed, lowering the risk of wasting two cups of perfectly good oil.  Of course, you don’t have to use just MCT oil, or MCT oil at all.  Avocado, macadamia, and olive oil are also great options.  Keep in mind, if you use all olive oil, it will have a distinct “olive oil” taste, while avocado and macadamia are a bit milder.  If you have distant memories of mayonnaise from your childhood, you may fancy adding a bit of sugar (maple, coconut, date…) to the mayo, to add just a tad sweetness. Overall, what you add is up to you, as well as how you make it (by hand vs. food processor). As noted for those on the Autoimmune Protocol, this recipe is acceptable if you have made it to stage one reintroductions.

IMG_0958

Homemade Mayonnaise

Print Recipe

(Yields 2 cups)

Ingredients

  • 12-16 oz MCT oil (or) Avocado oil 
  • 2 egg yolks
  • 1/4-1/2 tsp sea salt
  • 1/2 tsp brown mustard (or) mustard powder
  • Lemon juice to taste
  • 1 tsp apple cider vinegar

Process

  • Whisk together egg yolks, mustard, vinegar, and sea salt in a medium size mixing bowl.
  • While whisking vigorously, slowly drizzle in the MCT oil, 1 tbsp at a time for atleast the first 1/2 cup, until beginning to emulsify.
  • Continue whisking and slowly adding the oil until thickened, then whisk in lemon juice to taste and store in a mason jar in the fridge for up to one week.

Recipe Notes

Making mayo by hand is how I had to make it in school, however, I have had success using a food processor and immersion blender, using the same technique as above.

You can also use avocado oil in place of MCT.

For those on the AIP, this recipe uses stage one reintro ingredients (mustard is a seed based spice)


John 14:23 “Jesus answered and said to him, “If anyone loves Me, he will keep My word; and My Father will love him, and We will come to him and make Our home with him.”

Filed Under: Condiments and Sauces, eggs, ketogenic, low carb, no bake

Vietnamese Caramelized Ginger Chicken (Ga Kho – AIP, Paleo, Low-FODMAP)

August 24, 2016

IMG_1147

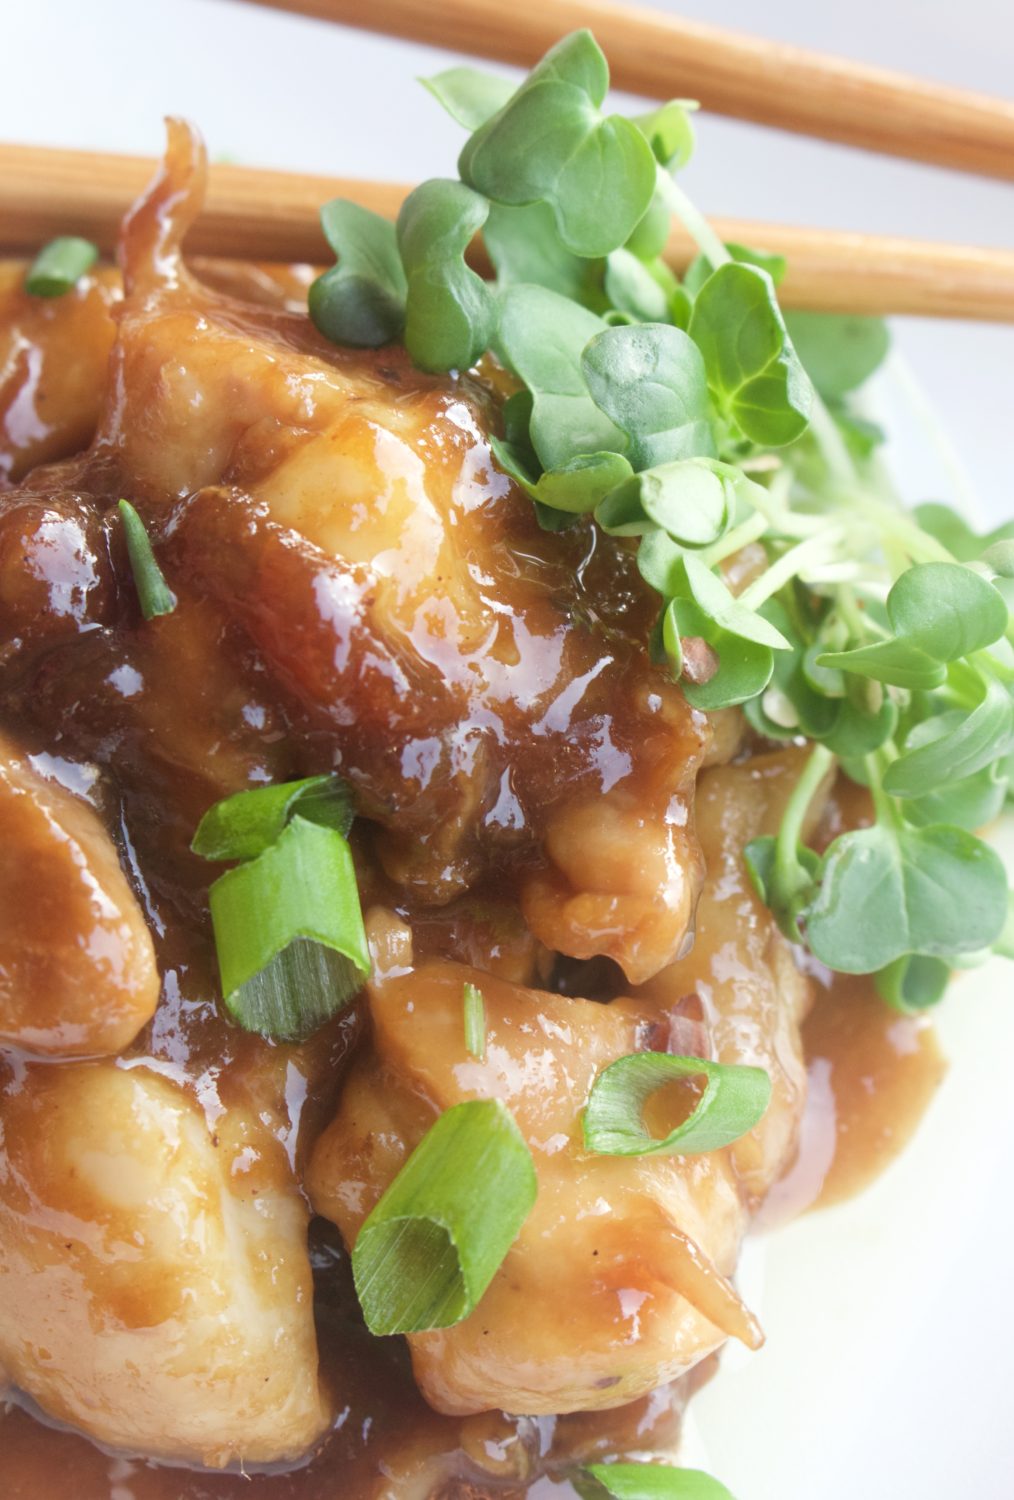
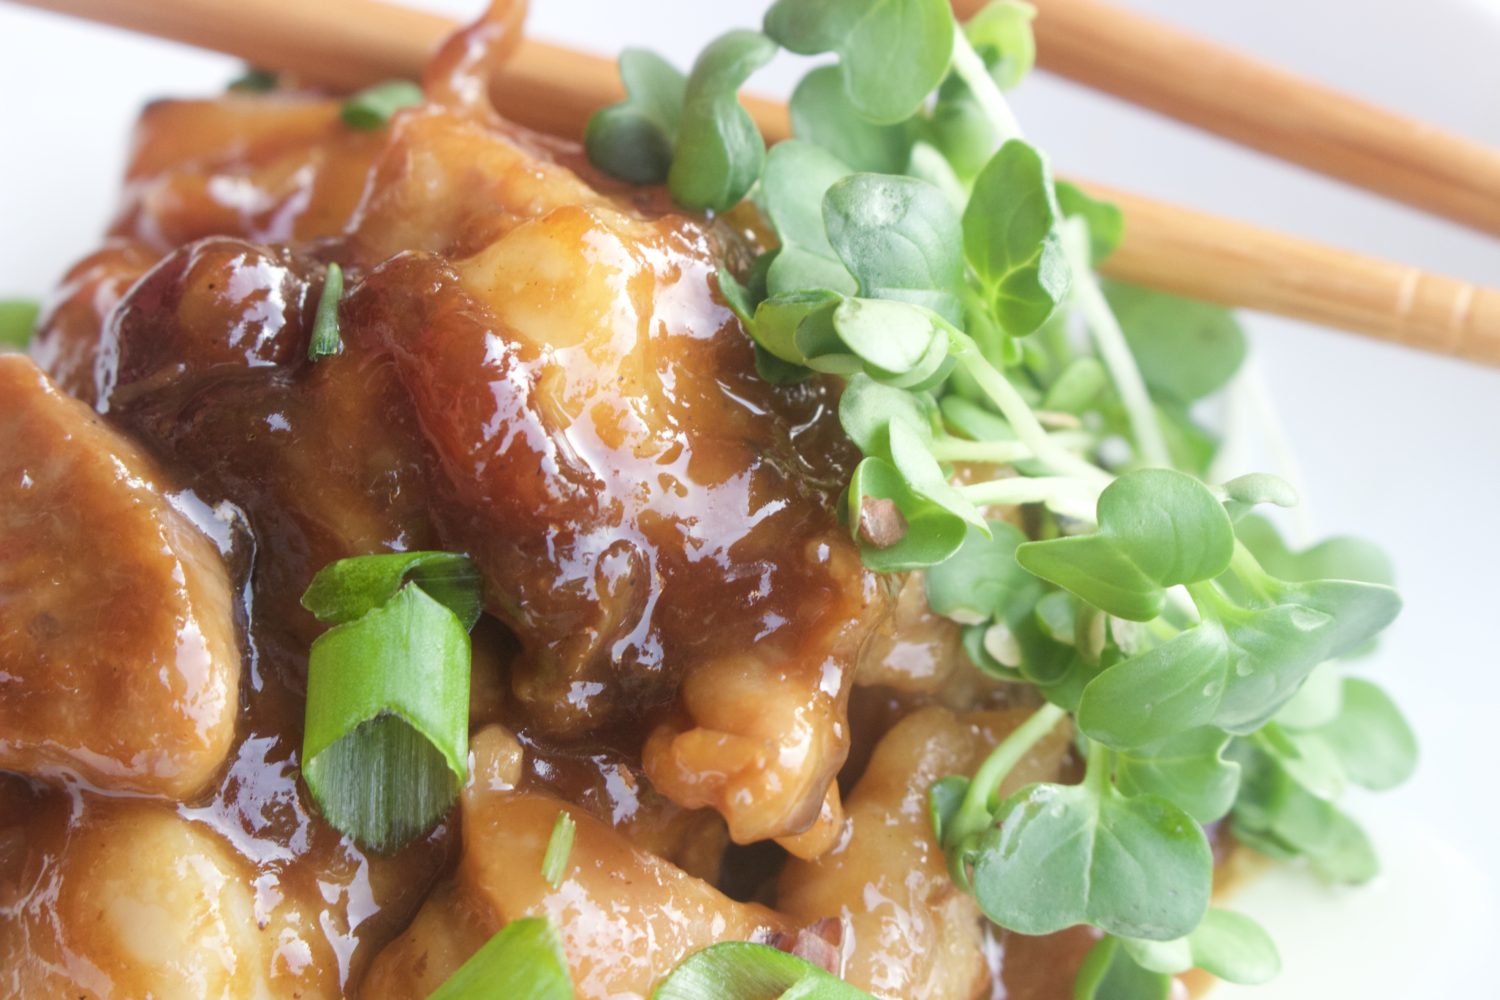
Today’s recipe is one that was inspired by Jo Romero’s Chinese Lemon Chicken.  Awhile back this winter, I prepared the ultimate comfort food dish –  AIP Paleo Lebonese yellow rice a long side the Chinese Lemon Chicken as seen here on Comfort Bites Blog. It was an amazing recipe that I thoroughly enjoyed, which is why how I happened upon today’s recipe, another twist on classic takeout, only a Vietnamese version.  Traditionally, caramel chicken includes an equal ratio of vinegar to fish sauce, which creates the ultimate umami flavor profile.  Couple this killer taste with sweet coconut sugar and pungent ginger, and you’ve got yourself a chopstick worthy meal.  I chose to serve mine with a mixture of peppery green and herbs, including the daikon radish sprouts pictured along side the chicken. Overall, this recipe is incredibly tasty and a great treat sure to squash any greasy takeout cravings.

IMG_1146

Vietnamese Caramelized Ginger Chicken

Print Recipe

(Serves 4-6)

Ingredients

  • 2 lb chicken thighs
  • 2 tbsp apple cider vinegar
  • 2 tbsp fish sauce
  • 1/4 cup chopped green onion
  • 1/2 cup coconut sugar
  • 1/4 cup minced fresh ginger
  • 1 tbsp Otto’s Cassava Flour
  • 2 tbsp water
  • 2 tbsp coconut oil

Process

  • Heat 1 tbsp oil in a large pan over medium-low heat and saute ginger until fragrant, 1-2 minutes, then remove from the pan and set aside.
  • In a bowl, mix together fish sauce, vinegar, coconut sugar, and ginger.
  • Cut chicken into bite size pieces and pat dry with a paper towel.
  • Heat pan with remaining tbsp of oil over medium heat and sear the chicken on both sides until golden, then pour half of the sauce into the pan, allowing to cook until chicken is 3/4 of the way cooked through.
  • Whisk cassava flour and water together, then add into remaining sauce and pour the sauce over the chicken and allow to cook until thickened and coating the chicken.

Psalm 116:1-1 “I love the Lord, because He has heard My voice and my supplications. Because He has inclined His ear to me, Therefore I will call upon Him as long as I live.”

Filed Under: autoimmune friendly, cassava flour, chicken, Protein Dishes, Recipes

Creamy Mango Sorbet (AIP, Paleo, Vegan)

August 12, 2016

IMG_1293

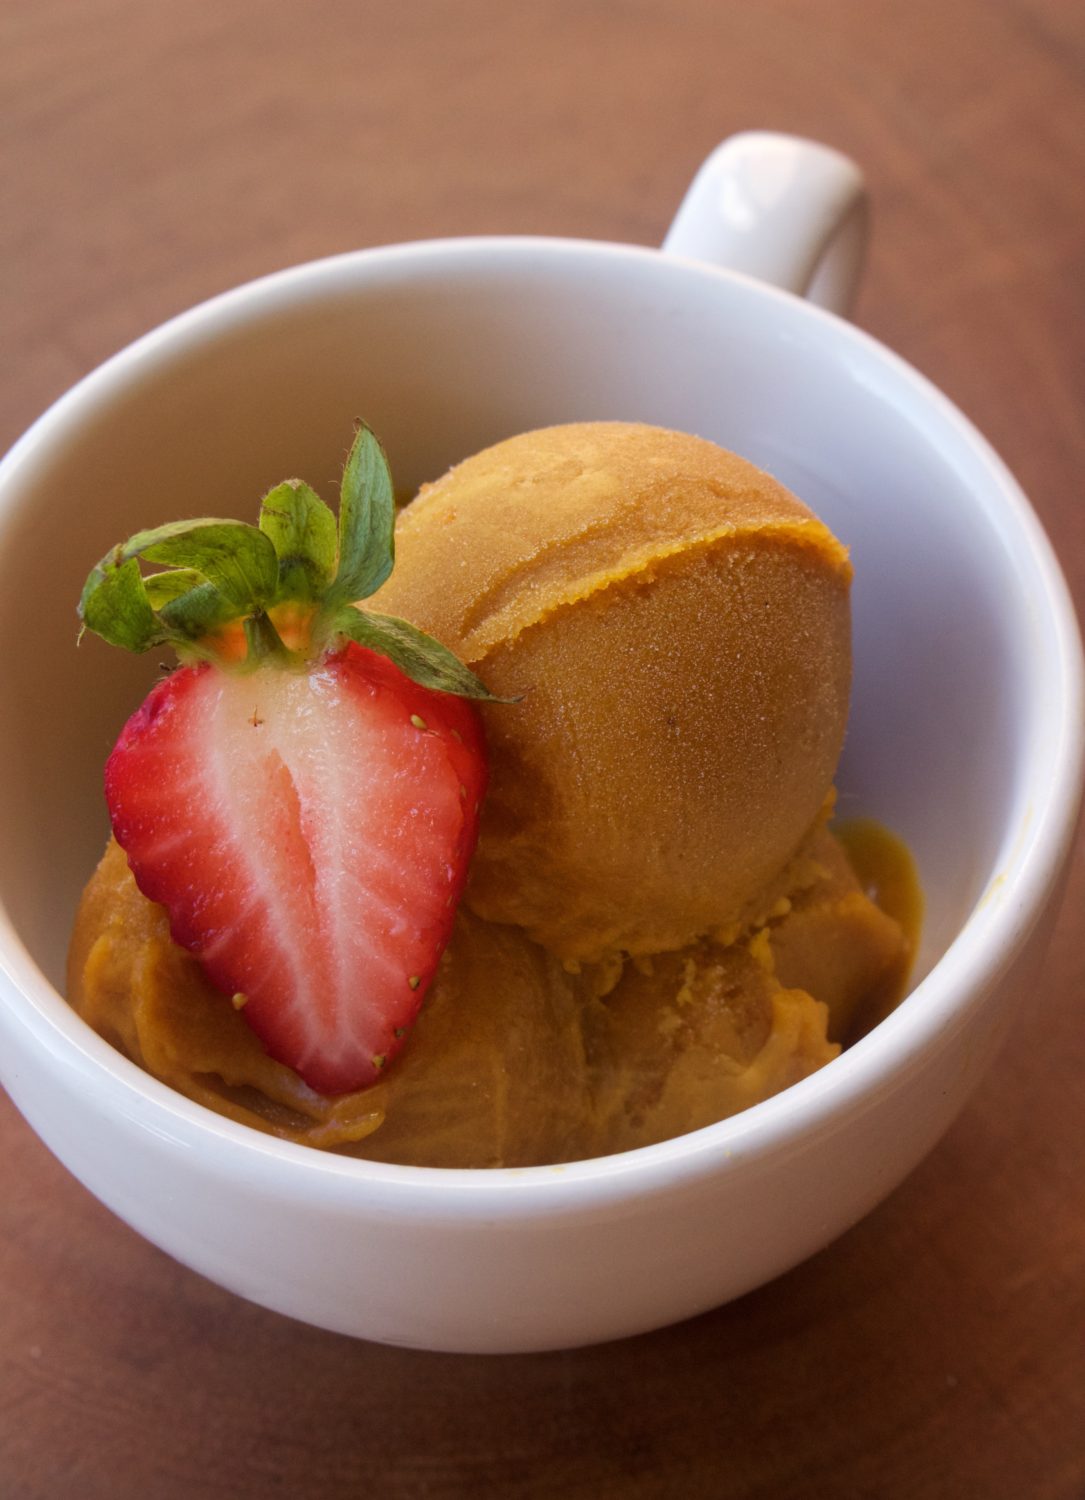
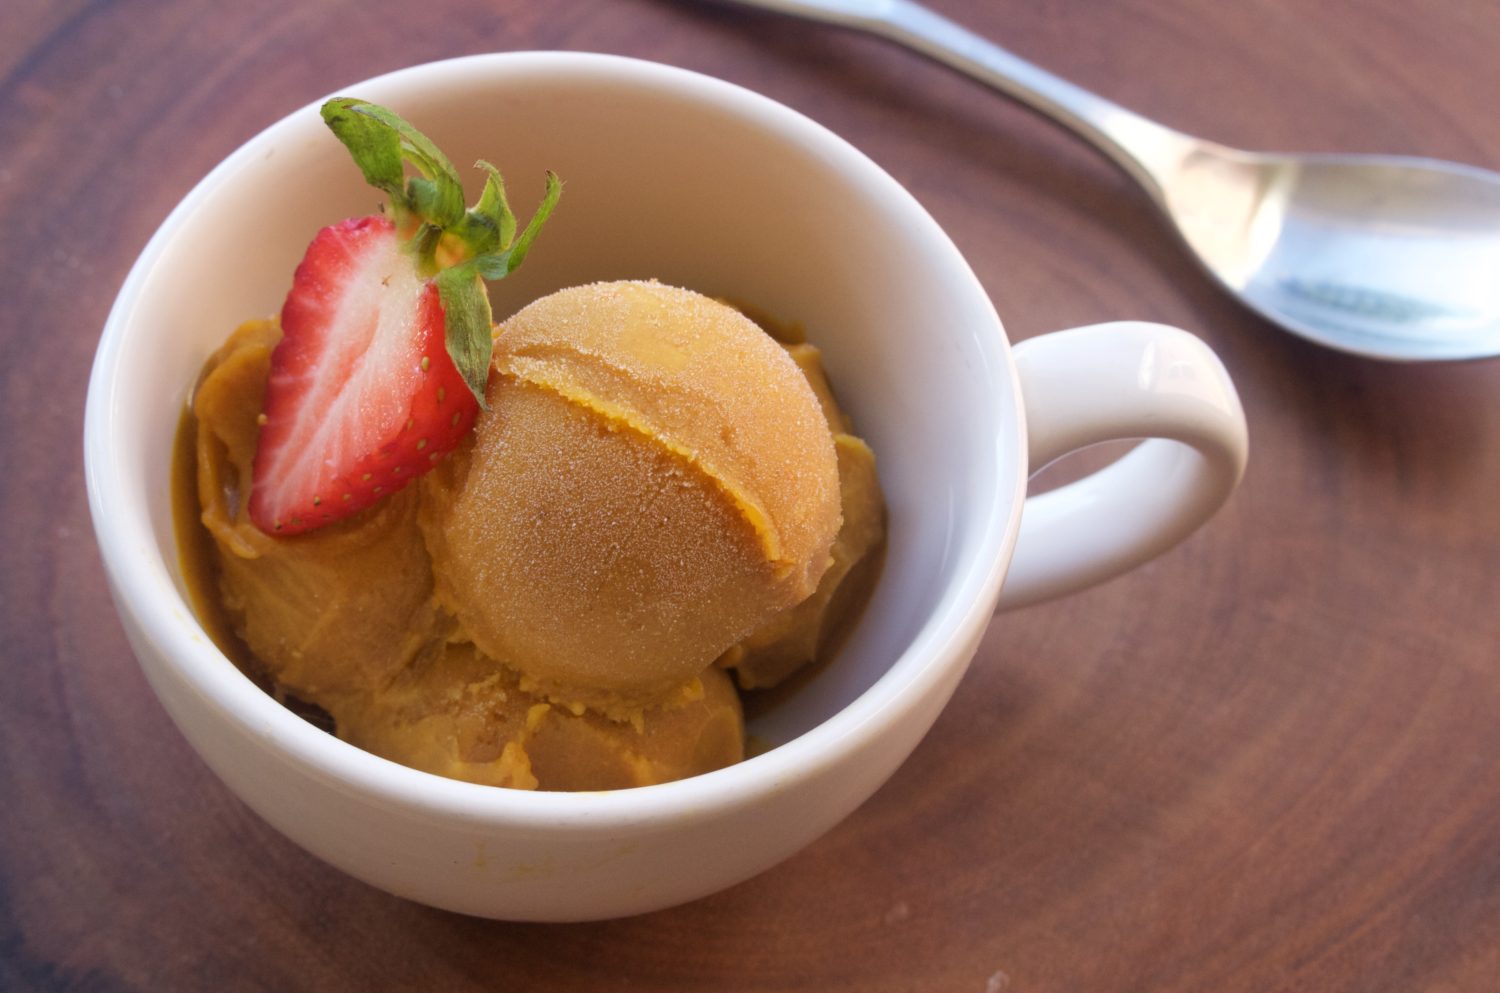
Something pretty devastating happened the week before making this recipe….my oven broke. If you are anything like myself, yes, this is quite depressing. How in the world am I supposed to bake without an oven? Even though I don’t eat sweet treats, being in the kitchen and experimenting with baked goods is extremely therapeutic for me.  So, since I was without the option of an oven, I decided to take the opportunity and work on some sweet treats that didn’t require baking.  While brownies are ALWAYS a good idea, sometimes heating up the kitchen on a hot summer day isn’t exactly ideal.  Sorbet on the other hand, is perfect.  Mango sorbet has been a favorite every since I was younger.  I always loved eating it with vanilla ice cream, using my spoon to swirl the two together into a cold, creamy treat, and today’s recipe definitely brought me back to those summer nights as a child.  To me, sorbet should be thick, creamy,  rich in flavor, and equally delicious as ice cream.  This recipe is just that, as it is full of mango flavor that leaves you happy and satisfied.  For additional yumminess, I encourage you to eat it with sliced strawberries, as these add an extra pop of flavor that compliments the mango perfectly. So scoop up some of this cold sorbet and enjoy as it tantalizes your tastebuds!

IMG_1300

Creamy Mango Sorbet

Print Recipe

(Serves 4-6)

Ingredients

  • 3-4 cups fresh mango, cut into chunks
  • 1-2 cups water
  • 1/2 cup coconut sugar
  • 1 tsp vanilla

Process

  • Combine water and sugar in a sauce pot and heat until sugar has dissolved.
  • Add sugar water, mango, and vanilla to a high speed blender or food processor and blend until smooth.
  • Allow the mixture to fully chill in the fridge.
  • Pour puree into an ice cream maker and churn until firm.

Recipe Notes

How much water you thin the mango out with is up to how you prefer your sorbet.  (ex: less water makes a more dense, mango sorbet, more water makes it icier)


Psalm 119:14 “I have rejoiced in the way of Your testimonies, As much as in all riches.”

Filed Under: AIP, autoimmune friendly, paleo, Sweets and Snacks

Pan Fried Trout with Clementine Salsa (AIP, Paleo)

July 30, 2016

IMG_1116

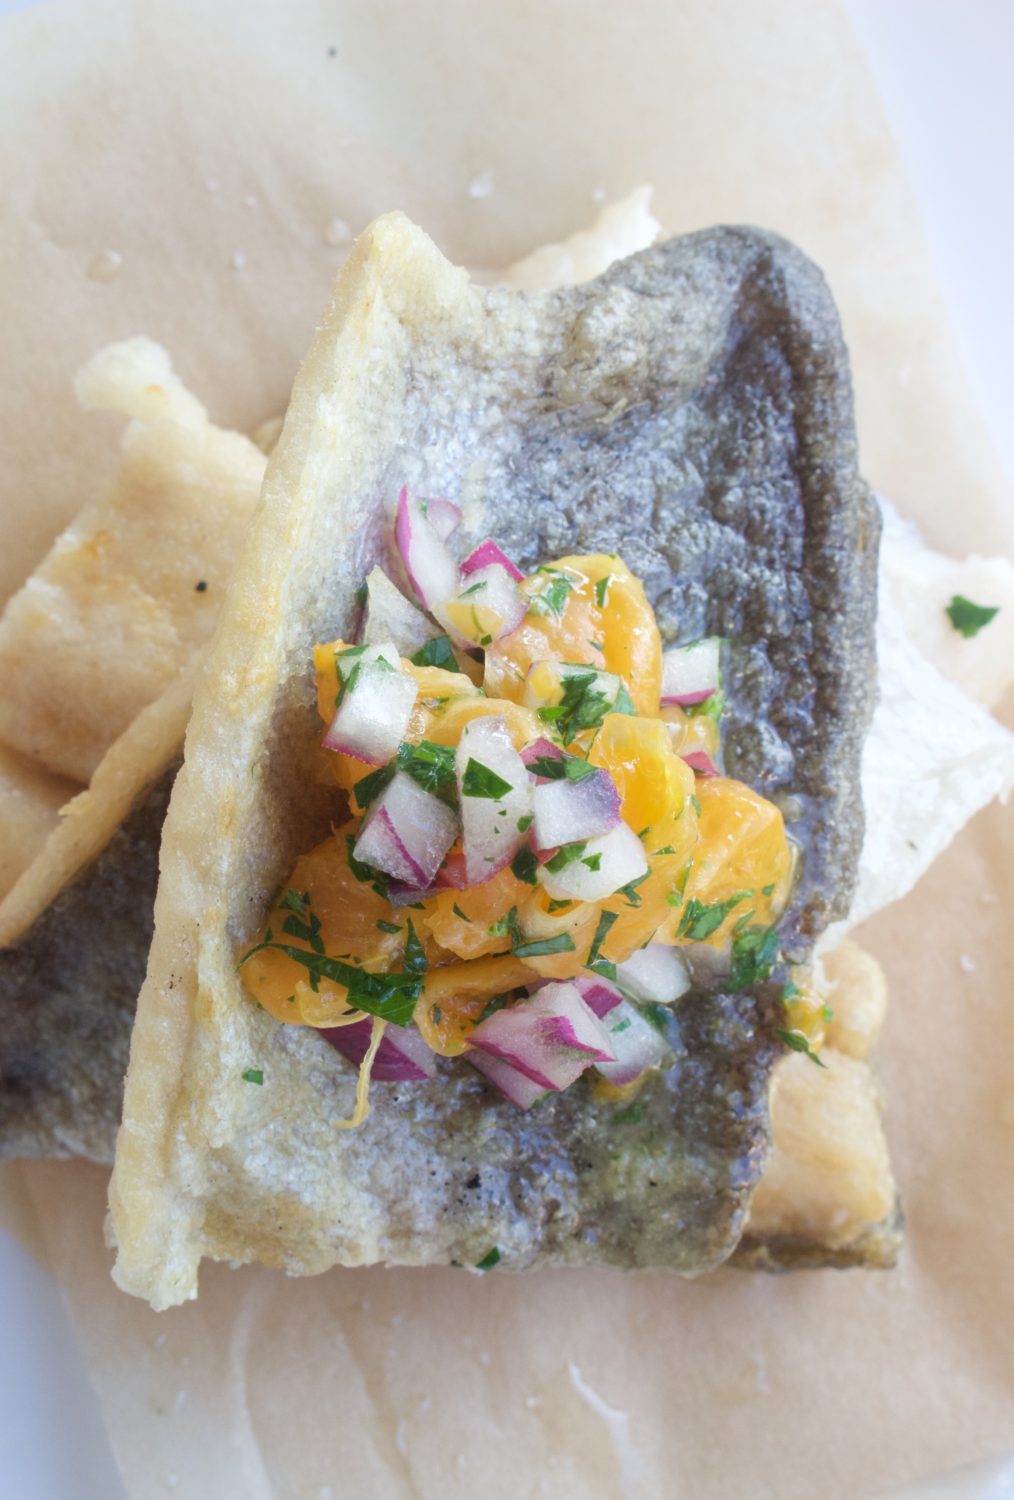
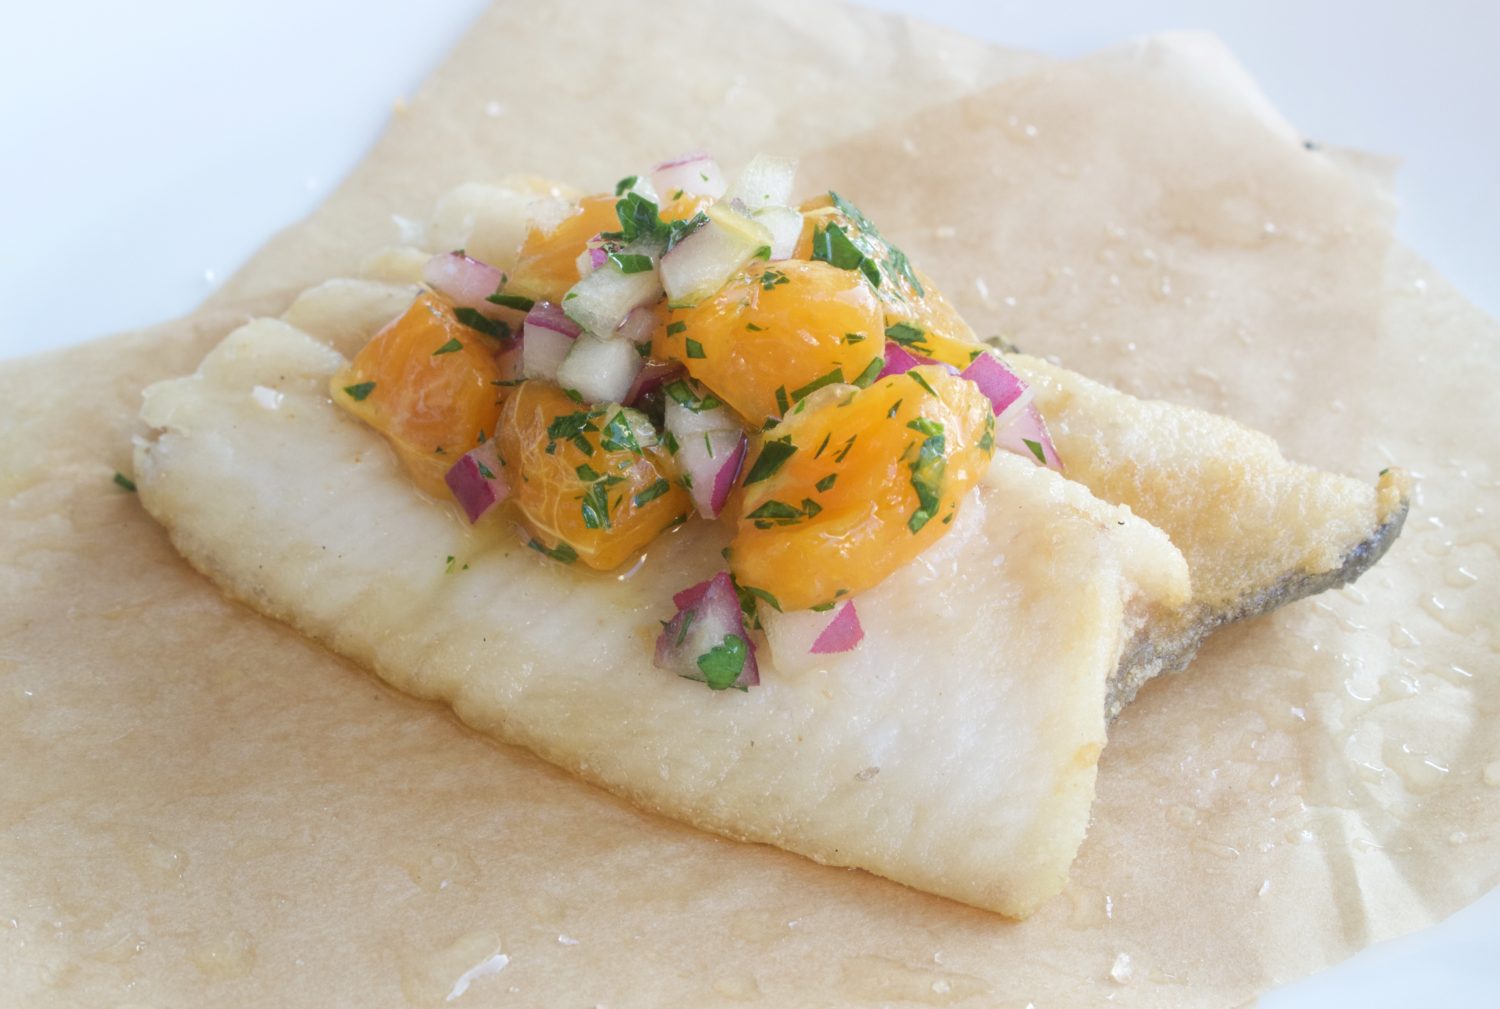
It’s definitely summer weather here in Nashville, which means new recipes must be made! My friend works at a fish market in town, so I decided to go and come up with the recipe based off of what was in front of me.  Previously that week I had made a trout dish in school, so I decided, why not a trout recipe? I don’t have one on here and it is such a tasty fish.  Prior to making this recipe, my family was in town, and my mom had bought the household an entire bag of clementines.  Needless to say, they didn’t all get eaten by the time she left, so I decided to also incorporate that into my recipe.  The salsa is bright, refreshing, and the perfect addition to a lightly pan fried fillet of fish.  I lightly dusted the fish in Otto’s cassava flour before cooking, as this creates an extra crispy skin when fried.  However, this isn’t completely necessary, and you can definitely make it without the flour.  If you want to skip the frying all together, feel free to grill or bake your trout. If you don’t have clementines on hand, that’s okay too! Simply substitute orange (blood orange would be AH-MAZING) or grapefruit, though that may be a bit more tangy.  The clementines have a nice, subtle citrus flavor that does not over-power the dish.  Overall, it is a light flavorful dish perfect for these hot summer nights.

IMG_1125 (1)

Pan Fried Trout with Clementine Salsa

Print Recipe

(Serves 2-4) 
Trout

  • 1 lb trout fillet
  • Otto’s cassava flour for dusting
  • 1/4 tsp sea salt
  • Avocado oil for frying

Clementine Salsa

  • 1 cup clementine – peeled and cut into 1/4 inch chunks
  • 1/4 cup minced red onion
  • 2 tbsp minced fresh parsley
  • 2 tbsp white wine vinegar
  • 2 tbsp avocado oil
  • 1/4 tsp sea salt

Process

  • Mix all of the salsa ingredients together in a bowl and allow to sit and marinate until the fish is cooked.
  • Heat enough oil to fill your pan with 1/4 inch oil until crackling.
  • Starting with 1/4 cup flour, spread flour out on a large sheet tray and dredge trout fillets in the flour on each side, shaking off the excess.
  • Fry trout 3 minutes skin side down, then flip over and finish another 1 minute.
  • Remove from pan with a spatula and set on a parchment lined plate, sprinkling with more salt if desired and serving with clementine salsa.


1 Corinthians 13:4-7 “4 Love suffers long and is kind; love does not envy; love does not parade itself, is not puffed up; 5 does not behave rudely, does not seek its own, is not provoked, thinks no evil; 6 does not rejoice in iniquity, but rejoices in the truth; 7 bears all things, believes all things, hopes all things, endures all things.”

Filed Under: AIP, autoimmune, autoimmune friendly, paleo, Protein Dishes, seafood

Grilled Cauliflower Steaks with Ginger Plum Sauce
July 19, 2016

IMG_1389

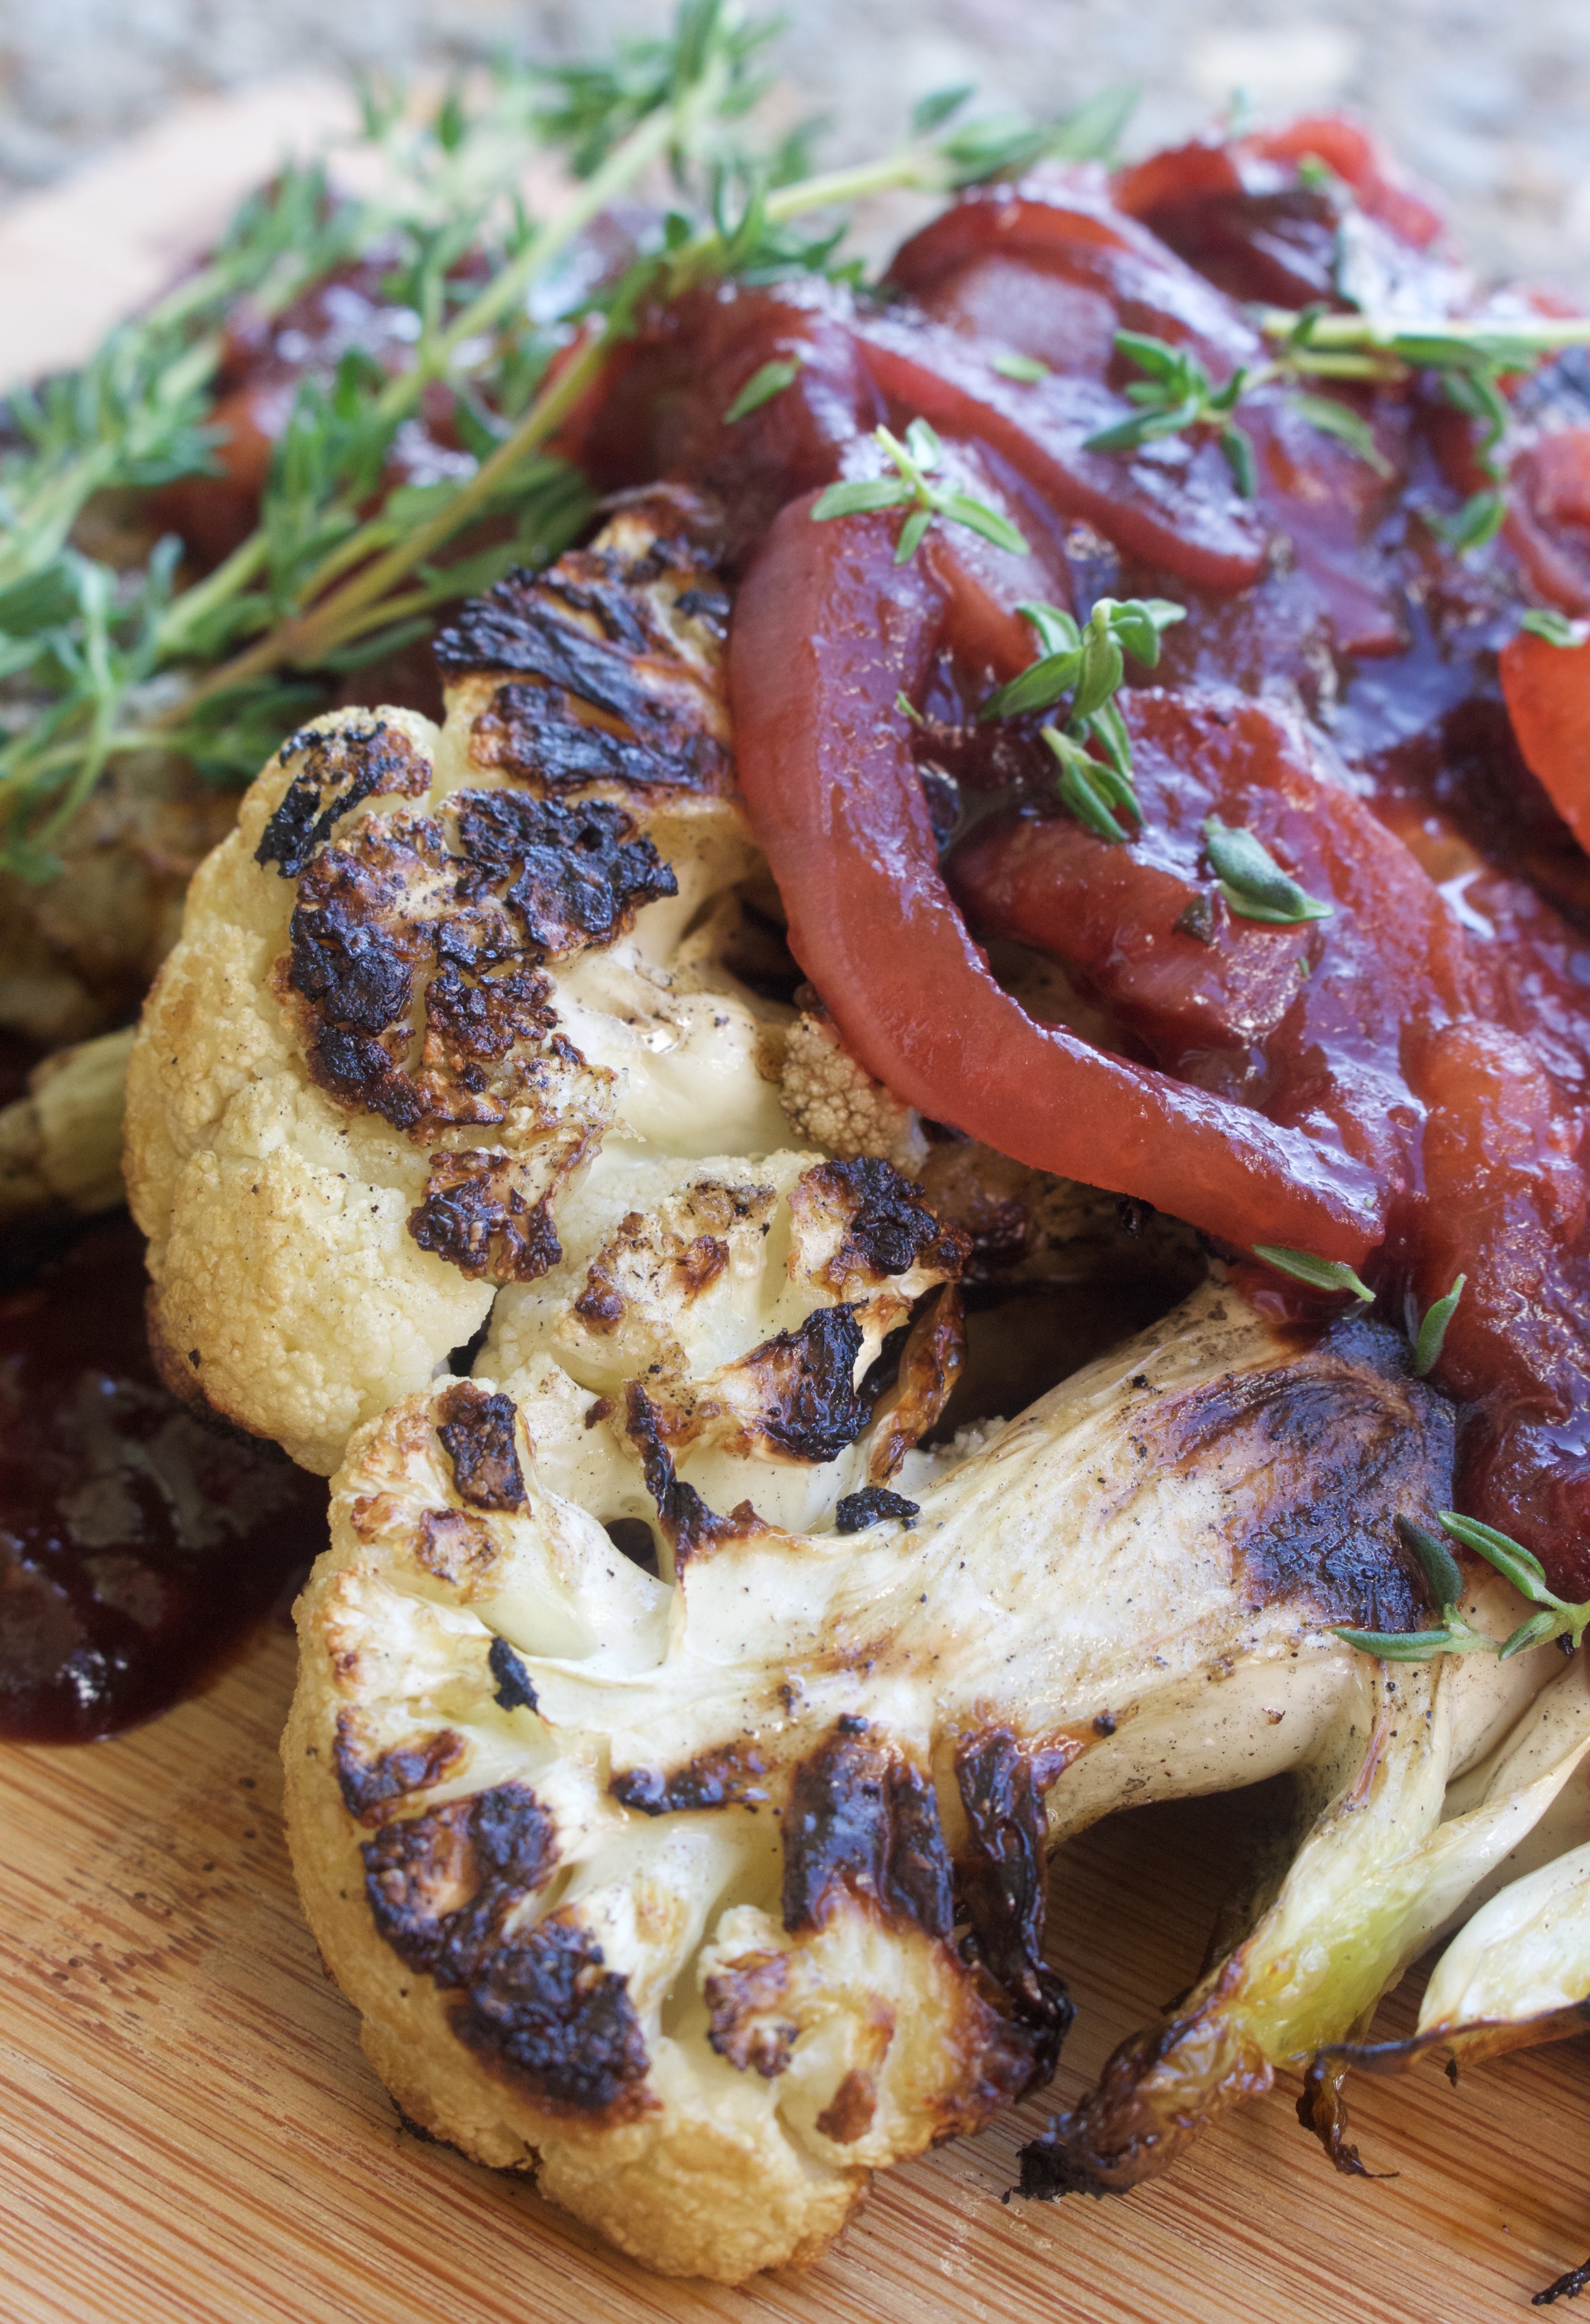
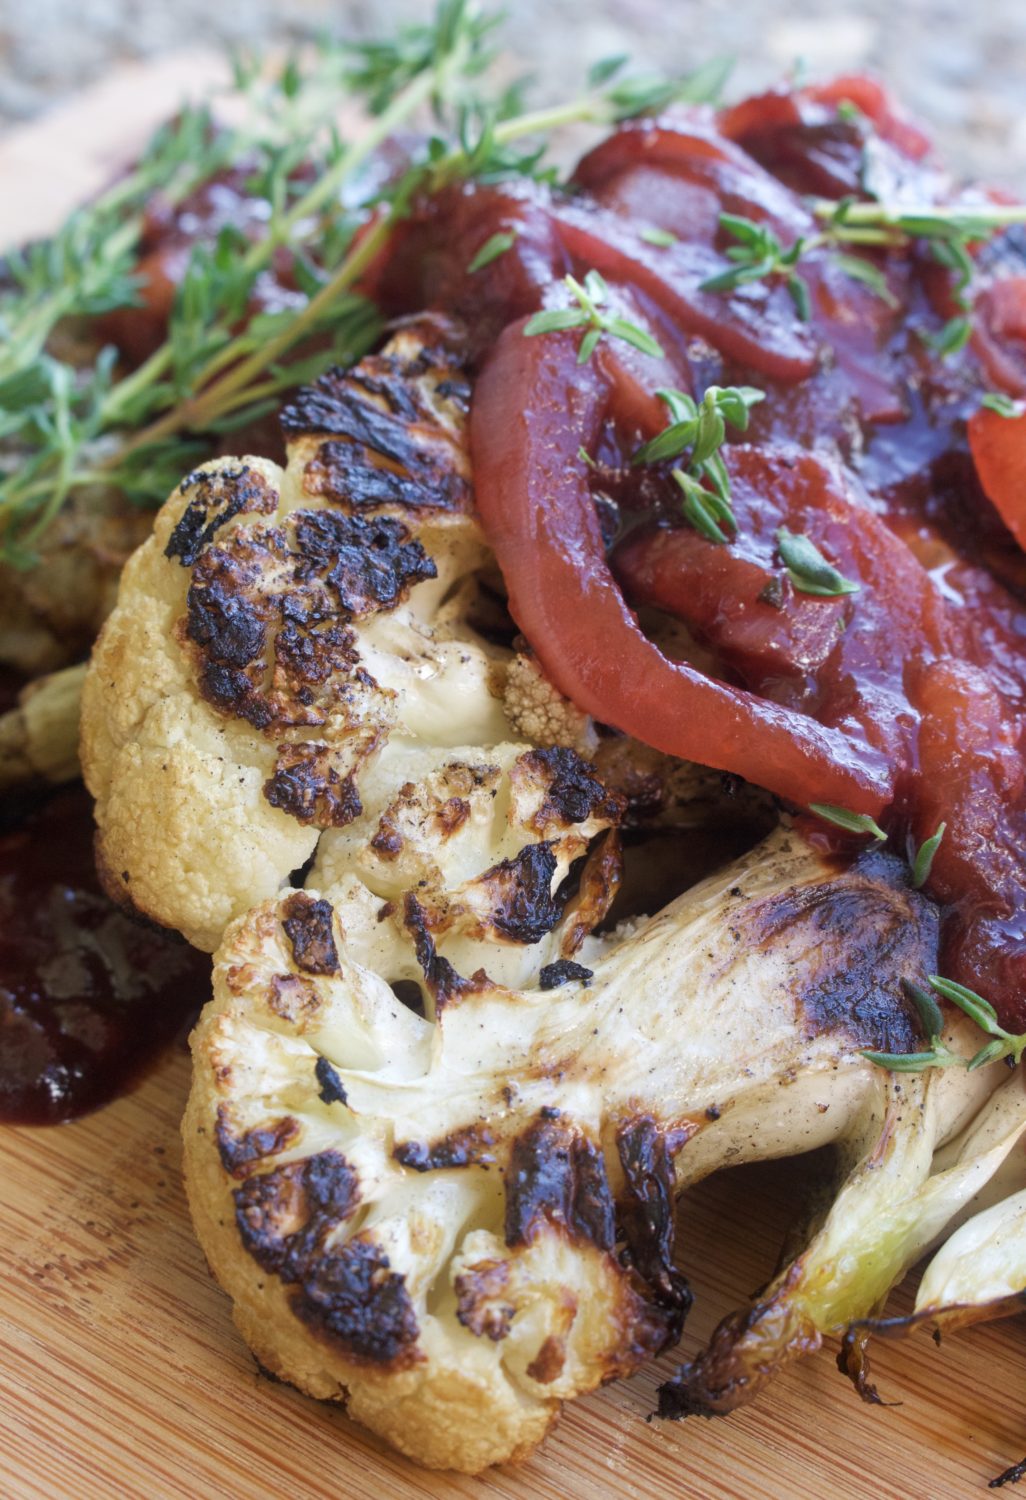
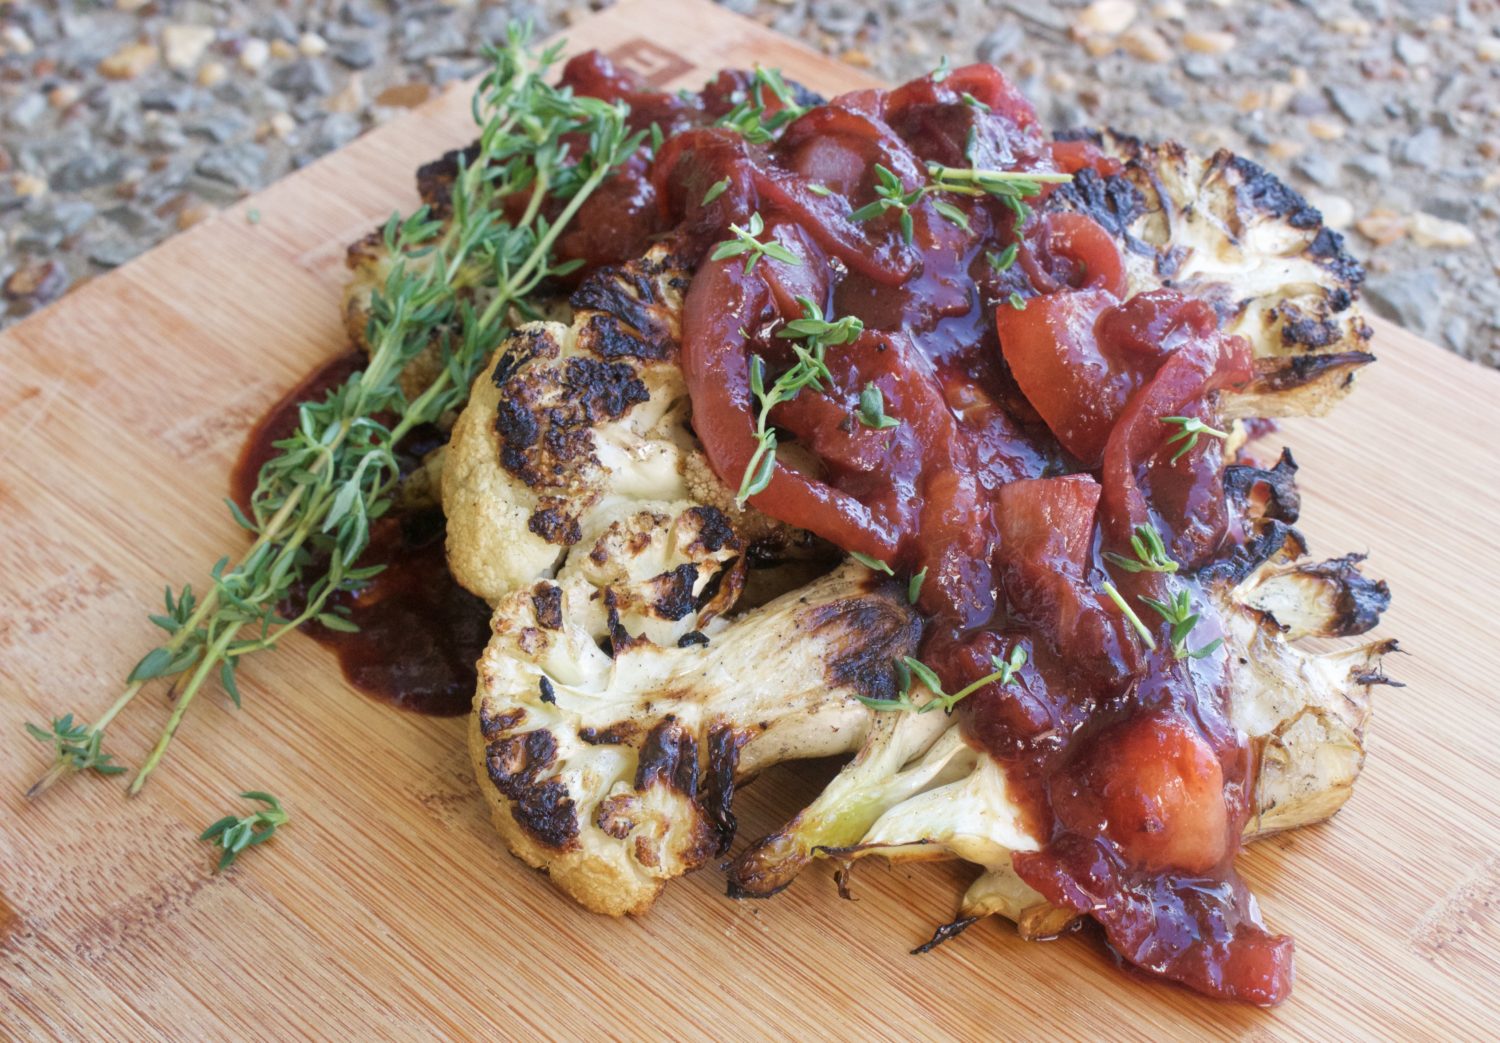
 After a two week break, school is up and started again.  This quarter I am taking European cuisine, Garde Manger, Latin cuisine, and a lecture class on Sustainable Purchasing.  I am enjoying them all greatly, and especially look forward to learning more about purchasing foods, as this will certainly come in handy in my future business.  Before school started, I decided to get my kitchen juices flowing again.  Over break, my boyfriend and I went back to CT and MA, and while we did cook a couple meals, I felt as though it had been years since actually experimenting and trying out a new recipe.  So, with an empty Sunday in front of me, I decided to go head and change the typical meat dish up with the cauliflower still sitting in our fridge from before break.  I’ve always seen grilled cauliflower, but wasn’t sure if I’d like it.  However, I absolutely love crispy roasted cauliflower, and once I tasted this recipe, I realized grilling it wasn’t far off.  The cauliflower gets tender, with a nice char on the outside.  The smaller florets also get nice and crispy.  The plum sauce on the other hand, is something I dreamed up while standing in the produce isle of Publix.  I think the workers were a bit worried for me, as I stood there staring at ingredients mumbling flavor combinations to myself.  If they only knew! Overall, the dish came together fantastic, as the sauce is a sweet, sour, and bit earthy from the thyme, which accents the smokey flavor of the cauliflower quite well.  This dish can be served a long with meat as a side, or easily as the main star (sans the meat).  It’s your choice, so enjoy!

IMG_1369Grilled Cauliflower Steaks with Ginger Plum Sauce

Print Recipe

(Serves 4-6)
Ingredients

  • 1 whole cauliflower
  • 1 1/2 cups thinly sliced white onion
  • 4 plums, peeled, 1/4 inch slices
  • 1/4 tsp sea salt
  • 1 tsp ground ginger
  • 1/4 cup balsamic vinegar
  • 2 tbsp maple syrup
  • 1 tsp minced fresh thyme
  • 2 tbsp olive oil
  • Sea salt for sprinkling on cauliflower

Process

  • Place 2 plums, onion, sea salt, ground ginger, vinegar, and thyme in a sauce pot, allowing the mixture to come to a boil, then reduce it to a simmer, letting the mixture thicken and the onions soften.
  • Once the sauce has reduced, add in remaining 2 plus, stirring until combined.
  • Cut cauliflower into 3/4-1 inch thick steaks, rub with olive oil, and sprinkle generously with sea salt.
  • Preheat grill to high, and once hot, place cauliflower on it, allowing them to cook 5-6 minutes per side until nicely charred.
  • Remove cauliflower from the grill and serve with ginger plum sauce.


Psalm 119:7 “I will praise You with uprightness of heart, When I learn Your righteous judgments.”

Filed Under: AIP, autoimmune friendly, grilling, paleo, vegan, Vegetables and Sides

Chronic Lyme & Functional Fitness (Part 1)

July 9, 2016

CLFF

Since moving last fall, my body has had its ups and downs.  However, despite all the inevitable setbacks, it has continued to move forward.  It’s hard to tell in moment, however, when I look back, the process is quite obvious.  One of the more recent subjects that I have been encouraged to write about and share with you is my fitness journey.  More specifically, how I came to love and benefit from “functional fitness.”  But first, I must back up the train and share my past years of experience with exercising and how it has brought me to where I am today. This series will be done in a few posts…so stay tuned!

Where it All Began

My experience with fitness has varied throughout the years. Growing up, I was extremely athletic, always involved in sports and very active.  My goal was to be the strongest, fastest, and best of my kind.  I took training very seriously and worked out 5-6 days a week.  However, once the effects of chronic Lyme started to kick butt in my body, preforming how I once did slowly became more and more difficult.  No longer could I make it through a lacrosse game without my feet and ankles aching with pain. Going for a run became a battle against extreme hip and knee pain that left me lying in bed unable to move.  Once I hit the “brick wall” in the summer of 2011, not only did the pain increase all throughout my body, but utter weakness and fatigue also took over.  In the span of one day, I lost the ability to do what I loved most – preform.  In the months to come, my body declined rapidly.  I went from being “buff” and able to beat my brother in an arm wrestle, to not able to lift my head off a pillow.  My body mass declined significantly, quickly losing weight due to a variety of complications that had built up over the years from the undiagnosed  Lyme.  I almost felt as if I had lost my identity.  One day I could walk, talk, run, and play with my friends and family.  The next, I could do nothing of the sort.  It was a difficult reality to swallow.  Looking in the mirror I did not recognize myself.  I was frail, pale, with eyes that turned from a lively blue to dark and hallow.

Skinny

Keeping the Flame Alive

Despite how quickly my body was declining, my interest and love for the human body only grew.  It was during these rough years of being bed ridden, in and out of doctors and various hospitals, that I spent my days researching the science behind the human body, food, and many other subjects a long those lines.  From all of the past years of being so healthy, I knew what my body was capable of.  I knew I would get back to working out, and continually dreamed of the day I’d be back on the tennis court or lifting weights.  I never lost this scene in my head.  I was adamant, and I believe that is why I am here to talk to you about where I am with my fitness today.  Dreaming has been key to my healing, even when the dreams seemed near impossible.  However, I continued to dream, believing that if I did it enough they would come true. While the strong fire that once was my health had diminished into a small flame, that flame still flickered, causing the eagerness to reach my full physical potential and optimal health only grow over time.

Starting Over

After the first year or so of trying to figure out what was wrong with my body, a couple of my doctors challenged me to try to walk around a little bit each day.  I started with walking up and down the driveway with my mom, around the perimeter of our house, and eventually, the treadmill, which was a big feat in and of itself.  For Christmas one year, my parents got me a yoga DVD and mat, which I was able to do a couple times a week.  Stretching and walking a little bit each day became my “workout.” While it wasn’t a lot for a regular person, I was moving forward towards my goal of being the strong girl I used to be. Once I got bored of the yoga videos, I pushed myself to add some simple Pilates mat work back into my routine.  My aunt is a fantastic Pilates instructor out in Colorado, and she helped me put together a few movements that I could start trying on the reformer.

Progress

Easy Does it

 When doing any type of exercise with a body that is battling a chronic illness, one must be overly attentive to how they feel when preforming. Chronic fatigue and pain were too conditions I inevitably faced day in and day out, therefore causing  my recovery time after doing anything as simple as a 1 mile walk, to be significantly longer than a healthy human being.  It was, and still is, incredibly easy to over-do it.  In order to avoid being back in bed, unable to recover, and moving backwards in my health, I must always take extreme precautions.  No one in their right mind wants to move backwards, especially when the few steps made forward have been incredibly difficult to do. However, because movement helps my overall body pain significantly, I choose to move even when I don’t necessarily want too.

Three Steps Forward Two Steps Back

Despite being persistent in my daily movement therapy, there were still inevitable set backs in my health. At one point, despite being only 110 pounds, I could run 6 miles without ever feeling any detrimental physical effects. Yet after coming back from vacation one year, parasites and yeast completely took over my body, making my typical mat Pilates routine completely impossible to preform.  One week I felt like I could conquer the world, the next I lied in bed discouraged and battling another new symptom due to yet another unknown condition I had developed.  All this time I continued my studies in the realm of the human body, which included completing the Primal Blueprint Certification. This course gave me an in-depth, scientific explanation of how human beings were made to exercise and move, the detrimental effects of conventional exercise methods, and ultimately how to gain strength starting from nothing. It was during this time my family also became immersed in their local cross fit gym.  Being the exercise lover that I am, I told myself that “one day, I will join them at the gym.”

chnge

Turning Tables

Four whole years after my bodies initial breakdown, I did what I told myself I would one day do. I went to CrossFit.  The coach knew where I was coming from physically and was very attentive to my every need. With years of innumerable treatments behind me, I was finally feeling stronger. For about three months, I attended the CrossFit gym once a week, modifying the workouts as needed, and making sure to take ample time to rest and recover afterwards.  It was fun, and I could not have been more excited.  However, as most of my past experiences with changing my workouts, it did not last for long, but this time, for good reasons.  October of 2015 I moved out of my parents house to Nashville, TN.  The move was rough, especially for the first 5-6 months, as learning to live on my own was physically, mentally, and emotionally draining.  The strength that I had once gained and put towards going to CrossFit had to be used in other areas of life, such as driving, keeping house, and going to school.  At the time, I didn’t see how these things could drain me of all the stamina my body once had.  However, I was reminded time and time again by family and friends that moving and getting acclimated in a new city is exhausting for anyone, even those that are completely healthy.  I took my daily walks, did mat Pilates at home, and went to a reformer Pilates class once every Saturday morning. Much like the years before, I kept moving even when I didn’t want too.

A New Chapter

Since the beginning of 2016, my strength has slowly started to return back to where it was prior to moving.  This is partially due to finally becoming  used to my surroundings, while also receiving more treatment, and overall simply being blessed by the all mighty hands of God.  Though I was doing good in my fitness, I started to get in a rut of my typical walking and Pilates routine.  I had hit a plateau.   Yet little did I know that walking into my first class of American Regional cuisine at school would change all of that and more.

Psalm 55:22 “Cast your cares on the LORD and he will sustain you; he will never let the righteous be shaken.”

Filed Under: autoimmune, autoimmune disease, autoimmune paleo, chronic illness, chronic lyme, chronic lyme disease, fitness, Personal Experiences

Tigernut Flour and Flake Blueberry Crisp (AIP, Paleo, Vegan)

July 2, 2016

IMG_1337

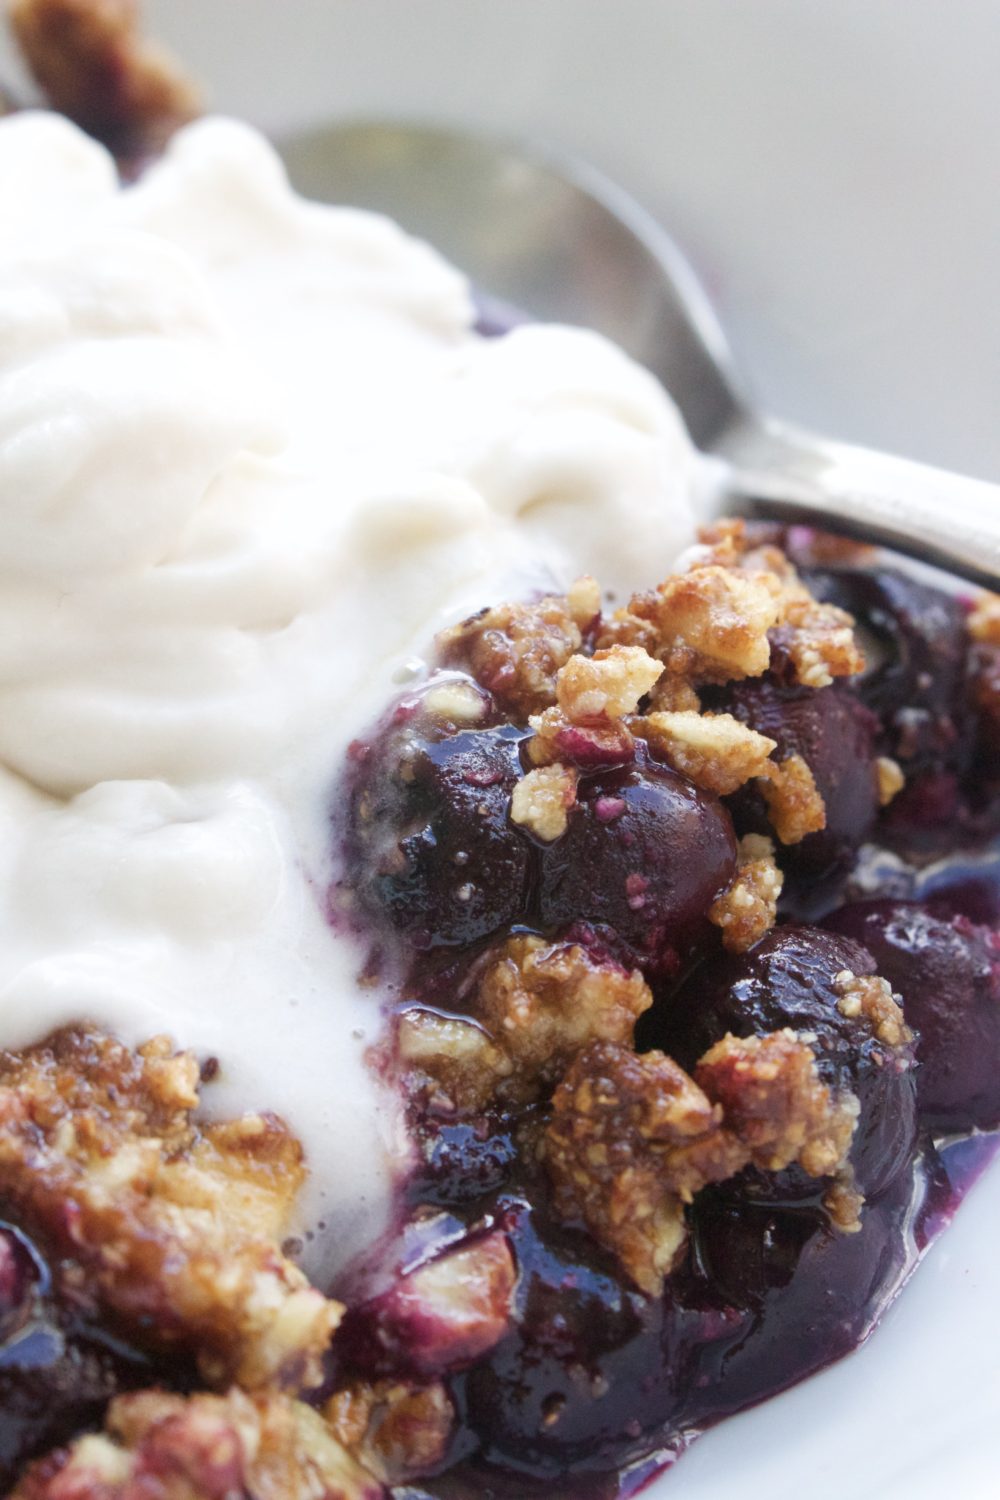
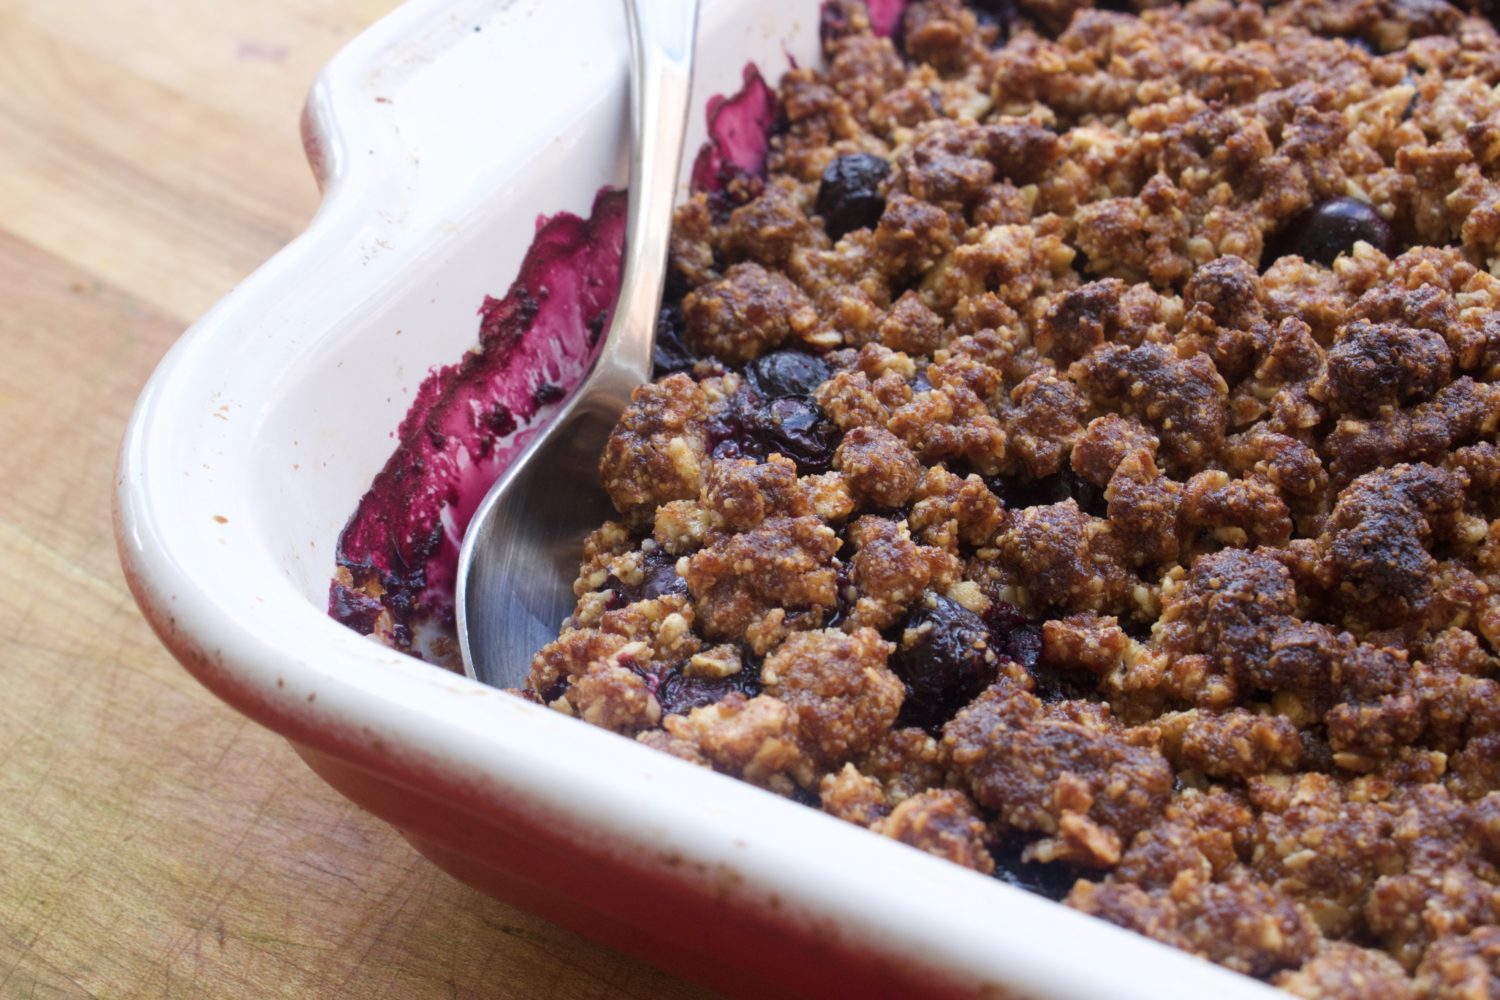
We all have dishes that our friends or family made for us growing up that automatically take us back to our childhood.  There are quite a few from my mother, specifically, that bring back an abundance of happy memories.  One of these is  blueberry crisp. Therefore, with a few new bags of Organic Gemini products on hand, I decided to replicate my childhood favorite.  If you are new to tigernuts, they are not a nut at all, rather a starchy tuber grown throughout the Mediterranean and surrounding locations.  They are rich in prebiotics, which are ultimately responsible for keeping your gut bacteria happy.  Today’s recipe uses both tigernut flour and sliced tigernuts, the latter being both very similar to oats in both texture and taste.  Overall, the recipe could not be easier, and the end result is a sweet, oozing, berry-full dessert that is sure to please anyone.  I decided to amp things up a little and serve mine with some coconut whipped cream, which I have included below in the recipe notes.  This cool, sweet, and creamy topping highlights the crunchy topping and bursting berries underneath quite well, turning it into a scrumptious dessert for your Fourth of July!

IMG_1313

Blueberry Crisp

Print Recipe

(Serves 12)
Ingredients

  • 1 cup Organic Gemini tigernut flour
  • 1 cup Organic Gemini tigernut flakes
  • 3/4 cup coconut sugar
  • 1/4 tsp sea salt
  • 1/2 cup + 2 tbsp non-hydrogenated palm shortening
  • 3 pints fresh blueberries

Process

  • Preheat oven to 350 degrees.
  • In a food processor, pulse together tigernut flour, tigernut flakes, coconut sugar, and sea salt.
  • Pulse in palm shortening until the mixture is crumbly and sticks together.
  • Place blueberries in a 8×8 inch square baking pan and cover with crumble topping.
  • Place in preheated oven and bake for 35-45 minutes until top has browned and berries are oozing and bubbly.

Recipe Notes

Coconut whipped cream: chill 1 can of full-fat coconut milk overnight, then scoop out solids into a bowl, add 2-3 tbsp coconut sugar, and whip until fluffy.


Jeremiah 17:9-10 ““The heart is deceitful above all things, And desperately wicked; Who can know it? I, the Lord, search the heart, I test the mind, Even to give every man according to his ways, According to the fruit of his doings.”

Filed Under: AIP, autoimmune friendly, dairy free, Dessert, egg free, nut free, paleo, Sweets and Snacks, tigernut flour, tigernuts, vegan

Refreshing Watermelon Limemade (AIP, Paleo, Vegan)

June 22, 2016

IMG_1198

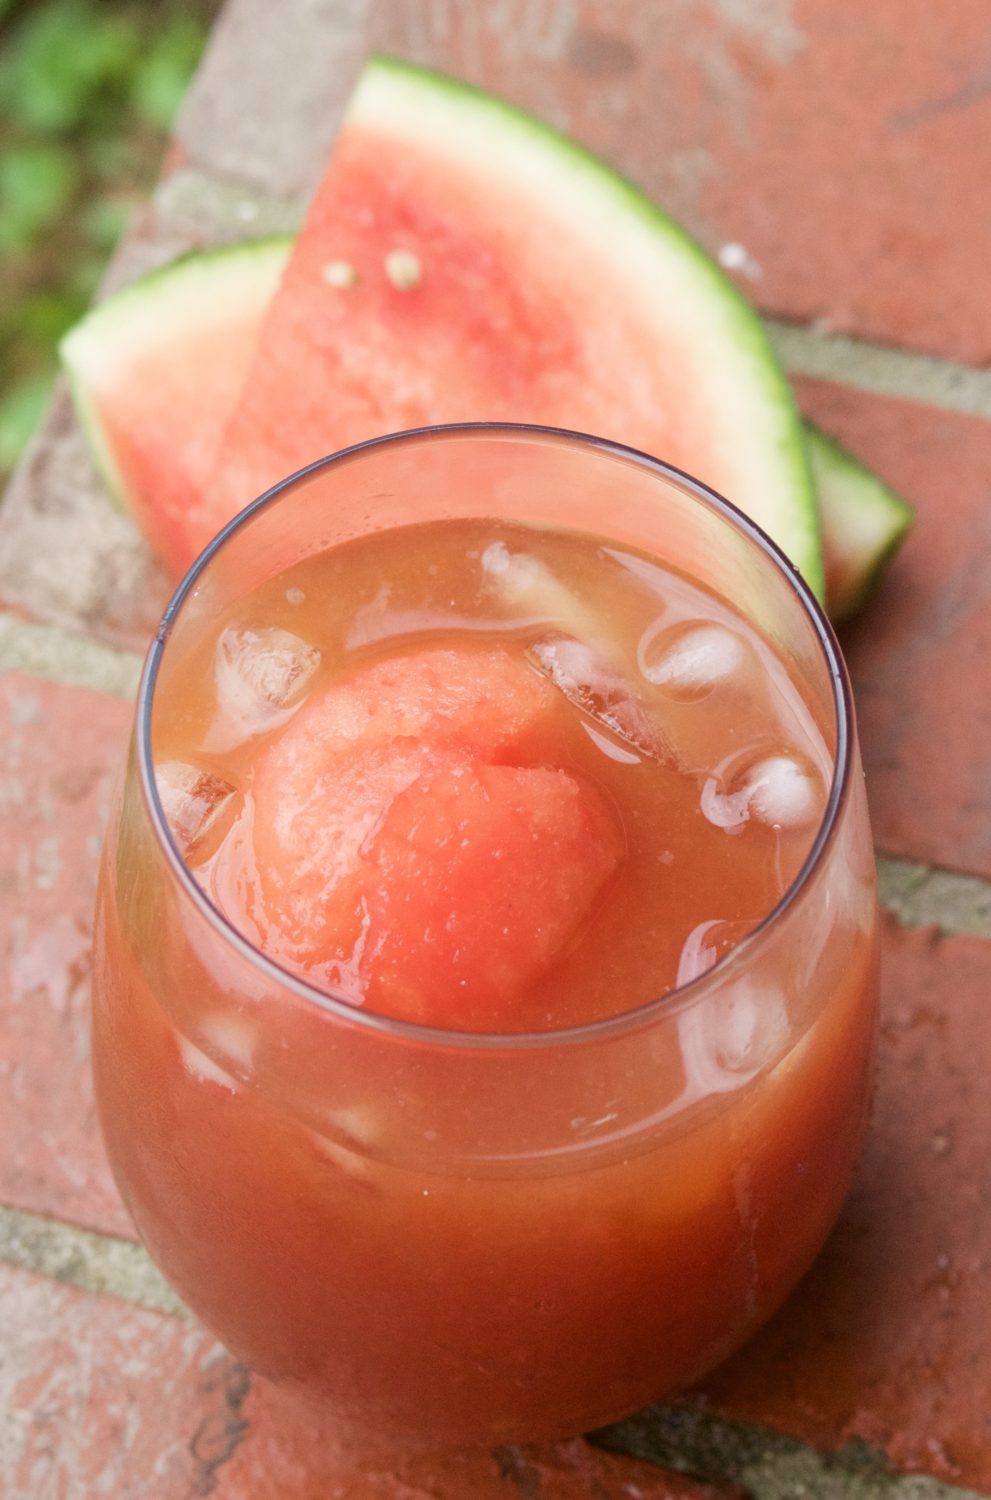
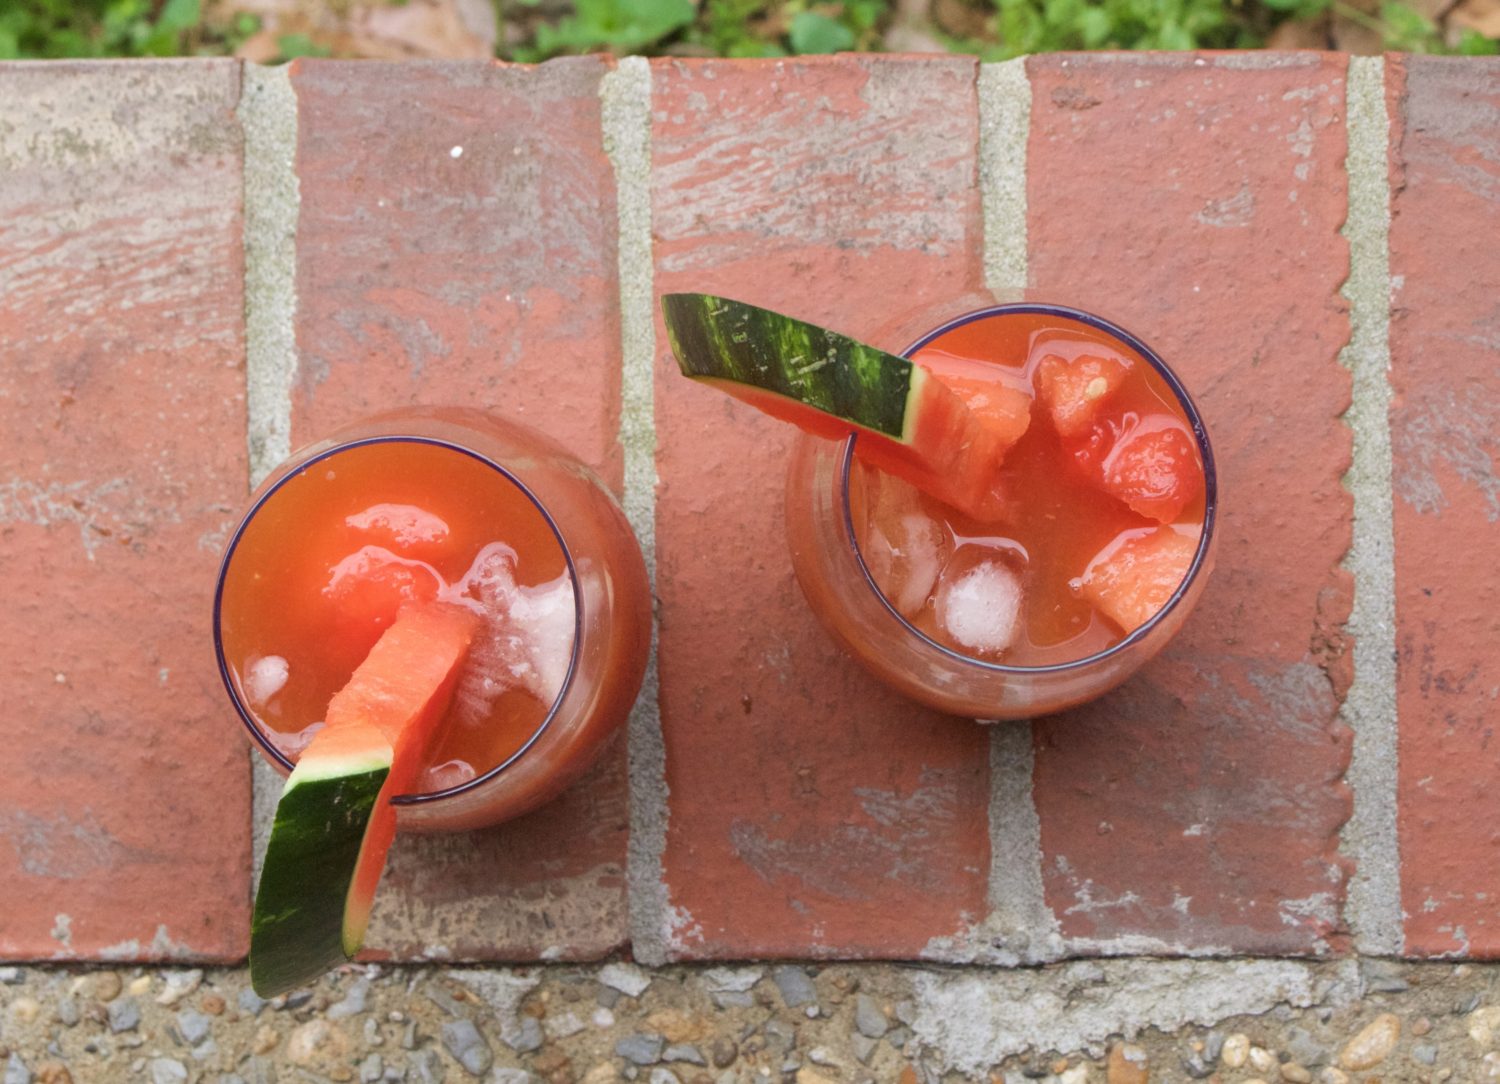
This year is my first summer in Nashville.  Just as I have been told for years prior to moving, it gets HOT, so hot it’s pretty much impossible to eat outside without feeling queasy.  Therefore, I decided to keep things light and refreshing for the household and make some limeade, or lemonade, as some would say.  If you cannot tell by the pictures, this drink is extremely thirst quenching.   Everyone in the house loved it, especially since I served it while the boys were in the garage-turned-recording studio, sweating their butts off playing drums and keyboard.  No one could get enough, and it was gone before I could blink! Exactly what I wanted. If you do not have watermelon, I would imagine any other melon, or even berry, such as strawberry, would taste fantastic!   Overall, this watermelon limeade is the perfect summer drink for anybody.  So sit back, relax, sip up some cold goodness, and try not to melt in this hot summer heat (which, by the way, I do love. No complaining here!)

IMG_1201

Watermelon Limemade

Print Recipes

(Serves 6-8)

Simple Syrup

  • 1/2 cup water
  • 1/2 cup coconut sugar

Limemade 

  • 6 cups watermelon – scooped out from one very large melon
  • 3/4 cup lime juice
  • 3-4 cups cold water

Watermelon Ice Cubes

  • 1-2 cups watermelon cubes or balls (using a melon baller)

Process

  • Place simple syrup ingredients together in a small sauce pot and allow the mixture to come to a simmer, allowing to cook until sugar has dissolved in the water.
  • To make the limeade, blend the watermelon until smooth, then filter through a fine mesh sieve and return to blending agent.
  • Pour in lime juice and simple syrup, into the watermelon and blend until smooth, then pour it into a large pitcher, finishing off with the cold water and stirring to combine.
  • Make the watermelon ice cubes by cutting watermelon into cubes or balls using a melon baller and placing them in the freezer to freeze until solid.
  • Serve each glass of watermelon limemade with 1-2 frozen watermelon ice cubes, a long with 4 regular ice cubes.


Psalm 121:7-8 “The Lord will keep you from all harm— he will watch over your life; the Lord will watch over your coming and going both now and forevermore”a

Filed Under: AIP, autoimmune friendly, Dessert, drinks, paleo, Sweets and Snacks, vegan

Vanilla Sugar Cookie Dough Ice Cream (AIP, Paleo, Keto-Friendly)

June 8, 2016

IMG_1040

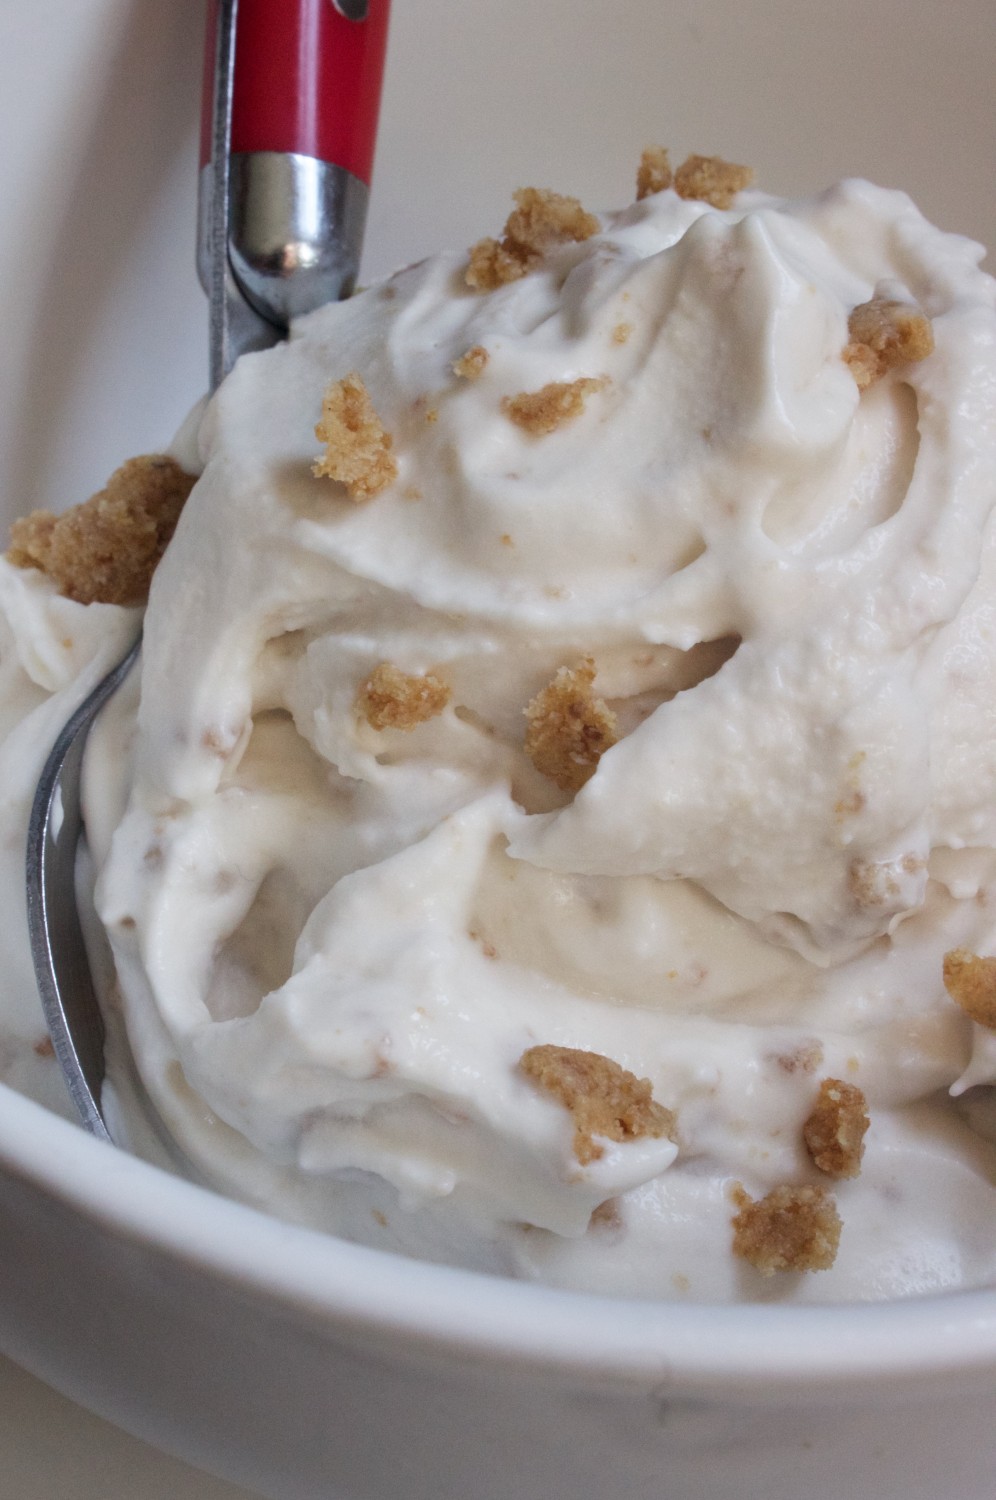
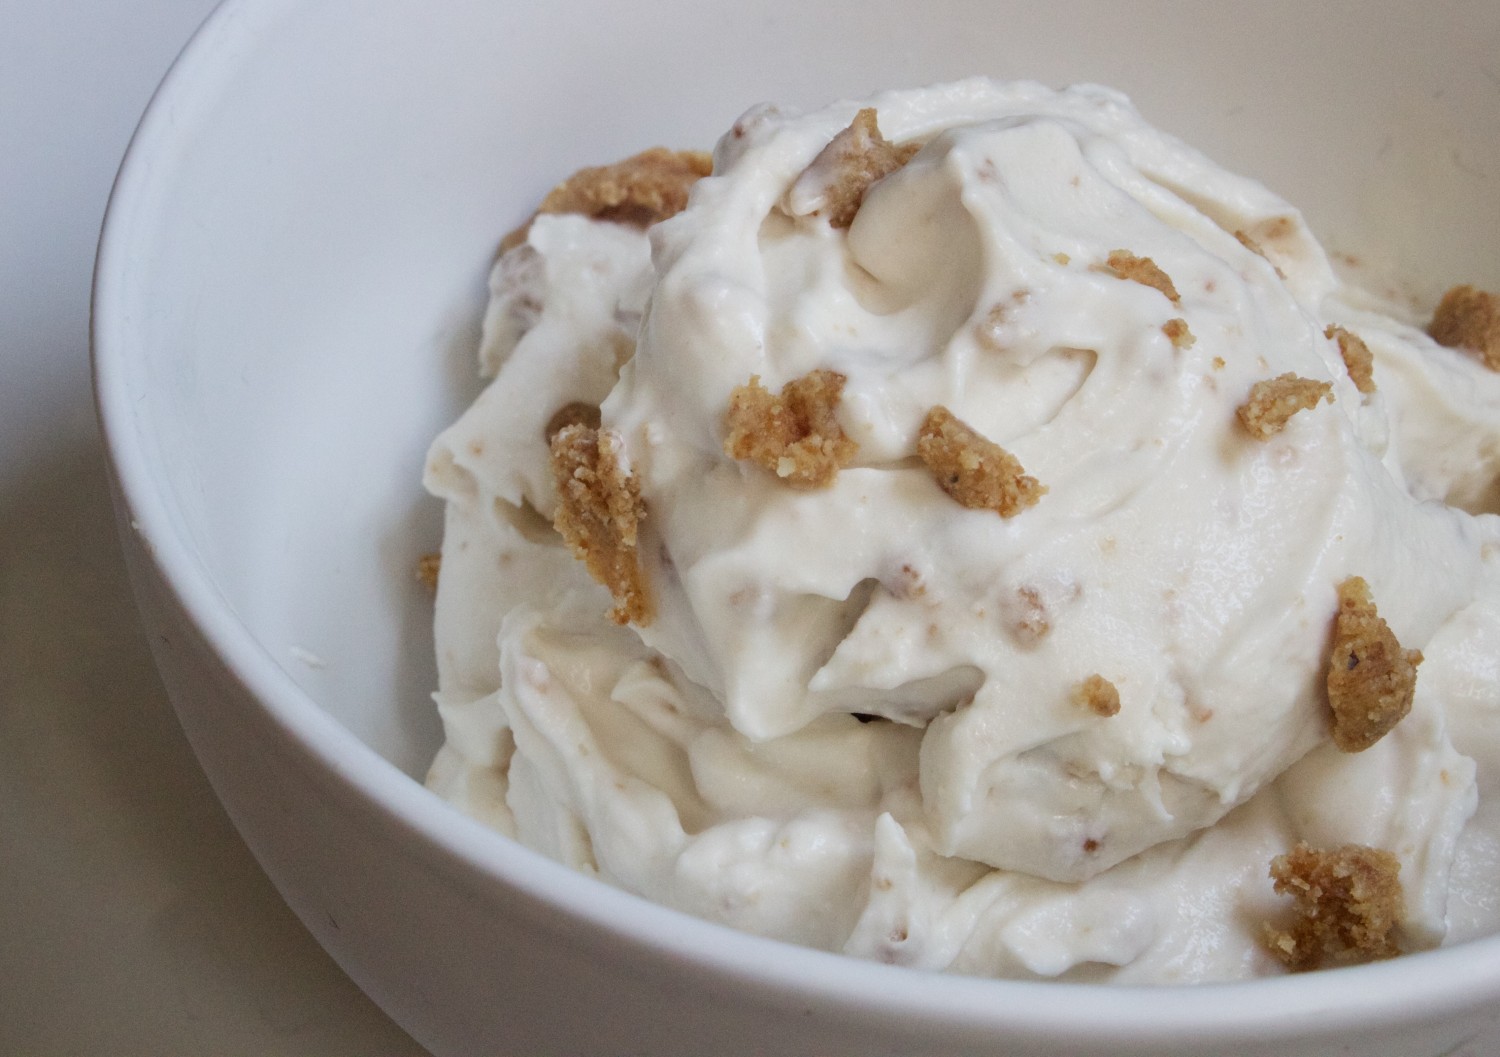
It is never too early to start working on killer ice cream recipes for the summer. In fact, I begin messing around with this cookie dough ice cream this past March when we had a few 70-80 degrees here in TN.  I have always been a huge fan of cookie dough, because, well, who isn’t? Add that creamy, sweet, cookie-deliciousness to ice cream, and you’ve got one dang amazing treat.  Because I cannot eat chocolate due to mast cell induced histamine issues, I decided to go with a simple sugar cookie dough instead of the typical chocolate chip cookie dough.   My goal was to make it just as scrumptious, and man, did I succeed.  It is a rather rich ice cream, so be sure to have friends around to share it with, as devouring the entire batch yourself probably won’t leave you feeling to spiffy. Overall, this ice cream is sure to satisfy all your cravings for a cool treat this summer.

IMG_1031

Vanilla Sugar Cookie Dough Ice Cream

Print Recipe

Ice Cream Ingredients

  • 21 oz of full fat coconut milk (1 1/2 cans)
  • 1 tbsp vanilla extract (or) powder for AIP
  • 1/2 cup coconut sugar
  • 4 egg yolks (omit for elimination phase AIP)
  • Dash of sea salt

Cookie Dough Ingredients

  • 1/3 cup Otto’s cassava flour
  • 1/3 cup Organic Gemini tigernut flour
  • 1/2 tsp sea salt
  • 1 1/2 tsp vanilla extract (or) powder for AIP
  • 1/3 cup coconut sugar
  • 1/4 cup Tin Star Food’s brown butter ghee (or) coconut oil for AIP

Process

  • Whisk together coconut milk, vanilla, sea salt, and coconut sugar in a sauce pot over medium-low heat until sugar and salt have dissolved.
  • If using, break the egg yolks into a separate mixing bowl and slowly temper in 1/2 cup of the warmed coconut milk, whisking vigorously to ensure the eggs do not scramble.
  • Whisk the tempered egg mixture back into the sauce pot and remove from the heat, allowing to cool completely before churning.
  • To make the cookie dough, use a food processor or hand mixer to combine cream the coconut sugar, vanilla extract, and fat of choice.
  • Whisk together the dry ingredients and add to the wet mixture, mixing until a dough has formed.
  • If the dough is too wet, stick in the fridge to firm up, otherwise create bite-size pieces of cookie dough with your fingers, placing them on a platter to later drop into the ice cream.
  • Once the coconut milk mixture has chilled, pour into prepared ice cream machine and churn 10-15 minutes until beginning to thicken, then slowly drop in the cookie dough bites, allowing the mixture to churn another 5-10 minutes until the consistency of soft serve.
  • If you would like your ice cream harder, scoop into a shallow dish and place in the freezer.  Otherwise, serve ice cream as is and enjoy.

Recipe Notes

Almond flour can be used in replace of the tigernut flour.
Make keto-friendly by subbing out the sugar with your favorite sugar substitute and use a low-carb flour such as almond, in place of the cassava and tigernut.


Psalm 56:4 “ In God I will praise his word, in God I have put my trust; I will not fear what flesh can do unto me.”

Filed Under: AIP, autoimmune friendly, dairy free, Dessert, egg free, ice cream, ketogenic, low carb, no bake, nut free, Sweets and Snacks, vegan

« Previous Page
Next Page »

Primary Sidebar

Recent Posts

My Guide to Practical Animal-based Eating

Paleo Banana Collagen Bars with Coconut Flour (Nut-free)

Paleo AIP Cinnamon Raisin Collagen Bars (Fruit-sweetened, Coconut-free)

Coconut Flour Molasses Spice Cookie Bites (AIP-friendly, Nut-free)

Crustless Keto Cheesecake (Carnivore-friendly)

Paleo Fruit Sweetened Harvest Bread (Gluten-free)

Copyright © 2025 · LBD Pro V on Genesis Framework · WordPress · Log in